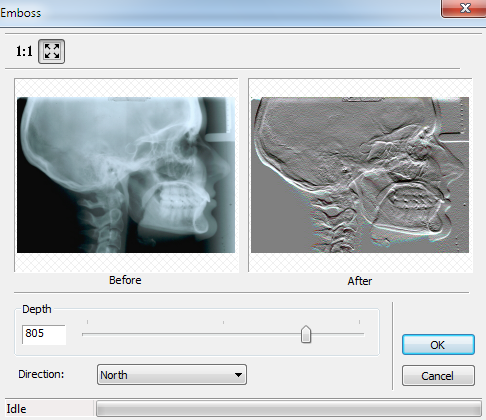
In the Image Chart window, display an image.
On the Tool
Box toolbar, click the Emboss
 button. The Emboss window
is displayed.
Using the Tools in the Tool Box
The Emboss tool raises the edges of an image. Embossing can help to show differences between hard tissue and soft tissue.
To use the Emboss tool:
In the Image Chart window, display an image.
On the Tool
Box toolbar, click the Emboss
 button. The Emboss window
is displayed.

In the Direction field, select the direction of the emboss.
Use the slider or type the amount of depth in the Depth field.
Click OK. The embossed image is displayed.
To revert to the original image, click the Emboss button again.
Rotating in 90 Degree Increments
Changing the Intensity of Images