Using ICD-10 Medical Diagnosis Codes and Submitting Medical Claims
![]() Related Training
Related Training
Medical Billing Recorded Class
Sensei Cloud comes populated with the ICD-10-CM medical diagnosis code set that you can use when documenting a patient's condition. These codes are included on the CMS 1500 Claim Form.
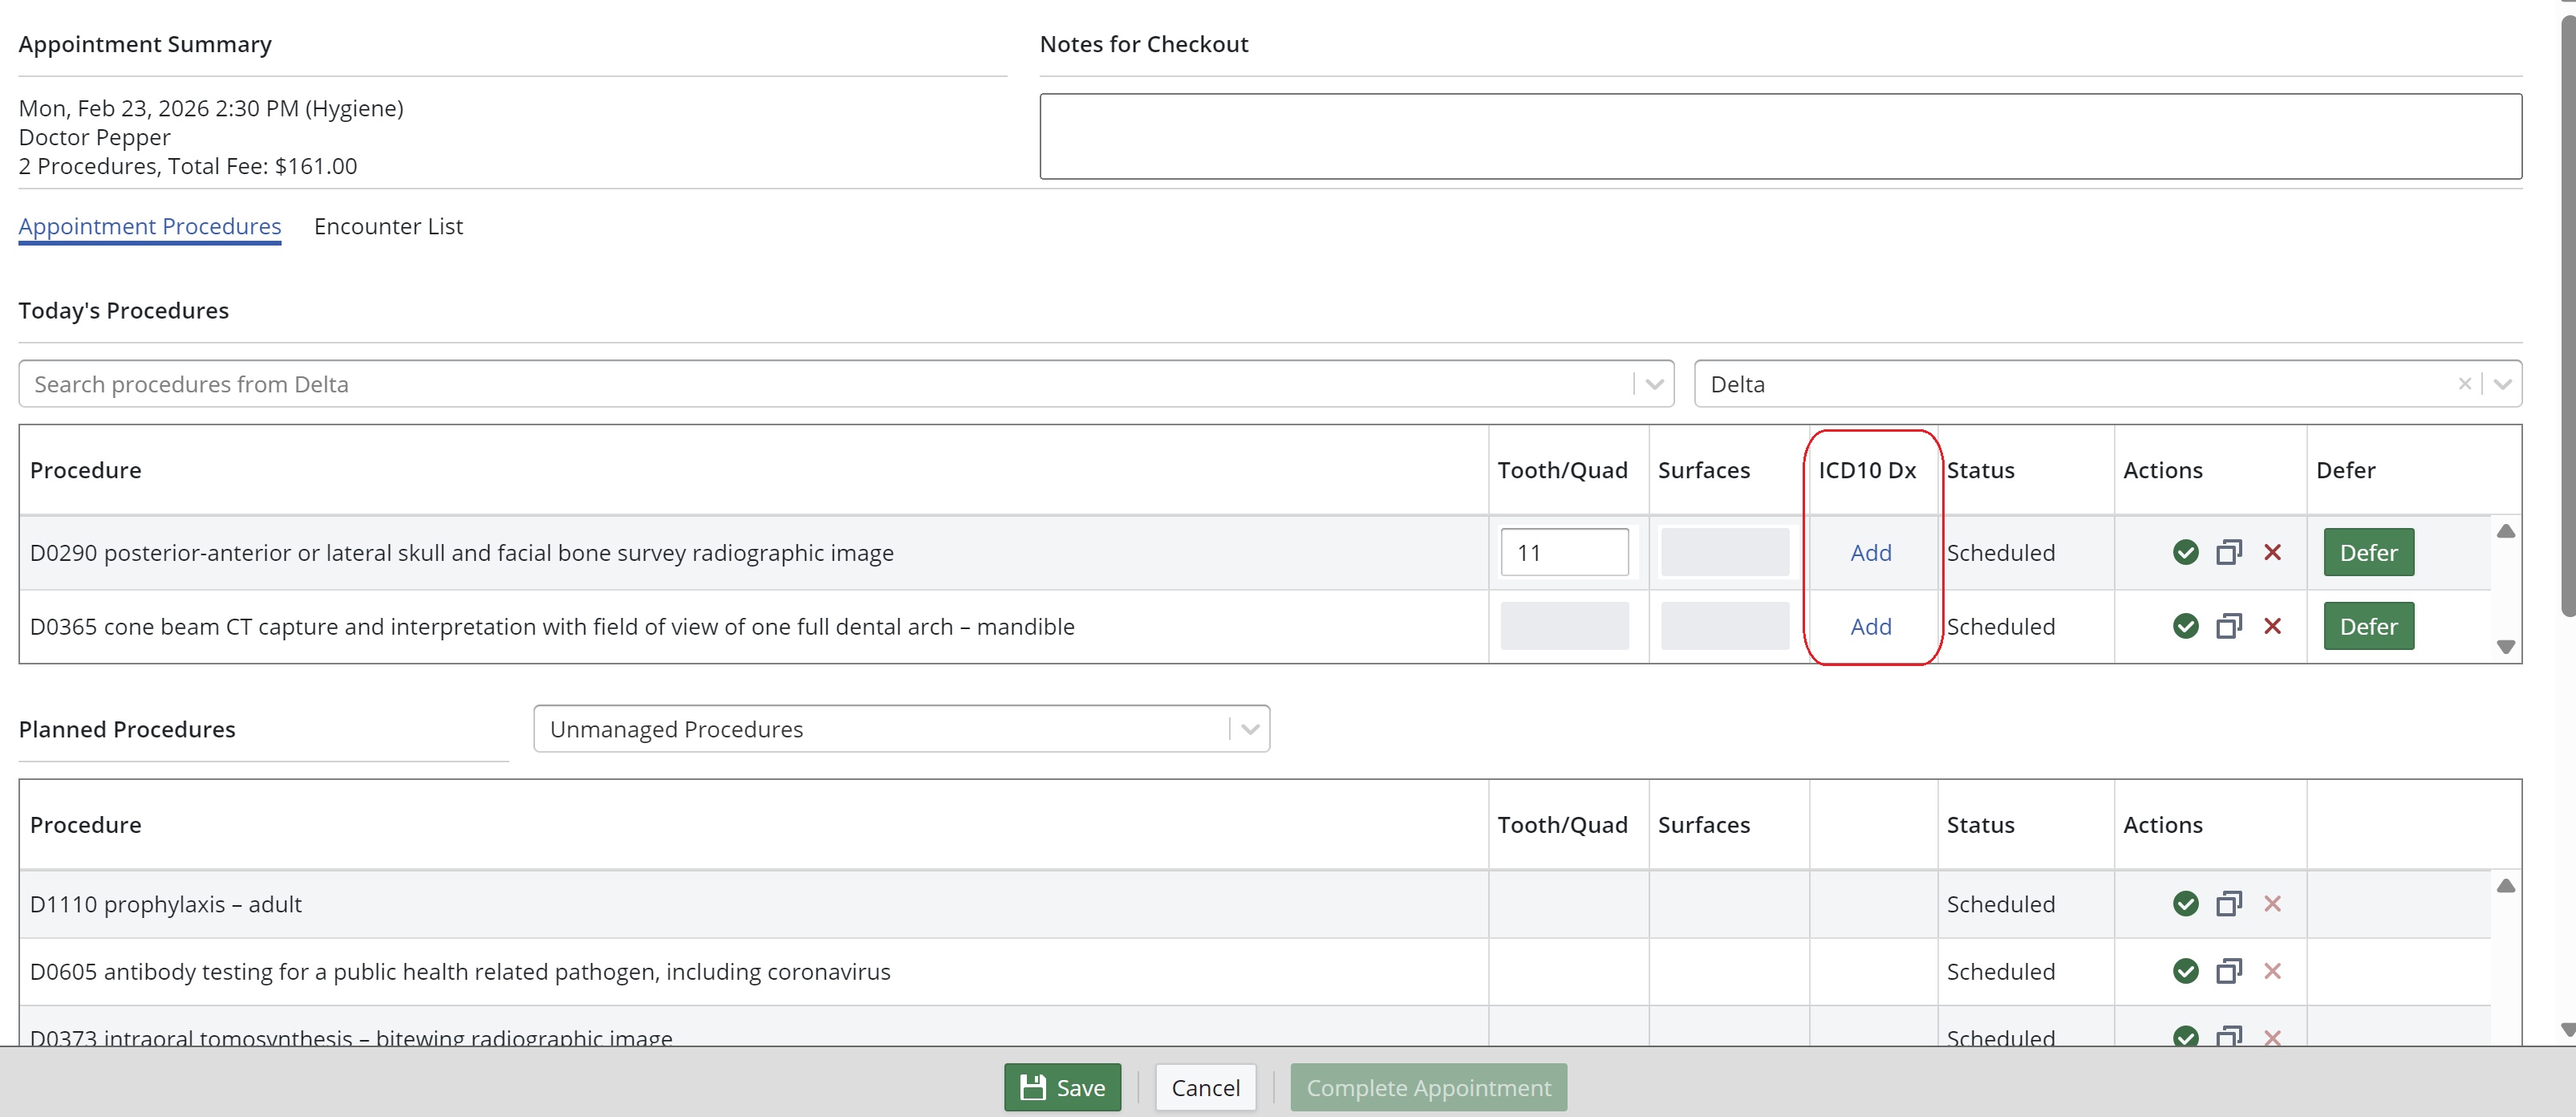
When ICD-10 codes have been defined for procedures, they are added to any subsequent claim details when an insurance claim (medical or dental) is produced.
This feature is enabled by default, but you can disable it if your practice does not use medical diagnosis codes. If prompting is enabled, the Diagnosis Codes window is displayed when you add procedures to an appointment card, treatment plan, or ledger.
Note: Click Cancel if you do not want to add a code when prompted.
You can add or manage diagnosis codes for each procedure:
-
On the Hard Tissue Chart—Select Patient > Clinical > Hard Tissue Chart > Today’s Appointment.
-
On the Clinical Chart (EMR)—Select Patient > Clinical > Clinical Chart (EMR) > Manage Appointment.
-
On the Hard Tissue Chart—Select Patient > Clinical > Hard Tissue Chart > Planning Mode > Pencil icon
-
In the Treatment Plan window—Select Patient > Treatment Plans > [select plan] > Pencil icon.
-
From the Patient's Ledger—Select Patient > Financials > Ledger > [click New Charge]
When ICD-10 codes are enabled, a column is added to the interface where procedures are managed.
To submit a medical claim:
-
On the Location tab, click Claims > Claims Management.
-
In the Filter list, select Medical, and any other relevant filters to refine the list. For each claim, the claim number, status, type, provider, last updated date, payer, plan, patient name, billed amount, and paid amount are displayed. You can sort the list by any of these columns.
Note: Claims that require action display an Alert icon in the Status column.
-
Select a claim to view the summary and update the claim as needed.
-
If needed, click Edit ICD10 Codes to add ICD10 medical diagnosis codes to procedures included in the claim or modify any existing ICD10 codes that were entered at the time of posting.
-
Click Edit Addl Info to define any additional information to be included with the claim before submission. The status of the claim remains at Needs Info until you review and submit the claim.
Note: Be sure to confirm the details for the procedures included in the claim at the bottom of the Additional Claim Information window. Verify the POS (place of service), Days/Units, and so on, and update, if needed. The Days/Units field must contain an entry greater than zero to prevent the medical claim from being rejected.
-
Click Save Changes & Submit to submit the claim, or click Save Changes to save the changes and submit the claim at a later time.
Note: If you save your changes, you can return later and click on the claim to open the summary, and then click Submit Claim.
See Understanding Sensei Cloud Medical Billing for more information.
Understanding Sensei Cloud Medical Billing
Setting Coverage Details and Benefits by Category on an Insurance Plan
Importing Coverage Details to an Insurance Plan
Setting Up Insurance Claim Processing
Canceling and Resubmitting Insurance Claims
Submitting Secondary and Other Claims
Using CPT Codes for Medical Billing
Viewing Insurance Claims Statistics