Canceling and Resubmitting Insurance Claims
![]() Related Training
Related Training
Managing Insurance Claims Recorded Class
You have the ability to resubmit claims when claim information needs to be updated, or you just need to re-send the claim with the existing information (e.g., if the claim was lost in the mail, etc.). You can also cancel claims as needed.
Resubmitting a Claim
To resubmit a claim:
-
If applicable, update the claim information that needs to be changed (e.g., Patient Date of Birth, Patient ID Number, Insurance Company information, etc.).
-
From the Patient tab, click Insurance > Claims Management or navigate to the location's Claims Management list (Location > Claims > Claims Management).
-
Click on the claim line item to expand the details. The Claim Summary is displayed.
-
Click Resubmit Claim.
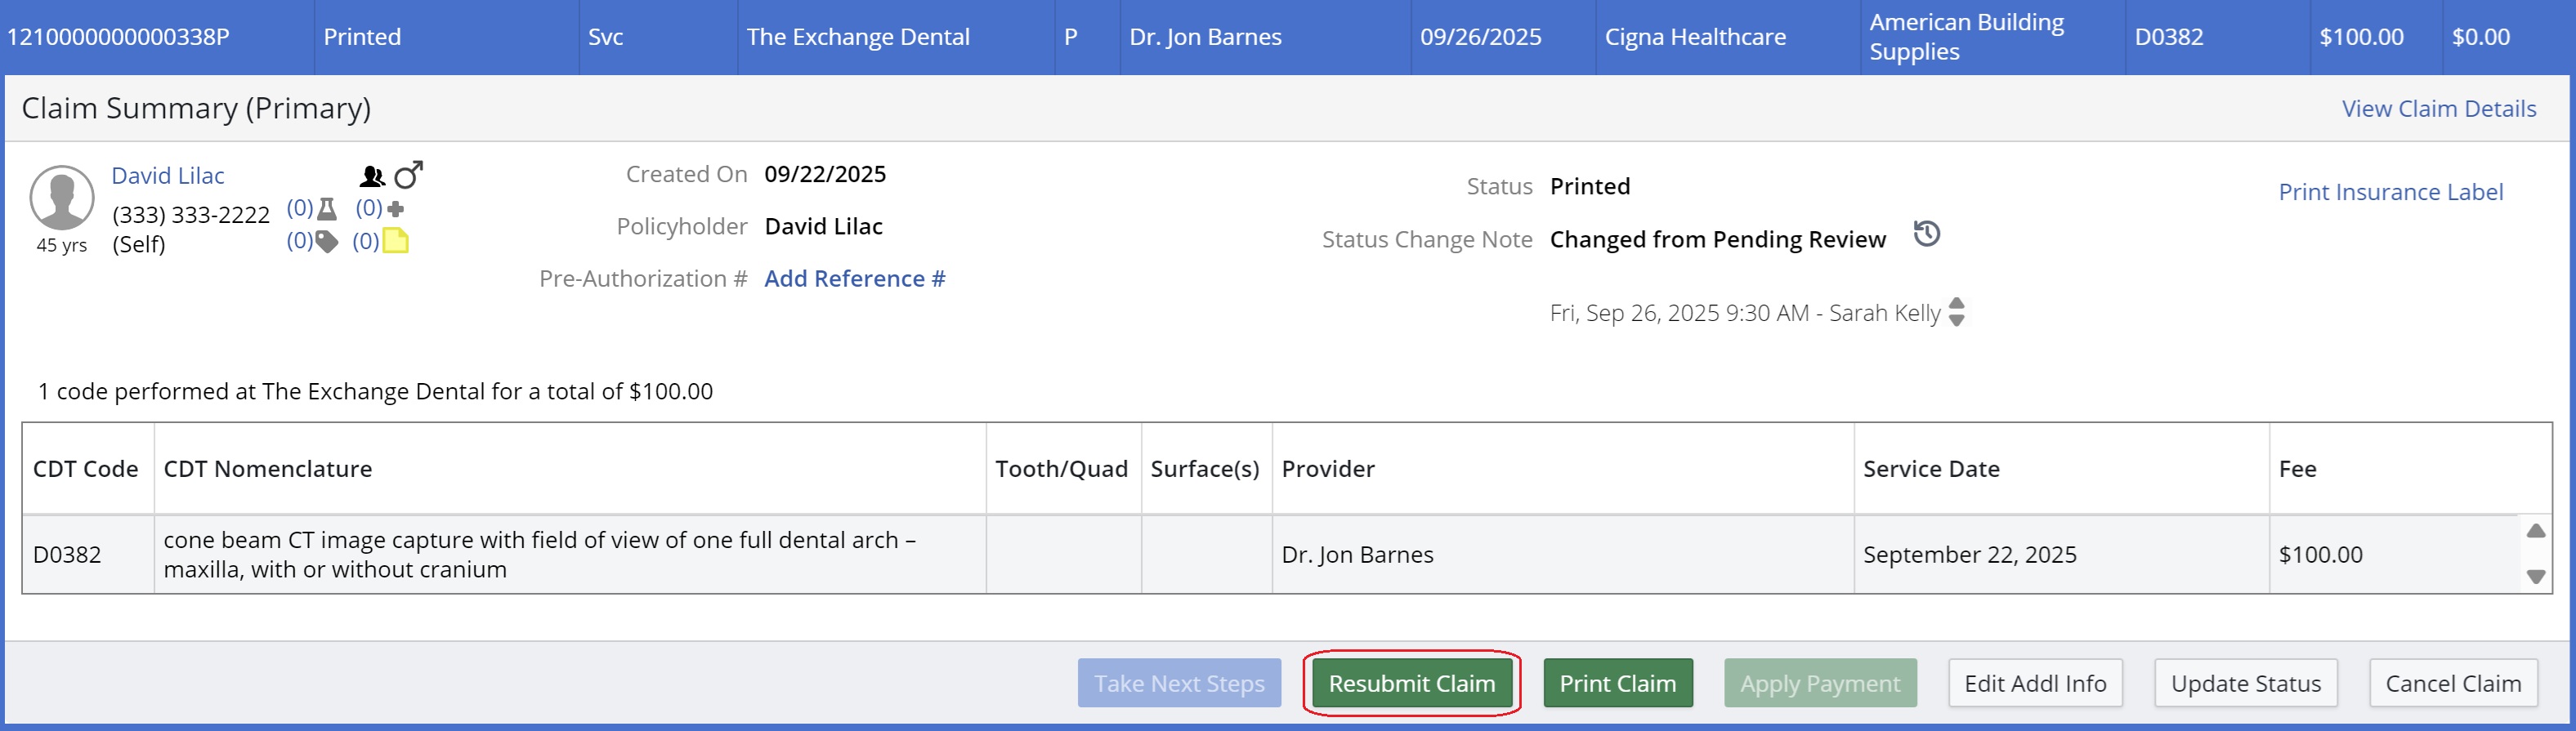
The status of the original claim changes to Resubmitted, and the Status Change Note updates to Resubmitted as Claim #[Claim Number].
The updated, replacement claim has been created and is either automatically Queued for submission or is ready for final review and submission (depending on your claim handling settings). You can navigate to the replacement claim by locating the new claim number (as indicated in the Status Change Note of the original claim) in the Claims Management list.
Note:
-- The replacement claim inherits all of the current claim data, including the history, supplemental information (e.g., additional info), pre-auth reference numbers, and any electronic claim attachments.
-- The new claim also reflects any updated information to the underlying records that may have changed since the original submission, such as edits to the patient or policyholder demographics, policy information, or updated anatomy information for the billed charges.
-- If applicable, you can make any further edits to the claim (e.g., edit additional info, update the location or provider, etc.), and then submit it.
Cancelling a Claim
In cases where you need to cancel a claim altogether, this can be done from the following locations in the software:
-
Location Tab > Claims > Claims Management
-
All Locations Tab > Claims > Claims Management
-
Patient Tab > Insurance > Claims Management
-
Patient Tab > Financials > Ledger
To cancel a claim:
-
From the Patient tab, select Insurance > Claims Management. The Claims Management window is displayed.
-
Select the claim you want to cancel. The Claim Summary window is displayed.
-
Click Cancel Claim. A message is displayed.
-
Click Yes.
To resubmit a claim from the Claims Management screen after cancelling:
-
Under Actions, select Create New Claim. The Create Insurance Claim window is displayed, containing a list of the patient's unbilled procedures.
-
Select the procedure(s) you want to include in the claim.
-
For Insurance to Bill, if there is more than one plan for the patient, you can select which plan to bill.
-
Click Create.
Cancelling and Creating a New Claim From the Patient Ledger
When a posted procedure is adjusted or removed, you are prompted to cancel the associated claim and create a new one with the updated details.
-
From the Patient tab, select Financials > Ledger. The Ledger for window is displayed.
-
Select the ledger entry to expand the details. The claim number associated with the charge is displayed.
-
Select Adjust This Charge.
-
Click on the procedure to expand it, and select Adjust this Charge on the far right of the procedure line. The Adjust this Charge window is displayed.
-
Select either Remove Entry or Correct Information and make the changes.
-
Use the Adjustment Comments field to enter a comment or reason for the adjustment.
-
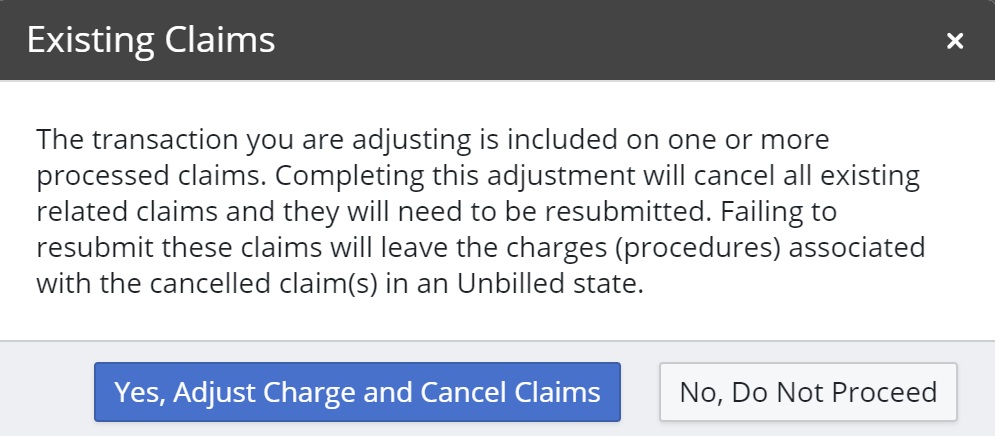
Click Adjust Charge. You are prompted to confirm the action.
-
Select Yes, Adjust Charge and Cancel Claims. The claim is canceled, and the Create Insurance Claim window is displayed, prompting you to re-create the claim with the adjusted information.
-
Click Create.
Note: When you cancel and create a new claim you can use the Edit Addl Info button on the Claim Summary area to add remarks or details needed for the re-created claim.
Cancelling and Resubmitting Continuation of Treatment (COT) Claims
When you cancel a non-COT claim, the charges revert to the patient's Unbilled list, ready to select for a new claim. With COT claims, the date-specific charges are defined in the contract, and do not revert automatically to the patient's Unbilled list. You must:
-
Edit the existing contract to generate a new claim.
-
Cancel the old claim after the new one is created.
To edit a COT contract and generate a new claim:
-
From the Patient tab, select Financials > Contracts.
-
Select the contract to adjust and click Edit Contract.
-
Scroll down to the Contract Charge Schedules section. Here you can:
-
Click Remove Charge Schedule to remove an existing schedule. The guarantor's portion of the contract is recalculated automatically.
-
Click Add Charge Schedule to create a new schedule. Select the patient's primary or secondary insurance from the Plan field.
Note: An insurance policy must be entered into the Patient Record before it can be selected here.
-
Edit an existing charge schedule for the Amount being paid by the insurance company, the Frequency and Charge Amount for subsequent charges, and the Next Charge Date. The # Chgs Remaining and Remaining Balance fields are recalculated automatically, as well as the guarantor's portion of the contract.
-
Click Save Contract. You are prompted to submit a Pre-Authorization claim to patient insurance.
-
Click Submit. A Pre-Auth claim is generated and added to the Claims Management window.
Note: It is advised that you wait for the claim responses and then enter the associated Pre-Authorization Reference #s in the claim details before activating the contract.
When the contract is activated, Sensei Cloud generates an initial claim for services.
After the new COT contract is activated and the claim is generated, you can remove the previous claim from the patient's Claims Management window.
Note: When the COT claim is cancelled, the record is removed. If you want to maintain a record, you can select Print Claim to save it as a PDF file before removing it.
Setting Coverage Details and Benefits by Category on an Insurance Plan
Importing Coverage Details to an Insurance Plan
Setting Up Insurance Claim Processing
Using ICD-10 Medical Diagnosis Codes and Submitting Medical Claims
Using CPT Codes for Medical Billing
Viewing Insurance Claims Statistics