Using Sensei Cloud Oral Surgery
Recording Vital Signs Using a Connected Monitor
When a vitals monitor is configured with Sensei Cloud, you can use it to record vitals in the Anesthesia Record from the patient's Clinical Chart (EMR).
To use a vitals monitor to record a patient's vital information during surgery:
-
From the Patient tab, select Clinical > Clinical Chart (EMR).
-
From the Add to Chart drop-down list, select Anesthesia Record. The Anesthesia Record is displayed.
Note: The patient must have an appointment with at least one procedure in order to select Anesthesia Record. -
From the Surgery Vitals tab of the Anesthesia Record, click Time Out.
-
Review the information, and then click Time Out Reviewed.
-
Scroll to the Vitals section.
-
Select Monitor to use a monitor to record vitals.
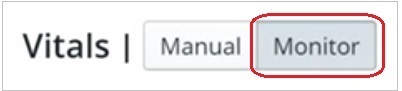
-
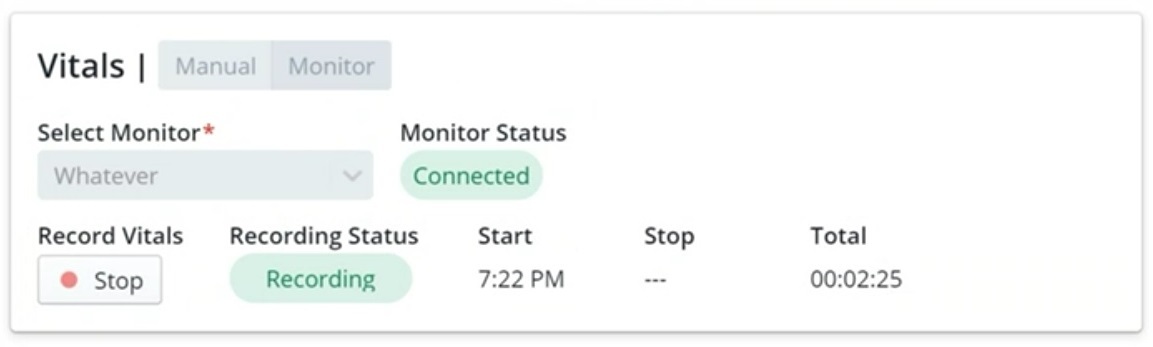
Use the Select Monitor drop-down list to select a monitor to record vitals (all connected monitors for your practice are listed). The selected monitor status is displayed as Connected.
Note:
--You are unable to select a monitor if it is currently in use.
--Only monitors that are connected to a Connected PC that is registered to the practice location you are currently logged into are available for selection.
--If the device (monitor) is not available for selection, ensure that the computer that it is connected to is on, the IoT software is running, and the computer is registered as a Connected PC for your location.
--If the device status shows as Disconnected, ensure that it is powered on and physically connected to the Connected PC. -
Click Start to begin recording the patient's vitals. The Recording Status is displayed as Recording, and a Start Time is displayed. The time elapsed is also displayed under Total while the monitor is connected.
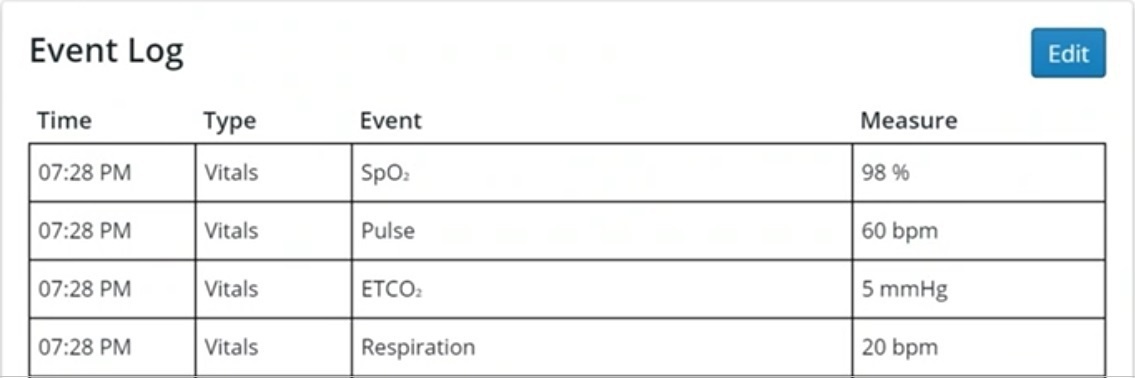
The Vitals information is pulled from the monitor and populates the Event Log at the start and then every five minutes after the initial reading. The vitals entries may include items such as blood pressure, SpO2, pulse, ETCO2, and respiration.
-
While recording, you can also navigate to other areas within the Anesthesia Record and perform actions such as entering drugs/gases used.
-
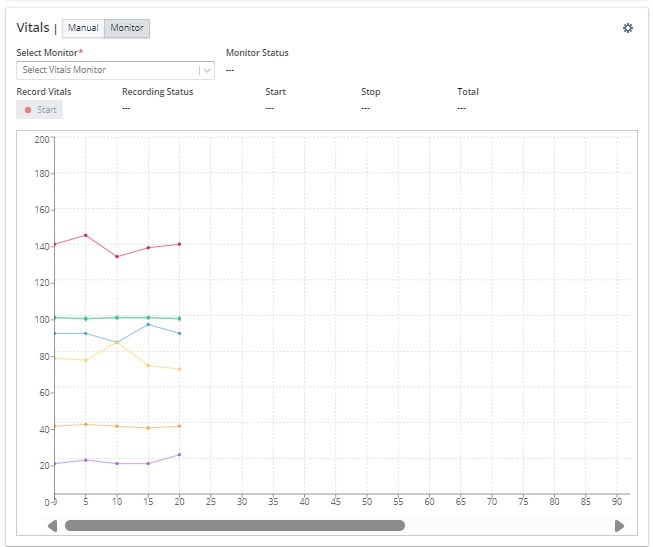
When you are finished recording the patient's vital signs, click Stop. The Recording Status changes to Not Recording, and the stop time is recorded. The associated data points for the collected vitals data are plotted on the graph once the vitals monitor recording is stopped.
-
Finish filling out the Anesthesia Record, and click Update Record. The information is saved.
Note: You can return to any of the previous tabs to edit or enter additional information as needed.
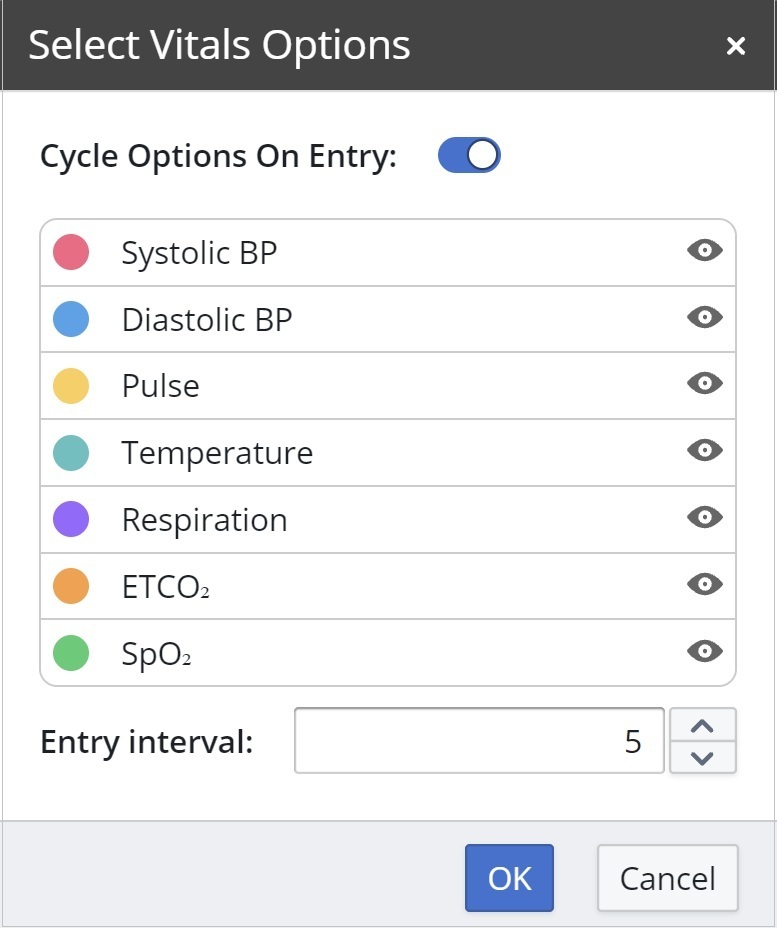
Adjusting Vitals Entry Color Settings
Sensei Cloud also allows you to change the colors of the points and lines on the graphical chart for each of the vitals in the Vitals Entry Settings.
To adjust the colors of the vitals:
-
Click the Settings (cog) icon. The Select Vitals Option window is displayed.
-
Click the colorful circle next to the vital. The color selection window is displayed.
-
Click on any color, enter the HEX code for the color, or enter the associated R, G, and B numbers.
-
Click Save The Select Vitals Option window is displayed.
-
Click OK.
Capturing an ECG Snapshot
You also have the ability to take ECG snapshots during surgery when you are recording vitals using a connected vitals monitor. ECG snapshots contain a brief readout of the sinus rhythm waveform.
To capture ECG snapshots, the device and ECG settings must be configured for the vitals monitor that you are using.
To capture an ECG snapshot during a vitals monitor recording:
-
From the Surgery Vitals tab of the Anesthesia Record, scroll to the Vitals section.
Note: To record details on the Surgery Vitals tab, you first have to click Time Out and review the patient details. -
Click Monitor to use a monitor to record vitals.
-
Select a monitor from the drop-down list.
-
Under Record Vitals, click Start. The monitor begins recording.
-
From the ECG section, click Capture Snapshot. A snapshot is captured and saved.
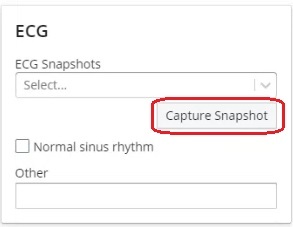
Note: You can capture multiple ECG snapshots during surgery. ECG snapshots can only be captured while the recording is in progress, and this option is grayed out when the recording is stopped.
The snapshots are saved and can be accessed from the ECG Snapshots drop-down list in the Surgery Vitals tab of the Anesthesia Record as well as in the Patient Files.
Using the EMR Clinical Interface
Using Clinical Notes Templates
Tracking Implants in the Clinical Chart (EMR)
Recording the Pre-Op Evaluation
Recording the Post-Op Evaluation
Understanding Sensei Cloud Medical Billing