Using the Patient Browser and Dashboard
Patient Browser and Dashboard Workflow
|
1 |
|
On your computer desktop, double-click on the shortcut icon for the software. The Patient Browser is displayed. You are using CS Imaging in standalone mode. You can also open the software from the Windows Start menu. |
|
2 |
|
The Sign in icon allows you to log in and access your account. |
|
3 |
|
These icons allow you to access What's New, Preferences,
Note: You can select the language for the help in the General Preferences.
|
|
4 |
|
Use the Patient Search box to find a patient in the Patient List. This option only applies to those using the software in standalone mode. See Searching for a Patient in the Patient List. |
|
5 |
|
Click to create or edit a Patient Card. See: These options only apply to those using the software in standalone mode. |
|
6 |
|
Click to acquire new objects (images, 3D volumes etc, according to the connected acquisition devices). See Acquiring an Image Using the Acquisition Toolbar.
|
|
7 |
|
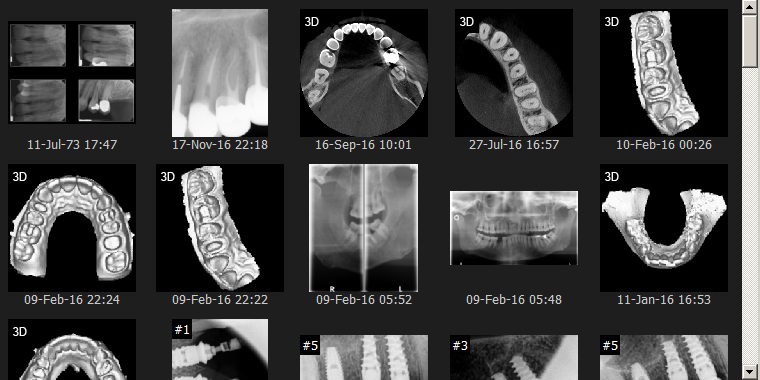
Review image thumbnails in the Patient History. See Viewing Images and Other Objects in the Patient History. You can double-click on a thumbnail to open the image in the Image Viewing Workspace. |
|
8 |
|
Click to import or export objects. See Importing and Exporting Images. |
|
9 |
|
Click to open the Image Viewing Workspace. You can also open the Image Viewing Workspace by double-clicking on an image thumbnail or a patient name. |
Icons Available in the Patient Browser and Dashboard
Overlays Available in Patient Browser and Dashboard
Using CS Imaging when the DPMS is Unavailable
Working with Patient Data in Standalone Mode
Viewing an Image in the Image Viewing Workspace
Viewing Images and Other Objects in the Patient History
