Using the Patient Browser and Dashboard
Adding a Comment to an Image
To add a comment to an image, follow these steps:
-
In the Patient History toolbar, click
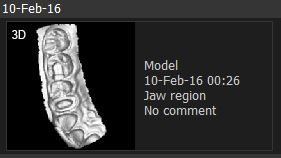
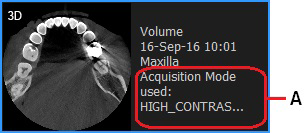
 to select the detail view. Existing comments are displayed alongside the image thumbnail.

-
Click on an image thumbnail to select it. A blue frame is displayed around the thumbnail.

-
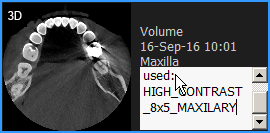
On the selected thumbnail, click on the comment (A). A small text editor field is displayed.

-
In the text field, enter and edit comments as necessary.
-
Click away from the text field to save your comment.
|
|
Note: Only the first three lines of the comment can be displayed in the Patient History. To see all of the text, click on the comment section, or hover the mouse pointer over the image to display all of the text in a tooltip.
|
Using the Patient Browser and Dashboard
Icons Available in the Patient Browser and Dashboard
Overlays Available in Patient Browser and Dashboard
Using CS Imaging when the DPMS is Unavailable
Working with Patient Data in Standalone Mode
Viewing an Image in the Image Viewing Workspace
Viewing Images and Other Objects in the Patient History

