Assigning an IP Addresses to RVG Connect Unit Using RVG Service Tools without Bonjour
 |
IMPORTANT: This procedure assumes that you chose Manual mode when you installed the RVG Connect driver. |
To manually assign an IP address to the RVG Connect unit using the RVG Service Tools, follow these steps:
- Verify that the RVG Connect unit has the default IP address 192.168.17.3.
This is the factory default. If this is not the case, see Manually Assigning Static IP Address.
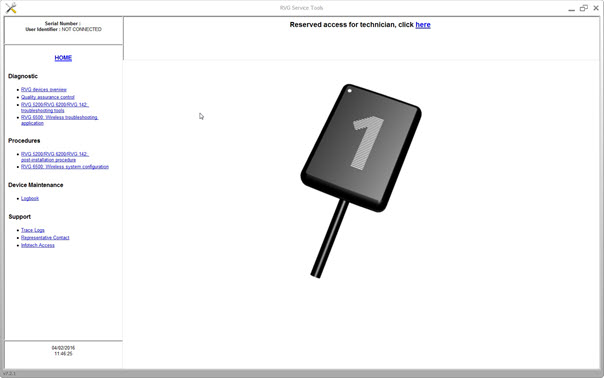
- Click
 on your desktop to start the RVG Service Tools.
 - Select RVG Sensors.
The Service Tools home page is displayed.
- Click RVG Connect: Network Configuration under Procedures.
- Click Configure.
- The first page explains how to configure the network of the workstation using Microsoft Windows tools.
- The second page explains the hardware connections and how to put the RVG Connect unit into IP static mode.
- The third page allows you to assign a specific IP address to the RVG Connect unit.
- Follow the instructions on screen.
Checking Dynamic Attribution of IP Address
Assigning Default Static IP Address with Automatic Device Detection