Scheduler Views
The default daybook is the normal view of the Scheduler, but you can also display the Scheduler in three different views:
-
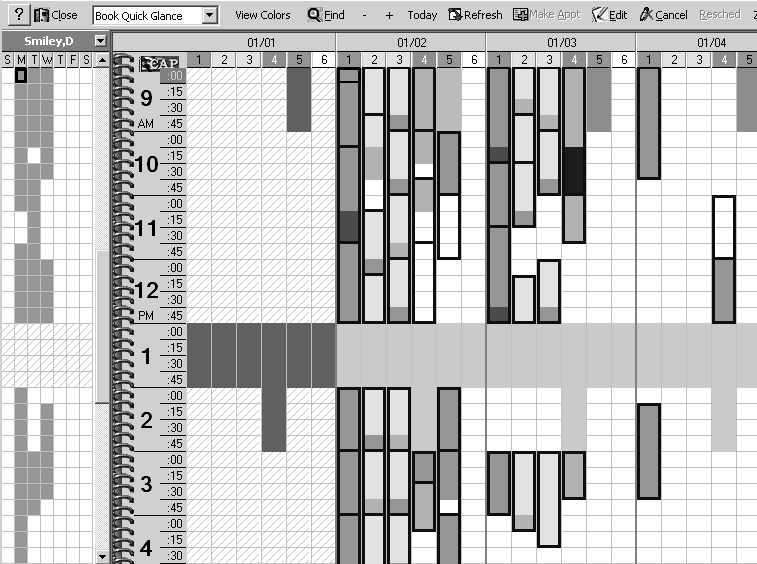
Book Quick Glance
-
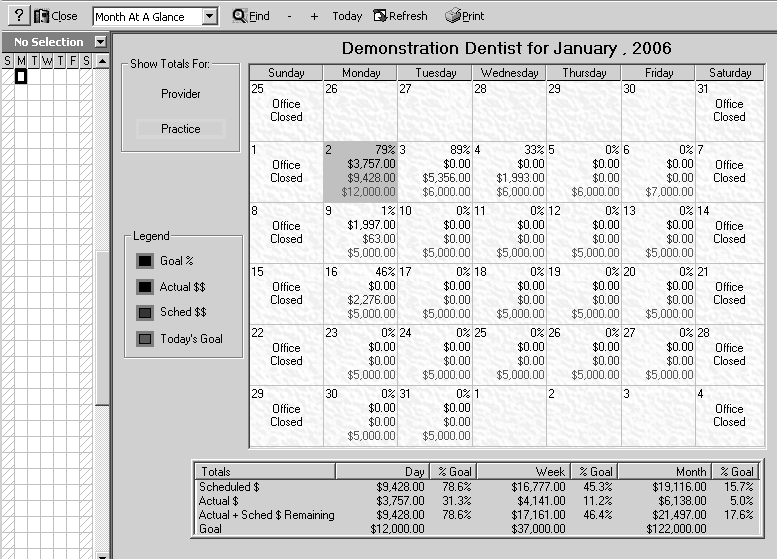
Month at a Glance
-
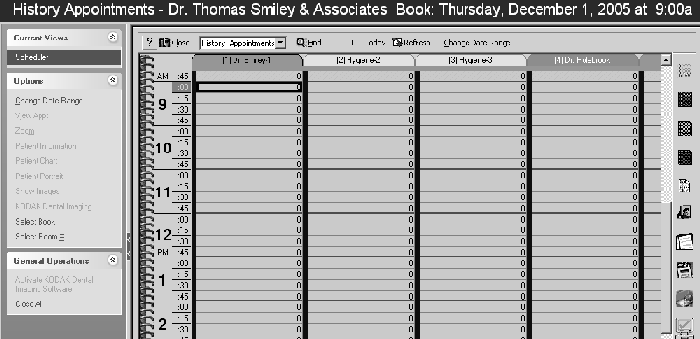
History Appointments
Book Quick Glance
The Book Quick Glance window provides one week of appointment information, summarizing room use and provider assignments. Click the drop-down list on the Scheduler toolbar to select the Book Quick Glance view.

Note: You can right-click on a time slot to customize the date format in the Book Quick Glance window.
Month at a Glance
The Month at a Glance view summarizes goals and production totals for the practice or for a specific provider. Click the drop-down list on the Scheduler toolbar and select Month at a Glance view. Only a user with the appropriate security clearance can display this view.

History Appointments
Run the Missed Appointments report to see history appointments. If you cannot see the history appointments, select System > Change System Settings > Scheduler and make sure that Save appointment(s) to history when transaction is posted is selected.
To open the history appointments view:
-
Click the drop-down list on the Scheduler toolbar, and select History Appointments. The History Appointments Date Range window is displayed.
-
Enter a start date and end date. The start date must be in the past. Click OK. The History Appointments window is displayed.

The History Appointments window looks like the daybook, with one date displaying in a window. You can navigate through the date range you selected in the same way you navigate through the daybook.