Installing CS Orthodontic Imaging Software > Performing a New Installation
Installing CS Orthodontic Imaging on the Image Server
|
|
Note: If upgrading an installation, see Performing an Upgrade. |

To install the software for the first time:
-
Install the software on the image server.
-
Register the software on the image server.
-
Install the software on each workstation.
|
|
Note: When you install the software on the Microsoft Windows 10 or Microsoft Windows 11 operating system, one or more security alerts are displayed. Click Allow. |
|
|
Important: If your office has upgraded to a Standard or Enterprise version of SQL, or uses a version of SQL that is not officially supported, you must migrate your data to SQL Server 2014 manually. Consult your technician for further information. |

|
|
Important: You must install CS Orthodontic Imaging, 11.8 or higher, before installing SQL Server 2014. |
To install the software on your image server:
-
Exit any applications running on the computer.
-
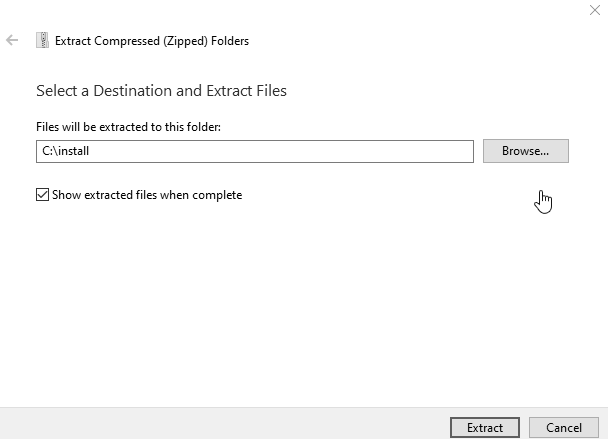
Create a folder on the C: drive to which to extract the software files.
|
|
Important: Use a short name for the file; for example, C:\Install. |
-
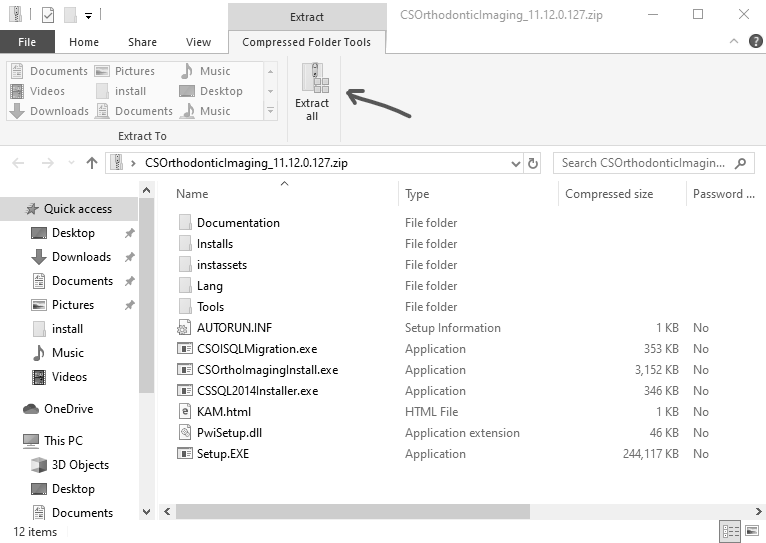
Double-click the zip file that you have downloaded. The CS Orthodontic Imaging Extract window is displayed.
|
|
Important: To see the Extract all option on the toolbar, make sure the Compressed Folder Tools options are selected. |
-
Click Extract all. The Extract Compressed (Zipped) Folders window is displayed.
-
Click Browse, navigate to the folder you created, and click Extract.
-
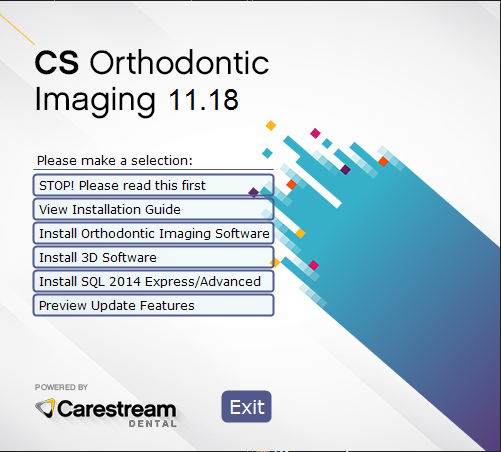
When the files are extracted, double-click the CSOImagingInstall.exe file. The CS Orthodontic Imaging Install Menu is displayed.
-
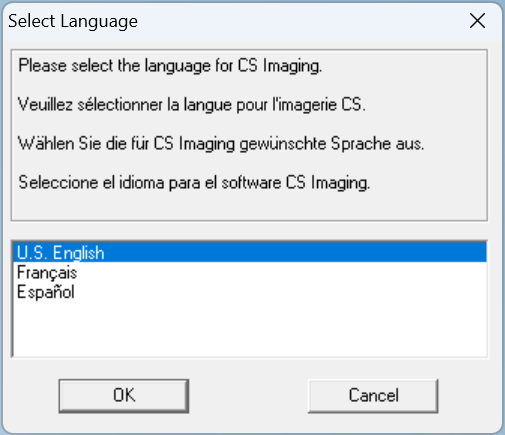
Select Install Orthodontic Imaging Software. The Select Language window is displayed.
-
Select a language and click OK. If you are installing the software for the first time, the Installation Type window is displayed, asking if this computer is an image server or a workstation.
-
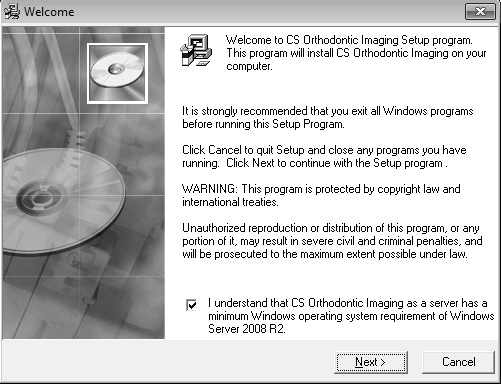
Select Image Server, and click OK. The Welcome window is displayed.
-
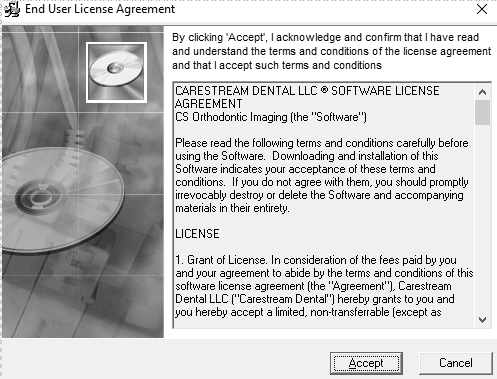
Verify that all programs are closed and click Next. The End User License Agreement window is displayed.
-
Click Accept. The Choose Destination Location window is displayed.
|
|
Note: The default folder location is based on your system configuration and should not be changed. |
-
Click Next. The Getting Ready for CS Orthodontic Imaging Software 11.18 window is displayed.
-
Click Next. The Start Installation window is displayed.
-
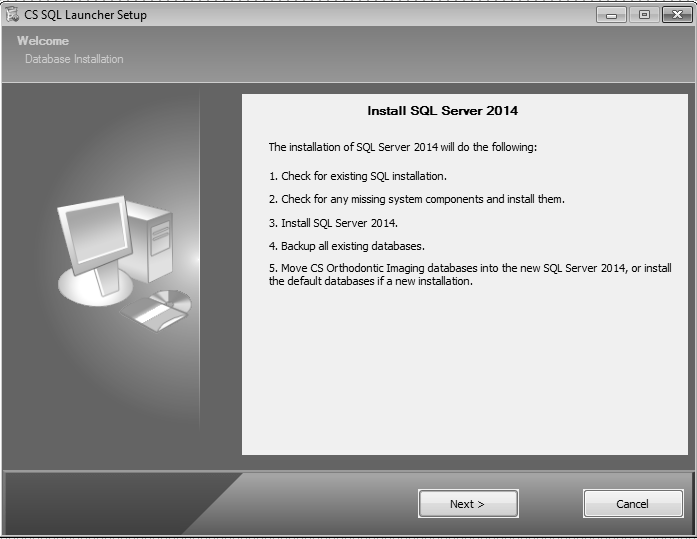
Click Next. The CS SQL Launcher Setup window is displayed.
-
Click Next. The CSSQL2014 Setup: Copying Files window is displayed.
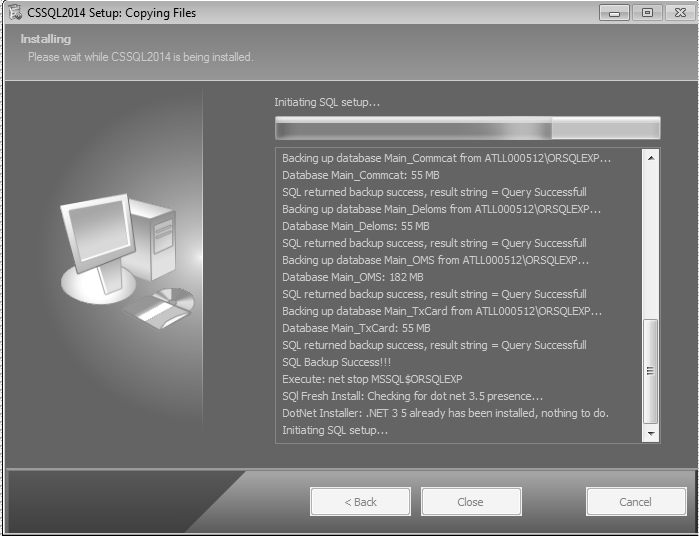
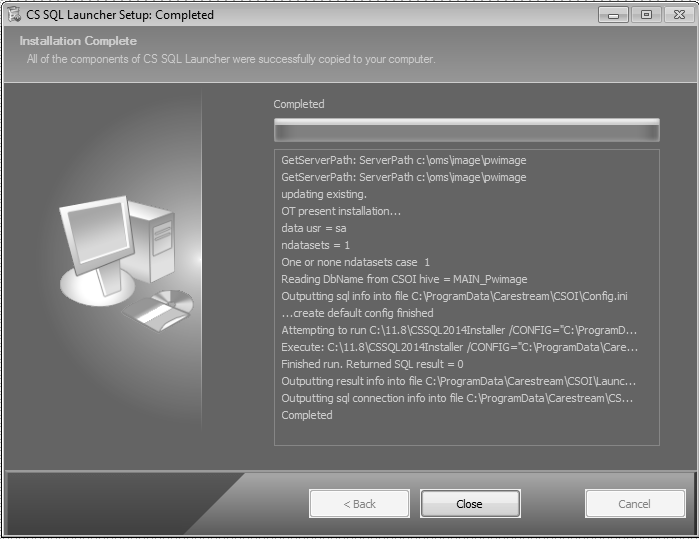
When the SQL installation is finished, the CS SQL Launcher Setup: Completed window is displayed.
-
Click Close. The CS Orthodontic Imaging installation continues.
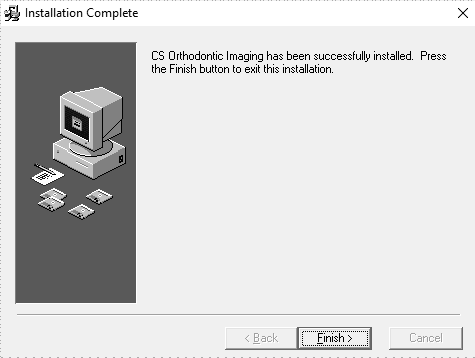
When the installation is finished, the Installation Complete window is displayed.
-
Click Finish. The CS Orthodontic Imaging install menu is displayed.
|
|
Note: When you run the software for the first time, you are prompted to install the license file. |
To register your software, see Registering a New Software Installation.
Installing SQL 2014 on the Server
Registering a New Software Installation
Installing CS Orthodontic Imaging on a Workstation