Installing CS Orthodontic Imaging Software > Performing a New Installation
Installing SQL 2014 on the Server
|
|
Important: If your office has upgraded to a Standard or Enterprise version of SQL, or uses a version of SQL that is not officially supported, you must migrate your data to SQL Server 2014 manually. Consult your technician for further information. |

To install SQL 2014 on the Server:
-
Exit any applications running on the computer.
-
Unzip the files and launch the installation menu. See Installing CS Orthodontic Imaging on the Image Server.
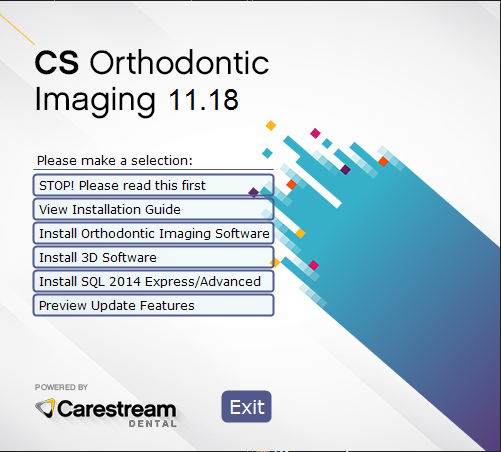
The CS Orthodontic Imaging Install Menu is displayed.
|
|
Important: You must install CS Orthodontic Imaging, 11.8 or higher, before installing SQL Server 2014. |
-
Select Install SQL 2014 Express/Advanced. The CS SQL Launcher Setup window is displayed.
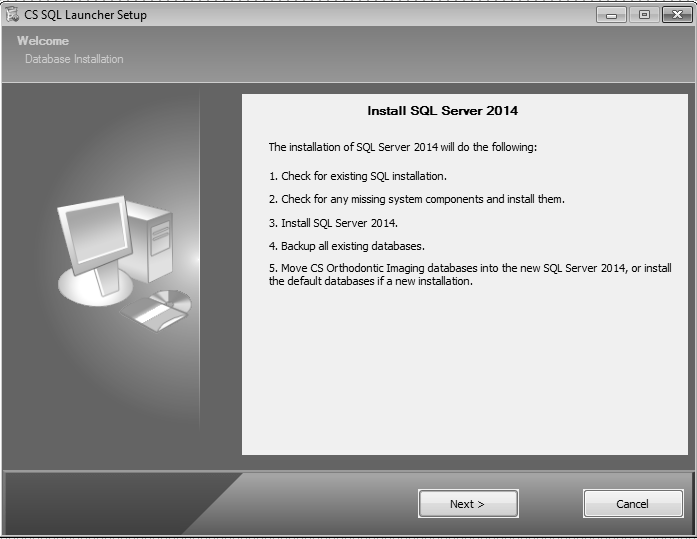
-
Click Next. A message informs you that you must perform the migration on the server machine, and that all workstations should be updated to CS Orthodontic Imaging, 11.8 or higher, before migrating to SQL Server 2014.
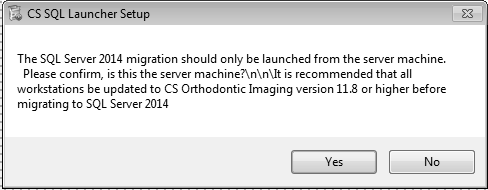
-
Click Yes. The CSSQL2014 Setup: Copying Files window is displayed.
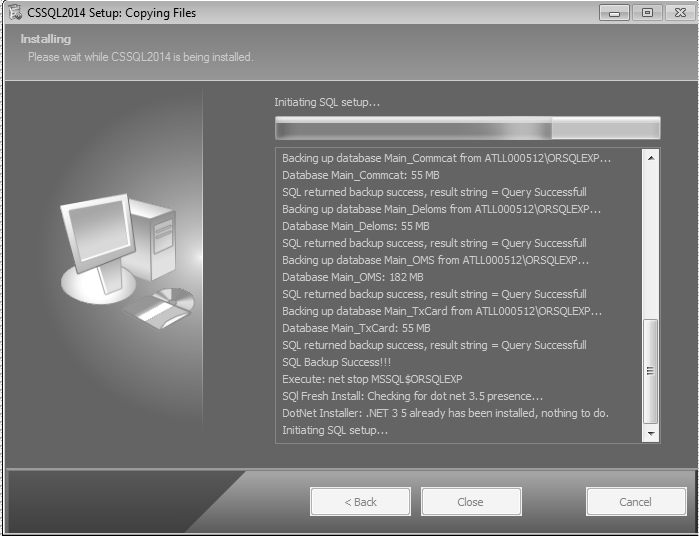
When the process completes, the SQL Server 2014 Setup: Install Setup Files window is displayed.
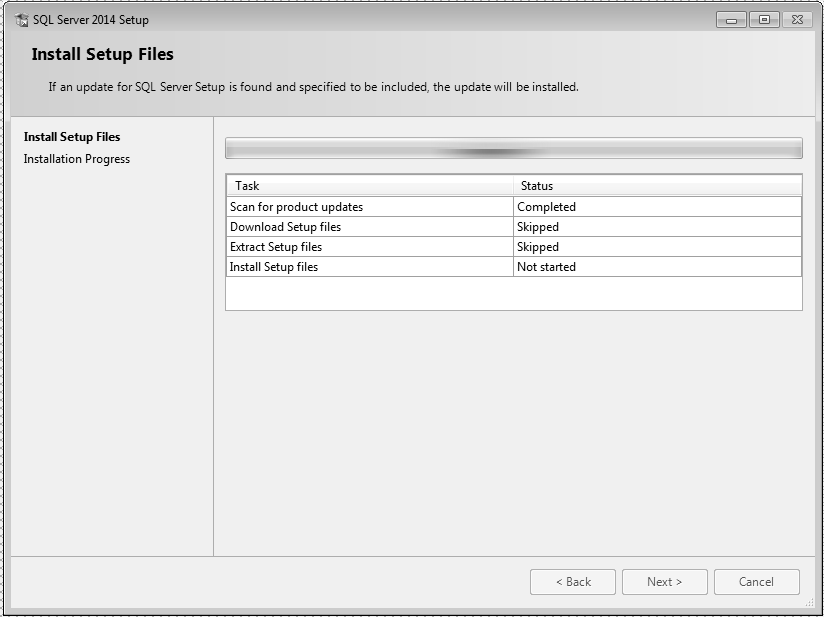
-
Click Next. The SQL Server 2014 Setup: Installation Progress window is displayed.
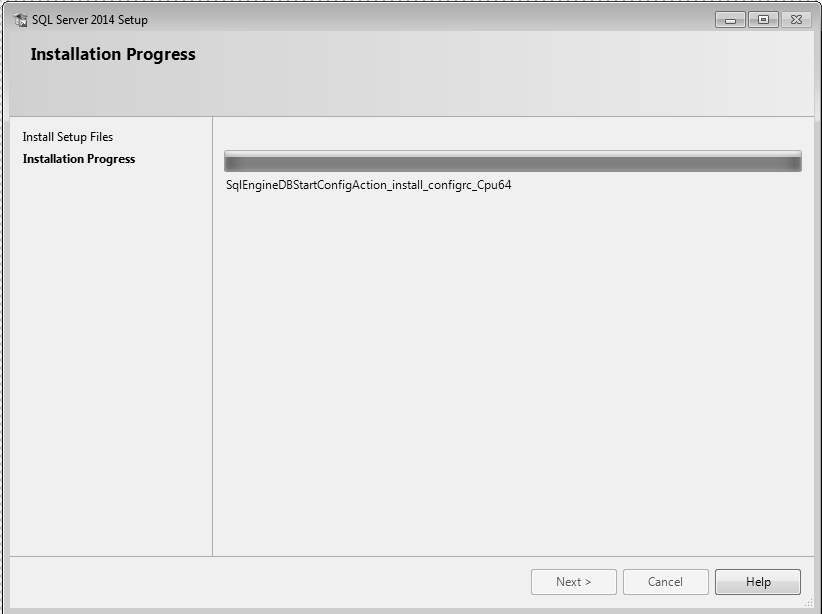
-
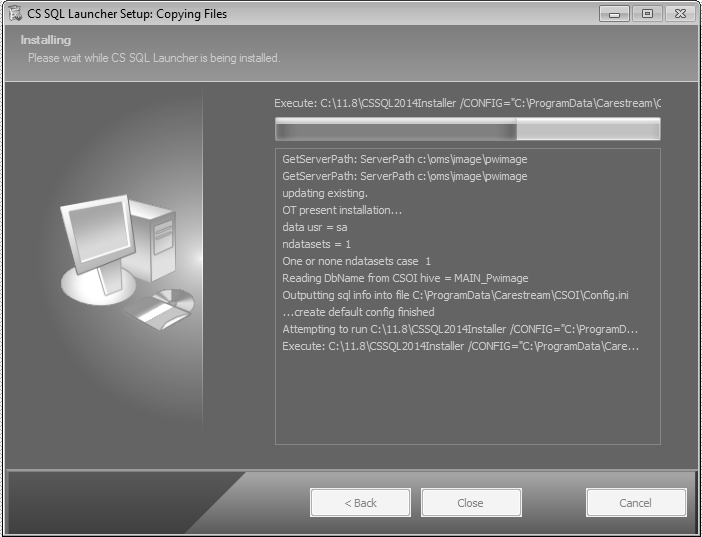
Click Next. The CS SQL Launcher Setup: Copying Files window is displayed.
|
|
Note: OrthoTrac offices with multiple locations might see this notice: Multiple location image databases have been added to your OrthoTrac settings. Please review the additional settings for each location to ensure that the server and image paths are set up correctly. Please call Carestream Dental support if you need additional assistance. |

When the installation is finished, the CS SQL Launcher Setup: Completed window is displayed.
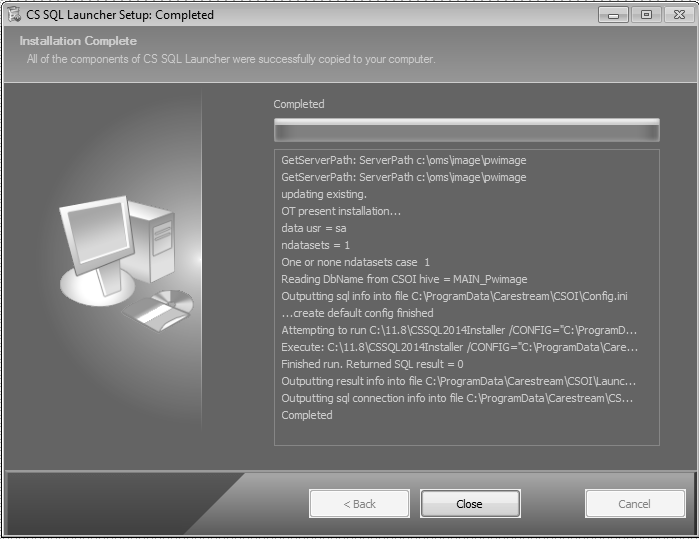
-
Click Close.
Installing CS Orthodontic Imaging on the Image Server
Registering a New Software Installation
Installing CS Orthodontic Imaging on a Workstation