Installing CS Orthodontic Imaging Software > Performing a New Installation
Installing CS Orthodontic Imaging on a Workstation
To install the software on a workstation:
-
Exit any applications running on the computer.
-
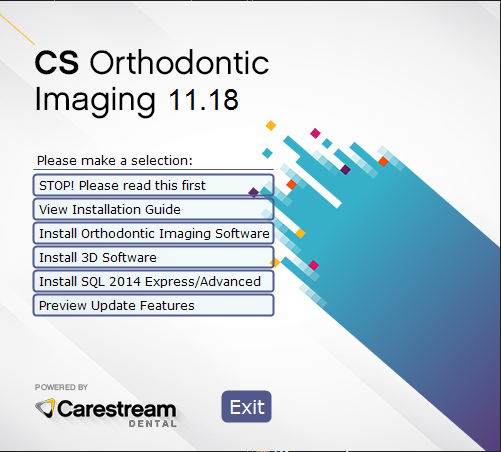
Unzip the files and launch the installation menu. See Installing CS Orthodontic Imaging on the Image Server. The CS Orthodontic Imaging Install Menu is displayed.
-
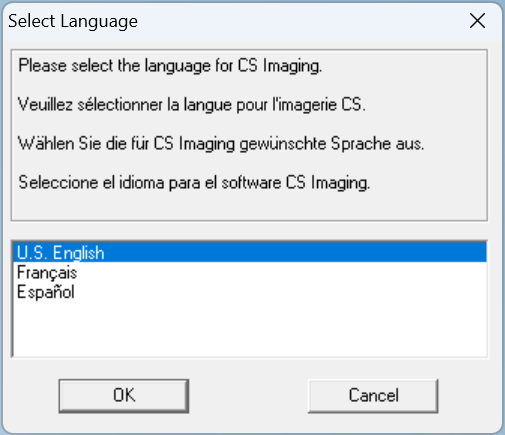
Click Install Orthodontic Imaging Software. The Select Language window is displayed.
-
Select a language and click OK. If you are installing the software for the first time, the Installation Type window is displayed, asking if this computer is an image server or a workstation.
-
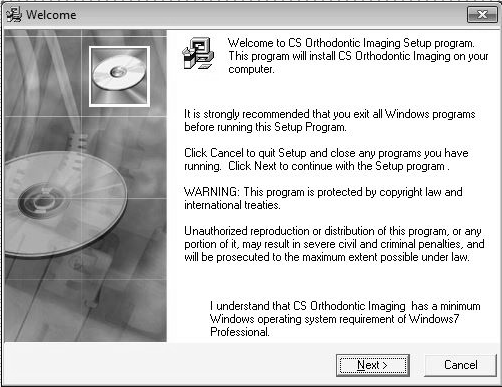
Select Workstation and click OK. The Welcome window is displayed.
-
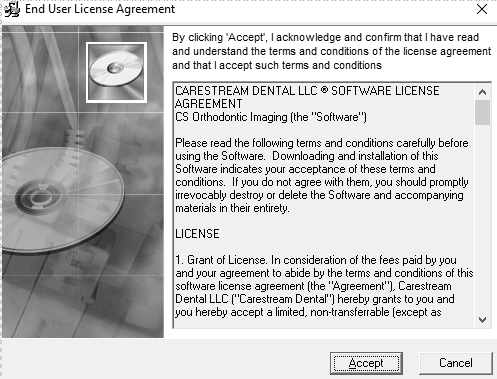
Verify that all programs are closed, and click Next. The End User License Agreement window is displayed.
-
Click Accept. The Choose Destination Location window is displayed.
-
Click Next. The Getting Ready for CS Orthodontic Imaging Software 11.18 window is displayed.
-
Click Next. The installation continues.
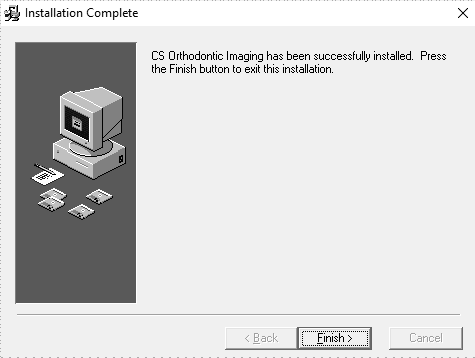
When the installation is finished, the Installation Complete window is displayed.
-
Click Finish.
-
Repeat these steps to install the software on each workstation in your network.
Installing CS Orthodontic Imaging on the Image Server
Installing SQL 2014 on the Server
Registering a New Software Installation