Configuring CS DICOM on CS Imaging Client
After CS Imaging 8 is installed, DICOM has been activated, and the Server is configured, follow the steps below to configure all CS Imaging 8 workstations as DICOM Client.

- Select the source from the Query Source list from the bottom left of the patient list.
- Select a PACS to query/retrieve images from PACS.
- Select a RIS to query for worklist or “Local Repository” if you want to work only with local images.
- You can select 0-1 PACS and/or 0-1 RIS at a time.
![]()
- In Preferences --> 3D tab, check the box Convert X-ray 3D to SC Images when the remote DICOM Server does not support X-ray 3D Craniofacial SOP Class (for example, cross sections).
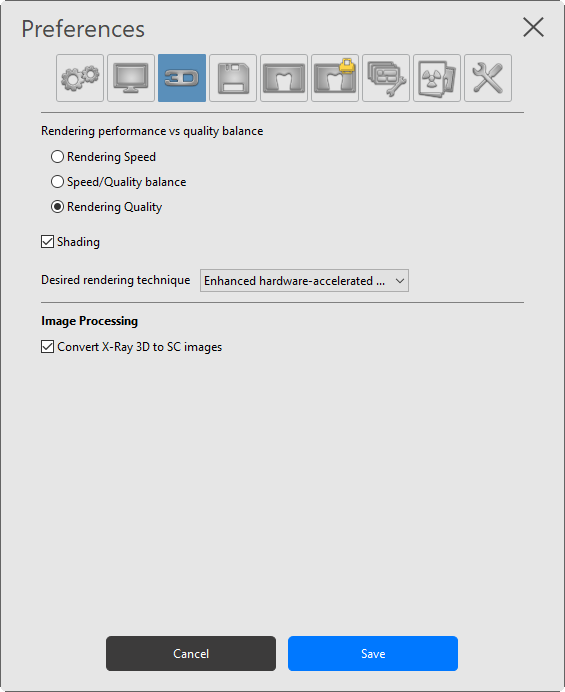
- Click Save. Your client configuration is complete.
Remote DICOM Server Configuration