Using Recalls

To enter a recall for a patient:

  1. Click the Patients icon on the toolbar. The Patient Search window is displayed.

  2. Find the patient for whom you want to enter a recall. The Patient window is displayed.

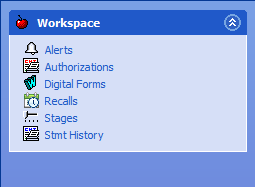
  3. In the Workspace window, click the Additional Features button .  A menu is displayed.

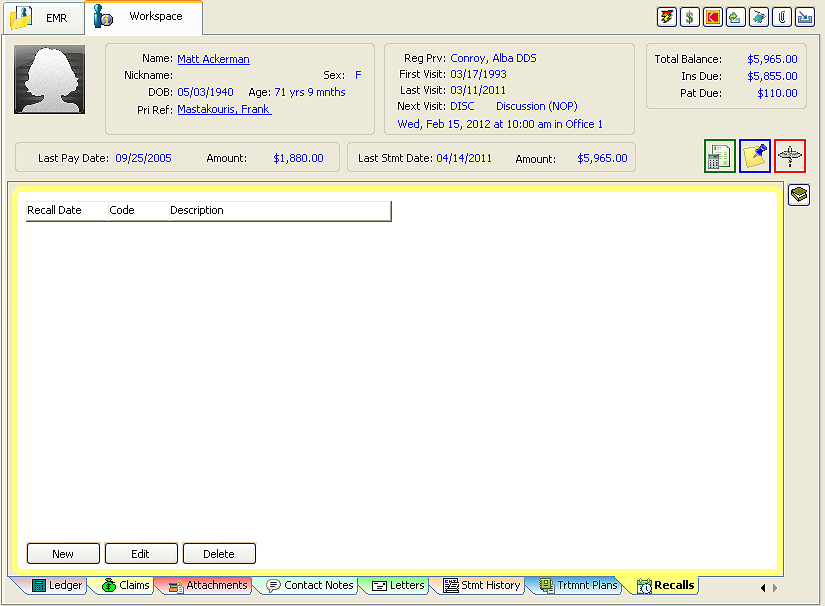
  1. Select Recalls. The Recalls window is displayed.

  1. Click New. The Add Recall window is displayed.

  1. In the Code field, type a recall code, or click the button to the right of the field and select a code from the list.

  2. Click Ok and Exit.

Changing Recalls

To change a recall:

  1. Select a patient in the Patient window.

  2. In the Workspace window, click Recalls. The Recalls window is displayed.

  3. Select the record you want to change.

  4. Click Edit. The Update Recall window is displayed.

  5. Change the information.

  6. Click Ok and Exit.

Deleting Recalls

To delete a recall:

  1. Select a patient in the Patient window.

  2. In the Workspace window, select Recalls. The Recalls window is displayed.

  3. Select the record you want to delete.

  4. Click Delete. A confirmation message is displayed.

  5. Click Yes and Exit.

Printing Recall Reports

To print a recall report:

  1. Select Reports > Patient > Recall. The Patient Recall Report window is displayed.

  2. In the Last Name fields, enter a range of last names.

  3. From the drop-down list in the Recall Code field, select a code.

  4. From the drop-down list in the Patient Office field, select the office.

  5. From the drop-down list in the Patient Provider field, select the provider.

  6. Select whether to generate the report based on recall days or days overdue.

  7. Click Print. The Print Patient Recall Report window is displayed.

  8. Change the settings, if necessary, and click Print.


Related Topics

Navigating the Scheduler

Setting Up the Appointment Scheduler

Scheduling Appointments

Confirming Appointments

Skill Sharpeners