If a patient has been selected when you initiate the scheduling process, the appointment is scheduled for that patient. If there is no current patient and you begin to schedule an appointment, a Search window is displayed prompting you to select an existing patient or enter a new name.
To find an available time slot:
Select Scheduler > Open Scheduler. The Appointment Scheduler window is displayed.
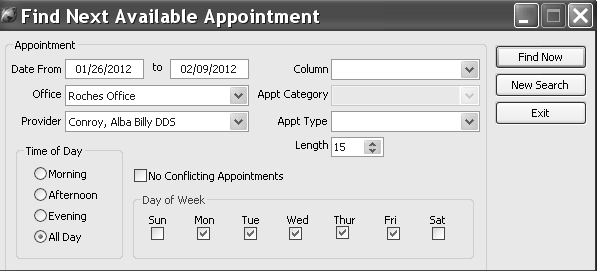
Click Next Avail. The Find Next Available Appointment window is displayed.
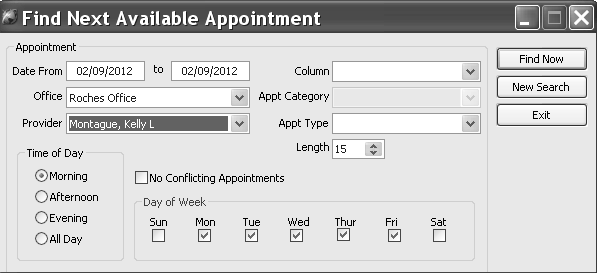
Select the criteria, and click Find Now. The Find Next Available Appointment window is displayed. Search results are displayed in the lower section of the window.
Do one of the following:
Double-click the acceptable time slot.
Select the slot, and click Schedule.
Click View to open the schedule for that day.
Note: As you move through the Scheduler, a time bar indicates the current time.
To schedule an appointment for an existing patient:
Select Scheduler > Open Scheduler. The Appointment Scheduler window is displayed.
Select the date on which you want to schedule an appointment.
Use the Search field to select the patient you want.
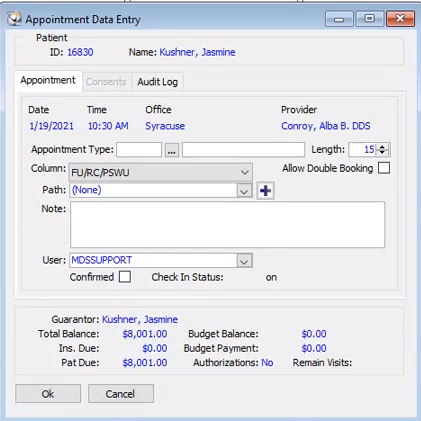
Right-click the time slot for the appointment, and click Add Appt. The Appointment Data Entry window is displayed.
Click the ellipsis next to Appointment Type. The Appointment Type window is displayed.
Enter information in the fields and click Ok. The appointment is displayed on the Scheduler.
To schedule an appointment for a new patient:
Select Scheduler > Open Scheduler. The Appointment Scheduler window is displayed.
Select the date on which you want to schedule an appointment.
Double-click the time of the appointment. The Patient and Walk-In Search window is displayed.
Click New. The Walkin Setup window is displayed.
Enter the patient’s information in the fields.
Under Insurance Policies, click New. The Policy Entry window is displayed.
Enter the patient’s insurance information.
Click Ok until you return to the Appointment Scheduler window.
Lockout appointments are times dedicated to meetings, lunch, and so forth, when patient appointments should not be scheduled. Lockout appointments can be regularly scheduled or one-time events.
To schedule a lockout:
Select Scheduler > Open Scheduler. The Appointment Scheduler window is displayed.
Select the date on which you want to schedule the lockout.
In the suitable time slot, right-click and select Add Lockout from the menu. The Lockout Scheduling window is displayed.
In the Appointment List field, select the type of lockout.
Enter the date range and duration of the lockout.
Enter a note, if necessary.
If the lockout is for all providers, select Schedule lockout for all provider’s columns.
Click Ok.
To reschedule an appointment:
Click the Scheduler button on the toolbar. The Appointment Scheduler window is displayed.
Right-click the appointment you want to move and select Cut.
Right-click the new time slot and select Paste. The Appointment Data Entry window is displayed.
Click Ok.