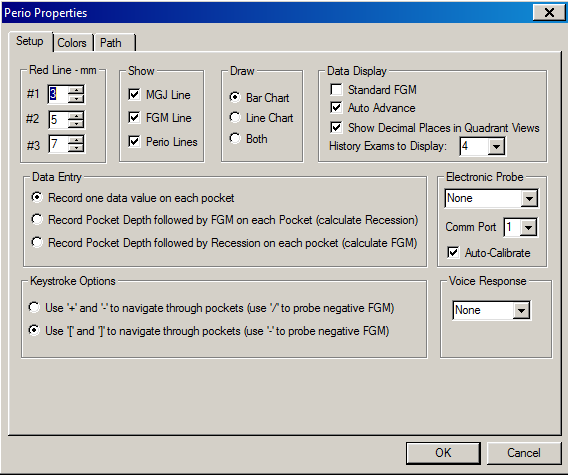
With Auto Advance, the default charting path is used.
To use Auto Advance:
In the Chart for window, select Perio > Options. The Perio Properties window is displayed.

In the Data Display section, select the Auto Advance option.
When charting by arch, the default Auto Advance path begins with the distal facial surface of #1 and continues on the facial to the distal facial surface of #16, then moves to the distal lingual of #16 and continues on the lingual to the distal lingual of #1, then moves to the distal lingual of #17 and continues on the lingual to the distal lingual of #32.
When charting by quadrant, the default Auto Advance begins at the facial surface of tooth #1 and continues on the facial to the mesial facial of tooth #8, then goes to the mesial lingual of tooth #8, and continues on the lingual to tooth #1, then goes to the distal facial of tooth #16 and continues on the facial to the mesial facial of tooth #9, then moves to the mesial lingual of tooth #9 and continues on the lingual to the distal lingual of tooth #16. Then it drops down to the distal facial of tooth #17 and continues on the facial to the mesial facial of tooth #24, then to the mesial lingual of tooth #24 and continues on the lingual to the distal lingual of tooth #17, then moves to the distal facial of tooth #32 and continues on the facial to the mesial facial of tooth #25 and continues on the lingual to the distal lingual of tooth #32.
Click OK.
When using Auto Advance for periodontal charting, the advance feature is temporarily paused when you move to another pocket. This feature is enabled only when you use a probe to chart pocket depth. To return to the pocket and tooth in the normal auto sequence, click Resume Perio on the Probe toolbar.
Creating Custom Charting Paths