Adding Patients to Accounts
Every patient must be assigned to an account, and an account must exist before a patient can be added to the system. An account can have as many as ninety-nine patients.
A patient can be added to a new account or to an existing account. A child might have a first dental appointment with your practice. If the child’s parents are already patients, the child is added to their account. One of the parents will be Guarantor 1; the other parent could be Guarantor 2.
To add a patient to a new account, make an appointment for the patient. The software automatically creates an account. The account is not activated until the patient arrives for the initial appointment.
After the initial appointment is made, but before it occurs, view the account by selecting Lists > Account and double-clicking the name of the patient. The New Account window is displayed. When you click Close, the Activate Account prompt is displayed.
Activate the account when the patient arrives for the initial appointment.
Adding Patients to New Accounts
To add a patient to a new account:
-
In the Patient window, click the Info tab to enter personal information, medical alerts, and referral information.
-
Click the Insur. tab to enter information about the patient’s dental and medical insurance.
-
Click the Recall tab to enter patient recall information and patient preferences concerning appointments.
-
Click the Dates tab to enter important date information.
-
Click the Codes tab to enter default diagnosis codes and category codes for the patient.
-
Click the Notes tab to enter notes for the patient.
-
Click the Contact tab to enter information about contacting the patient—cell phone, fax, beeper, and email addresses.
-
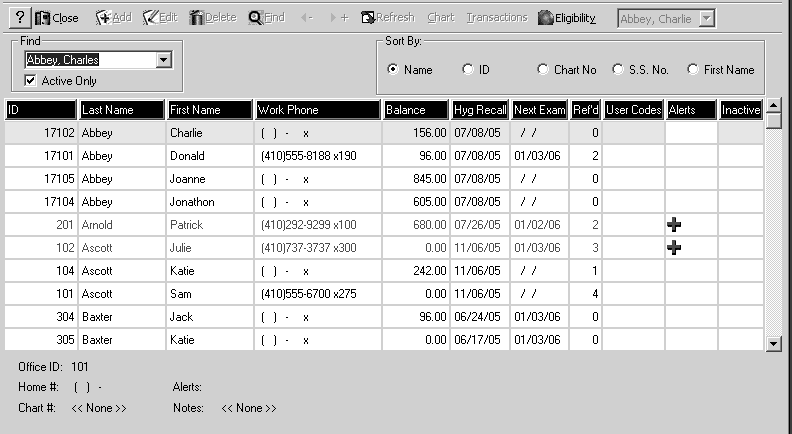
Click OK and click Close. The new patient is displayed in the Patient List window.
Adding Patients to Existing Accounts
To add patients to an existing account:
-
Select List > Account. The Account List window is displayed.
-
Select the account to which you want to add a patient.
-
Select Patients on the Options section of the Express bar. The Patient window for that account is displayed. All the patients that have been added to the account are listed.
-
Click Add on the toolbar. The Patient window is displayed, with the same data as Guarantor 1.
-
If the patient is different than the guarantor, change the data appropriately.
-
Click the Info tab to enter personal information, medical alerts, and referral information.
-
Click the Insur. tab to enter information about the patient’s dental and medical insurance.
-
Click the Recall tab to enter patient recall information and patient preferences concerning appointments.
-
Click the Dates tab to enter important date information.
-
Click the Codes tab to enter default diagnosis codes and category codes for the patient.
-
Click the Notes tab to enter notes for the patient.
-
Click the Contact tab to enter information about contacting the patient—cell phone, fax, beeper, and email addresses.
-
Click OK and click Close. The new patient is displayed in the Patient List window.
