Click the Phone Inquiry ![]() button. The Select person on the phone window is displayed.
button. The Select person on the phone window is displayed.
When a new patient contacts you, make sure that the patient is not already in the system. Although the person may not be a patient, he or she might be a responsible party or a dependent of another patient who is in the system.
To make a first appointment:
Click the Phone Inquiry ![]() button. The Select person on the phone window is displayed.
button. The Select person on the phone window is displayed.
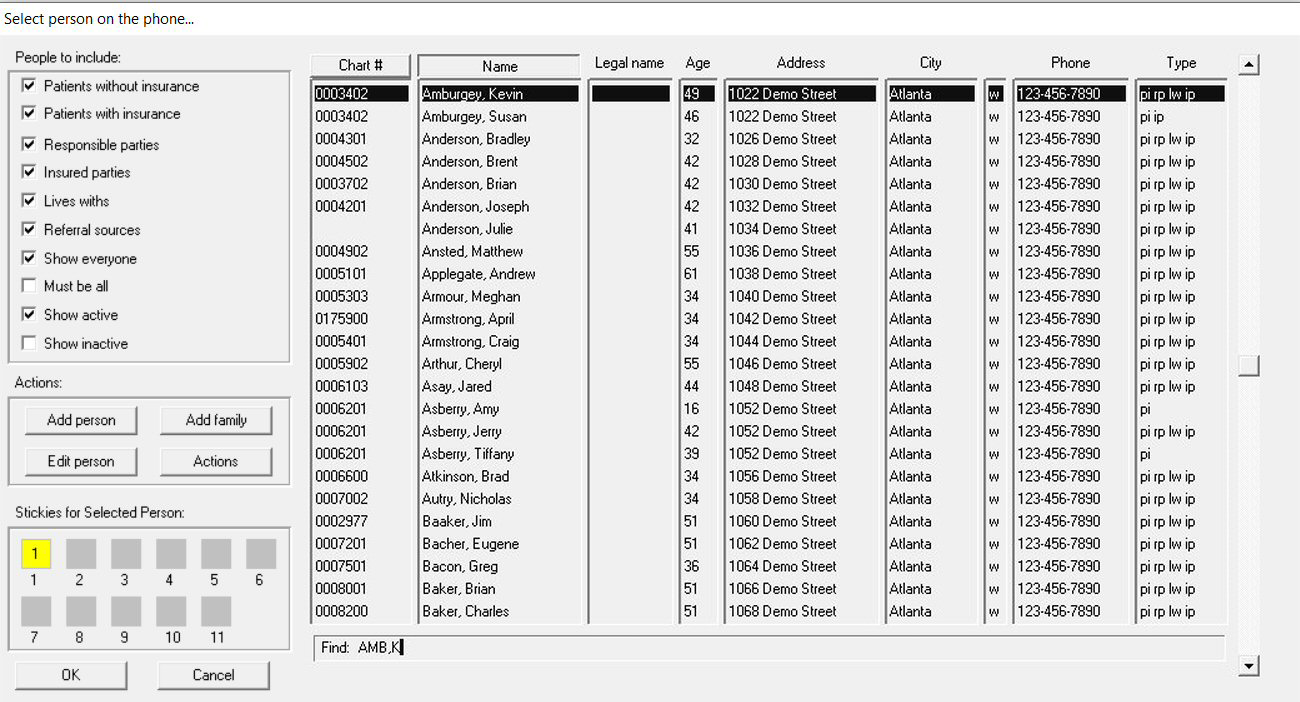
After you have verified that the new patient is not already in the system, click Add. The Add New Person window is displayed.

Since this person is a patient, click Yes. A blank clipboard is displayed.
Enter any necessary data, and click OK. The Clipboard Marked Incomplete window is displayed.
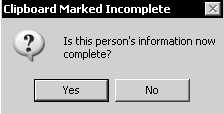
Tip: When you enter data on the clipboard, remember to enter the date of birth in MMDDYYYY format
Click Yes, and the Select person on the phone window is displayed again. The patient you just added is selected.
Click OK. The Phone Inquiry window is displayed.
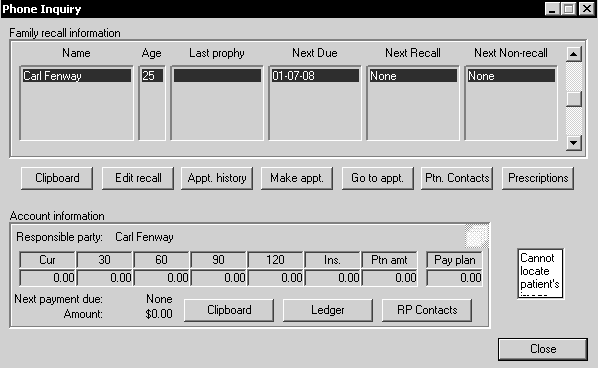
Click Make appt. The Make New Appointment window is displayed.
Type NPA (new patient adult) in the Description field in the Appointment Information section.
Click Find. The Appointment Expert window is displayed.
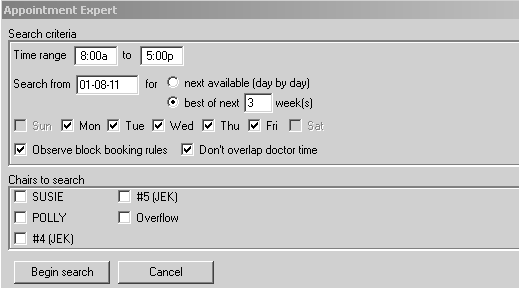
Change the appointment criteria to meet the patient’s needs, and click Begin search. When the software finds the earliest time that meets the criteria, the Appointment Expert Results window is displayed.
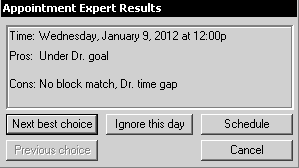
The tentative appointment is displayed in yellow.
If the date and time is satisfactory, click Schedule. The appointment changes to white, indicating that the appointment is not yet confirmed.
Appointments Made During Checkout
Rescheduling and Cancelling Appointments
Sooner if Possible Appointments