Using the MPR Tab
The MPR workspace tab provides the same 2D MPR views and you can also tilt slice planes to any angle to align with anatomic planes (for example a tooth root, a bone ridge or an implant) and reset to pure orthogonal angles.
|
|
Note: Slice planes can be reset to pure angles. |
Using the Horizontal Toolbar in MPR
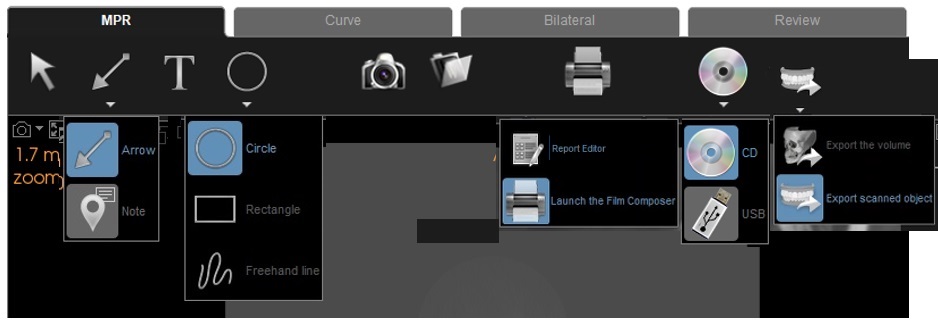
Create annotations, shapes, screenshots, reports, and export functions within MPR (as well as Curve and Bilateral).

|
Tool |
Description |
|
Select Mode |
Use this tool to select an object (line, polyline, angle, or trace) for editing.
|
|
|
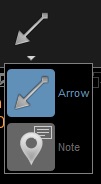
Arrow - Place the arrow within the image and drag the arrow to the destination to show a origin and destination path.
|
|
Text mode |
Add text notes to imagery. |
|
|
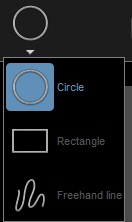
Circle - Define a circumference within imagery.
|
|
Workspace Screenshots |
You can use the Workspace Screenshot tool to create a workspace tab screenshot to add the Gallery. Note: You cannot use this tool to create a DICOM image. Available in the following workspace tabs: MPR, Curve, Bilateral, MPR See “Creating a Workspace Screenshot”. |
|
Screenshot Directory |
You can use this tool to access the folder (directory) on your computer containing images in current view screens, or that you have created using the DICOM Snapshot or Workspace Screenshots tools. Image files are saved to folder as specified in the Export preferences. Available in the following workspace tabs: MPR, Curve, Bilateral See “Opening the Screenshot Folder”. |
|
|
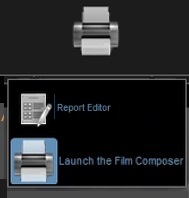
Report Editor- Generate a faster, simpler report by opening a template, dropping your images in and adding text options and then print. Launching Film Composer - Use this software application for all printing requirements. |
|
CD Export and USB Export |
You can use CD Export to burn a copy of the 3D volume to a CD. Available in the following workspace tabs: MPR, Curve, Bilateral, MPR See "Exporting to a Compact Disc". See "Exporting to a USB Key". |
|
Export Scanned Object
|
Export a 3D volume or scanned object for use in third-party DICOM software. |
In this tab, you can also crop the 3D view by using the Cropping tool. See “Using the Cropping Tool in the MPR Tab”.
|
|
Note: You can configure the color of view indicator tags shown in the workspace tabs in the “Color Preferences”. The colors in the images in the user guide may differ from those shown on your computer monitor. |
The MPR workspace tab contains the following view screens:
-
2D MPR view screens:
-
 Axial Slice View Screen, which displays horizontal slices.
 -
 Coronal Slice View Screen, which displays vertical slices from front to back.
 -
 Sagittal Slice View Screen, which displays vertical slices from side to side.
-
3D View Screen, a rotatable, three-dimensional view of the 3D volume (C).
|
|
Note: You can set the default position of the 3D View Screen in the “Template Preferences”. |


 Circle Mode

 Generating Reports
 Volume Export