Placing a Crown
To place a crown in a patient image volume, follow these steps:
-
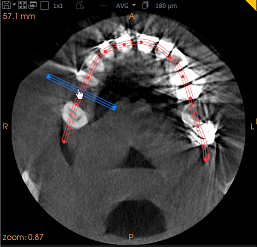
Draw a trace along the dental arch. See “Drawing a Trace Along a Dental Arch”.
-
Align a model with the patient image volume (recommended). See “Aligning a Model with a Volume”.
-
In the Curve tab, draw a trace along the dental arch of the patient image volume, and align a model with the volume (optional).
|
|
Note: The Crown icon is only available on the Curve tab, and is deactivated (grayed out) until a trace has been drawn along the jaw arch. |
-
Based on your analysis of anatomical details, carefully select the initial crown position, taking into account:
-
The soft tissue data of the digital model
-
The position and height of adjacent crowns
-
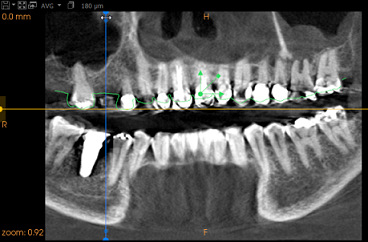
To select the initial crown position, use the slice plane handles
 and
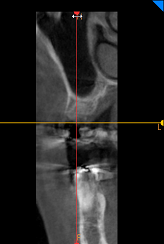
and  to adjust the position of the axial slice plane in the Reconstructed Panoramic View Screen and Oblique Coronal Slice View Screen.
 -
|
|
Tip: To optimize crown placement, it is recommended you set the vertical handle of the axial plane at a right angle in the Reconstructed Panoramic View Screen, and set the horizontal handle with reference to the occlusal plane and the position of the adjacent crowns. |
|
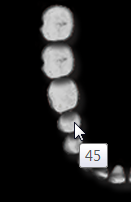
Axial Slice View Screen |
Reconstructed Panoramic (Trace) View Screen |
Oblique Coronal Slice View Screen |
 |
|
|
-
After careful analysis of anatomical details, and when you are satisfied that you have chosen the optimal position for your crown placement, in the Curve tab tool box, click
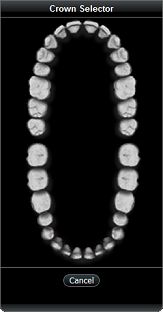
 to select a crown from the crown library.
The Crown Selector window (A) is displayed.
|
A |
B |
C |
 |
|
|
-
In the Crown Selector window, choose the appropriate crown number by clicking on the corresponding image (B).
-
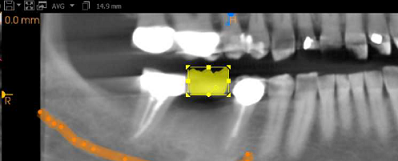
The crown is placed automatically in the position predefined by you in the patient image volume (C).
-
The crown appears in the Crown list of the object list.


