Repositioning a Crown
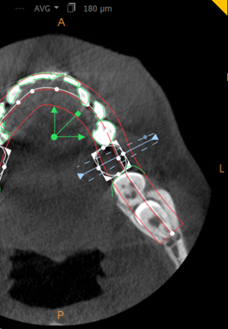
The position of an imported crown can be adjusted manually in the Curve tab, using the object editing tools displayed in the following view screens:
-
Axial Slice View Screen

-
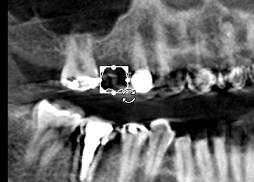
Reconstructed Panoramic View Screen

-
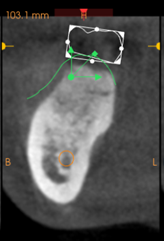
Oblique Coronal Slice View Screen (Cross-section)

|
Axial Slice View Screen |
Reconstructed Panoramic (Trace) View Screen |
Oblique-Coronal Slice View Screen |
 |
|
|
To reposition a crown in a patient image volume, follow these steps:
-
In the Tools pane in the tool box, click
 .
. -
To move a crown in the 2D or 3D view screen of your choice, click on the object using
 and drag to move it to a new position.
|
A - 2D |
B - 2D |
3D |
|
|
|
|
-
To rotate a crown in 2D view:
-
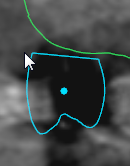
select a rotation point by hovering the mouse outside one of the corners (A) and;
-
click, drag and release to move the object to a new position (B).
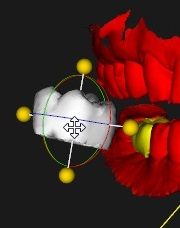
In 3D view:
-
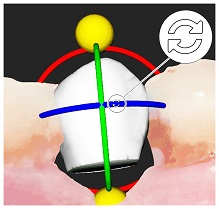
select the proper circle to rotate the crown either in a buccal / lingual or mesio / distal direction, then;
-
drag & release
 to rotate the object to the expected position.
|
A - 2D |
B - 2D |
3D |
|
|
|
|
-
To resize a crown in 2D view:
-
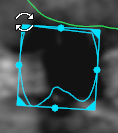
click to select one of the corner handles (A) and;
-
drag the object (B) outward (+) or inward (-).
-
Release when the crown is in the desired size.
In 3D view:
-
click and select one of the 4 corner handles
 and;
and; -
drag the object outward or inward, then release.
|
A - 2D |
B - 2D |
3D |
 |
|
|
-
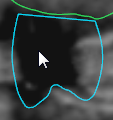
To stretch or squeeze a crown in order to adapt its shape to anatomical conditions, click one of the grab points located at the center of the sides (A), and drag the object inward or outward. Release when the crown is the desired shape; this option is not available in 3D.
|
A |
B |
|
|
|
When you place a crown in a patient image volume, it automatically appears in the object list of the Curve tab tool box.
See “Using the Curve Tab”.
Integrated in your Prosthetic-Driven Implant Planning workflow, the placed crown can be used to guide implant supported restoration.
See “Prosthetic-Driven Implant Planning Workflow”.
