Overview of Tools Pane Features
Drawing a 2D Region of Interest Shape
To draw a region of interest shape using the 2D region of interest tool, follow these steps:
-
In the Tools pane in the tool box, click
 .
.
If this icon is not visible, it may have been replaced by another icon in the same icon group.
Click the white arrow below the icon group button to expand it and display all the buttons in the group. See “Overview of Tools Pane Features”.
The 3D region of interest window appears.
-
In the 3D region of interest window, move your mouse pointer over a 2D MPR view and click on the image to set the start point of the region of interest shape.
-
Move your mouse pointer and click again to set a vertex.
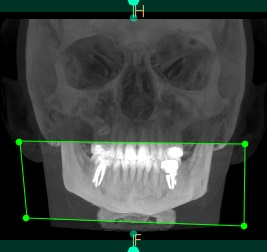
A white line appears as you move your mouse pointer, and when you click to set a vertex, the completed line segment is displayed in color (green for preserve inside, red for remove inside).
-
When you have completed the shape, double-click to complete the shape.
The completed region of interest shape is displayed.

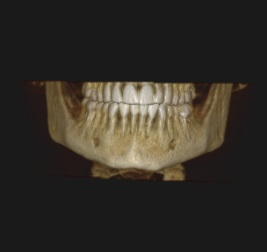
The 3D view is updated, so that only the region of interest shape is displayed in the 3D view.

-
If you want to remove the entire region of interest and start again, click the Reset button.
-
If you want to name the region of interest, in the lower corner of the 3D region of interest window, click in the Region name field and enter a name for the new region of interest.
This name will appear in the Region of interest object list in the Tools pane when you save the region of interest. For more information on the object list, see “Using the Object List”.
-
Click OK to save and close the 3D region of interest window.
The new region of interest is added to the Region of interest object list in the Tools pane.