Working with Charges and Payments
Posting Payments at Checkout
![]() Related Training
Related Training
Posting Charges, Payments, and Adjustments Recorded Class
Posting Payments to Multiple Locations Recorded Class
Posting Payments and Pre-Payments Recorded Class
To post a payment at checkout:
-
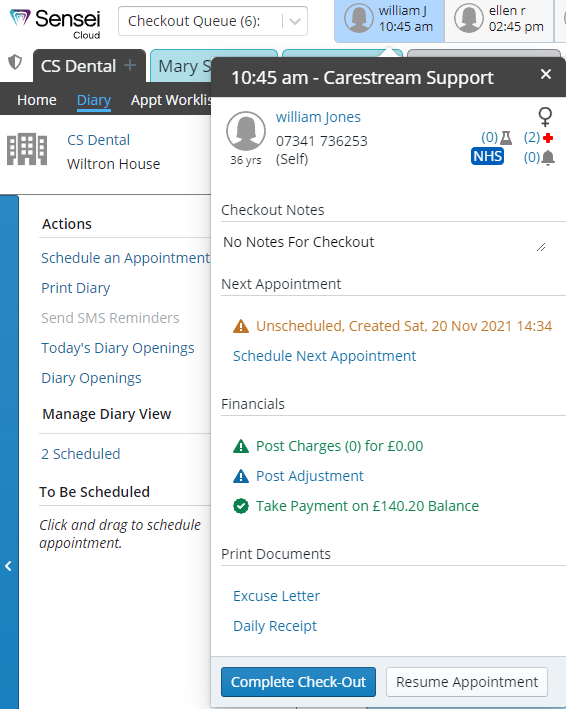
After changing the Appointment Status to Complete, the patient is placed in the Checkout Queue.
-
If more than one patient is displayed, click the patient you want to check out. The Checkout window is displayed.
-
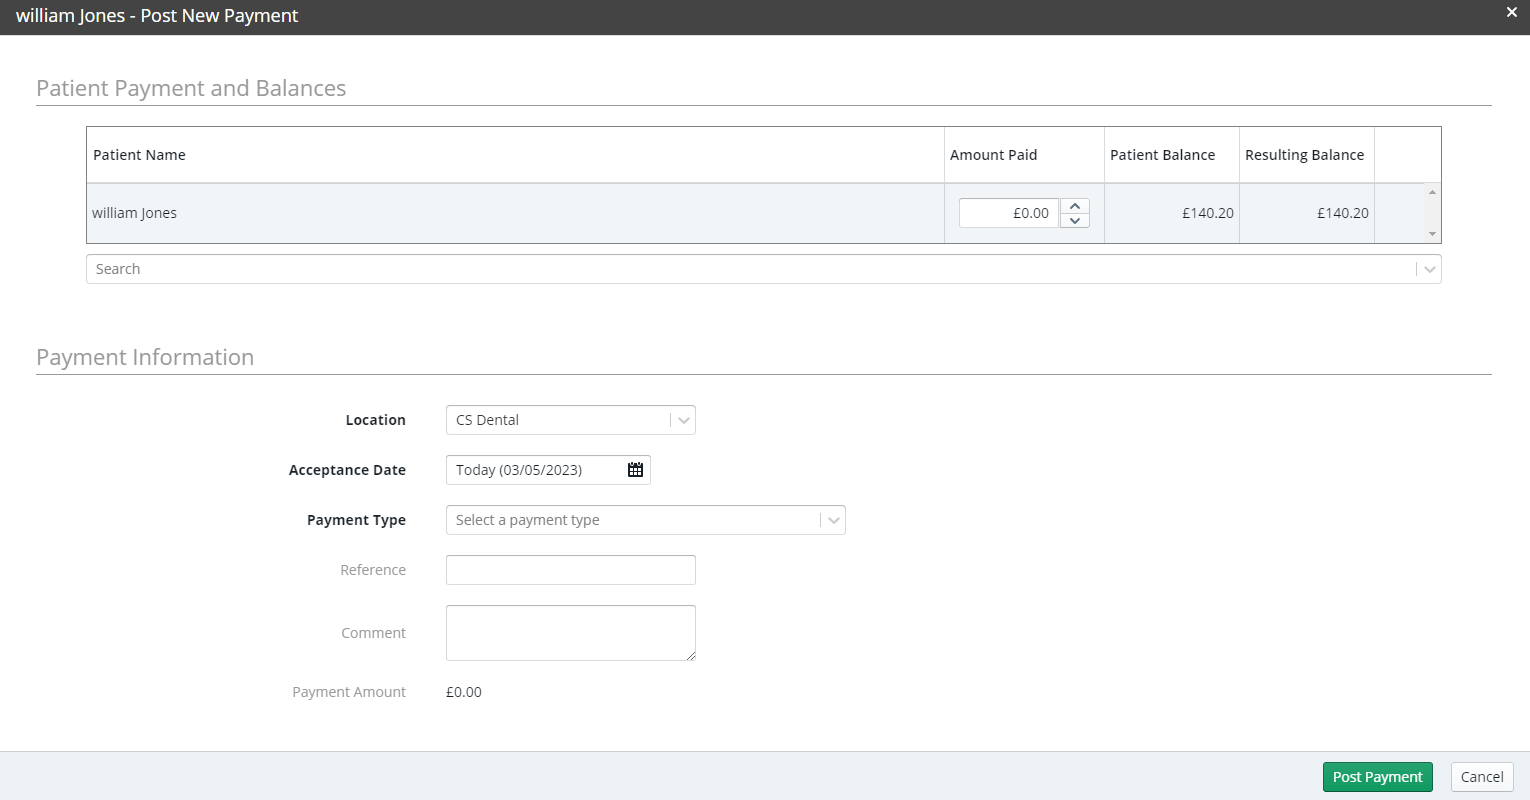
Click Take Payment. The Post New Payment window displays the procedures attached to the appointment. In the Search to add procedures field, you can add additional procedures.
-
In the Amount Paid field, enter the amount.
-
In the Location field, confirm the location.
-
In the Acceptance Date field, confirm the date.
-
From the Payment Type drop-down list, select the type of payment.
-
In the Reference field, enter a reference, if necessary; for example, Deductible.
-
Text you enter in the Reference field is displayed on patient statements and in financial reports.
-
In the Comments field, enter comments, if any.
-
Click Post Payment.
Important: If you are signed up to use Payment Manager for Sensei Cloud, the posting process is different. For more information, see the Sensei Cloud Payment Manager Getting Started Guide.
Adjusting Payments Posted in Error
Sending and Receiving NHS EDI Claims