Adding Clinical Notes
![]() Related Training
Related Training
Using Clinical Notes Recorded Class
You can insert clinical notes into a current or previous date (day-based), or provide additional details to clinical events, using the Insert Note function in a patient's Hard Tissue Chart, Treatment Chart, Soft Tissue Chart, Perio Chart, Orthodontic Clinical Summary, and Treatment Plan windows.
Note: A day-based clinical note does not have to coincide with an appointment. For example, you might insert one when a lab result is returned or a patient calls to report a clinical issue.
To insert a clinical note:
-
On the Patient tab, click Clinical and select a clinical view.
-
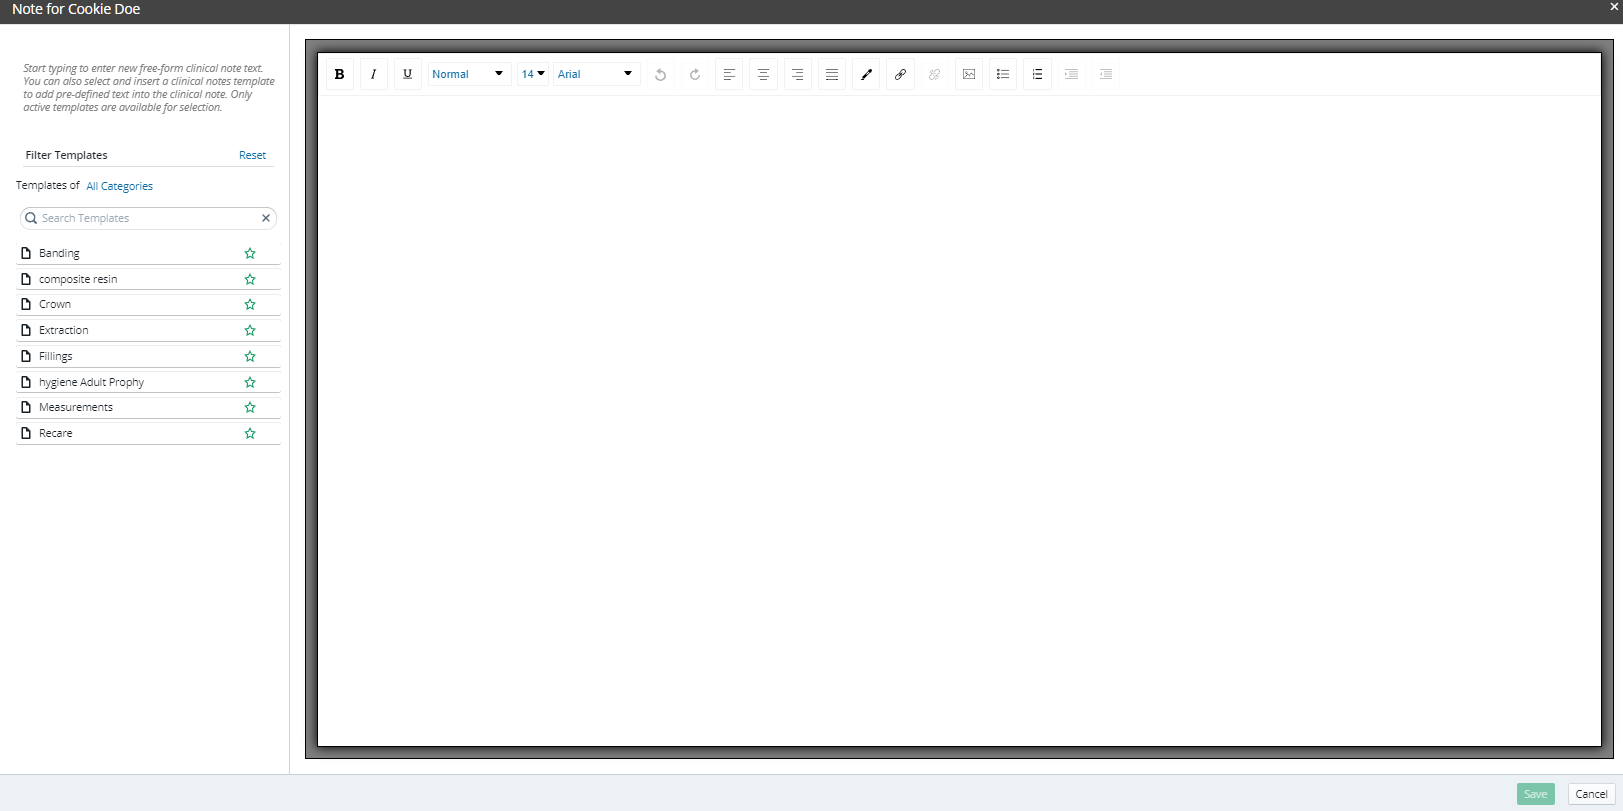
Locate the day for which the new note is required and click Insert Note. The Note for window is displayed.

-
Start typing to enter new free-form clinical note text, or select a clinical notes template to add pre-defined text into the note.
Note: Only active templates are available for selection.
-
If you select a template, click Insert Text, and then edit the note as needed.
Note: An oral surgery office might want to add a Completed Procedures, Completed Procedures Description, or Completed Procedures and Completed Procedures Description merge field to a template, rather than manually entering this information. When procedures are posted to a patient's account, they are automatically applied to the Completed Procedures merge fields in the template.
-
Click Save.
Tip: You can move the Note window around on the screen as you access other information pertaining to the patient.
To display clinical notes in the Hard Tissue Chart:
-
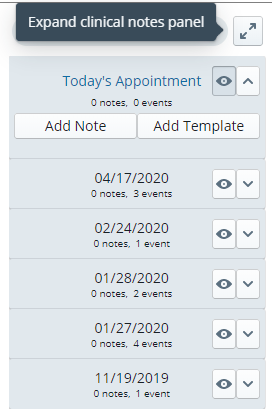
Click on the Diagonal Arrow icon in the upper-right of the clinical notes section of the chart.

The Notes window expands, allowing for greater visibility of the clinical notes.
-
To return to the regular chart view, click the icon in the upper-right corner of the expanded window to contract it or click in the background of the chart.
Signing and Managing Clinical Notes
Doctors can sign clinical notes with a unique Personal Identification Number (PIN), for tracking and managing clinical notes. A Clinical Notes Worklist has been added to the Location > To Do menu, so that you can manage clinical notes entered for a selected day, obtain signatures, and create notes for clinical events that need them.
PIN for Doctors
A PIN entry field has been added to the Team Member Settings (Administration > Team) for all users whose Role is defined as Doctor. This number is visible only to individual doctors, who set their own PIN by selecting User Menu > My Settings > Edit Selected Team Member. The PIN must be numerical with no letters or punctuation.
Note: Administrators can see whether a doctor's PIN has been defined, but they cannot see or change a doctor's PIN.
Signing Clinical Notes
A Save & Sign button is displayed on the Clinical Note window when creating a new note or editing an existing note.
A Sign button is displayed for existing notes not yet signed.
After entering or editing a clinical note, select Save & Sign or Sign to display the Clinical Note Approval window.

The Provider field defaults to the logged-in doctor, but other doctors can be selected from the list if a PIN is defined for them. When an eligible doctor is selected, the PIN field becomes active. The selected doctor can enter the PIN and click Sign.
When a clinical note is signed, the status Note Signed is indicated in the Clinical Notes list and the note's history.
Note: When a signed clinical note is edited, it must be signed again to acknowledge the changes.
Printing Clinical Notes
Sensei Cloud enables you to select a date range of clinical notes and print them from the patient's Hard Tissue Chart and the Clinical Chart (EMR).
In addition to printing, you can download, email, or save the PDF file. You can easily share clinical notes with providers, patients, or insurance companies.
To print clinical notes:
-
From the Patient tab, select Clinical > Hard Tissue Chart or select Clinical > Clinical Chart (EMR).
-
From the Actions menu, click Print Clinical Notes. The Clinical Note History window is displayed.
-
Select a date range for the clinical notes to include.
-
Select a date sort order for the clinical notes.
-
Click Print. A PDF file is created and a preview of the file is displayed.
Note: If the patient does not have any clinical notes in the selected date range, a Printout unavailable message is displayed.
-
Click the Printer icon to print the document, or select the Download icon to download the PDF file.
The PDF includes the office information, patient information, and included dates at the top, followed by any clinical notes for the selected date range. The note status is also displayed.
You can also print individual clinical notes from the Clinical Chart (EMR) by clicking the Printer icon on the note entry.
Using the Clinical Chart (EMR)