Setting Up the Day/View
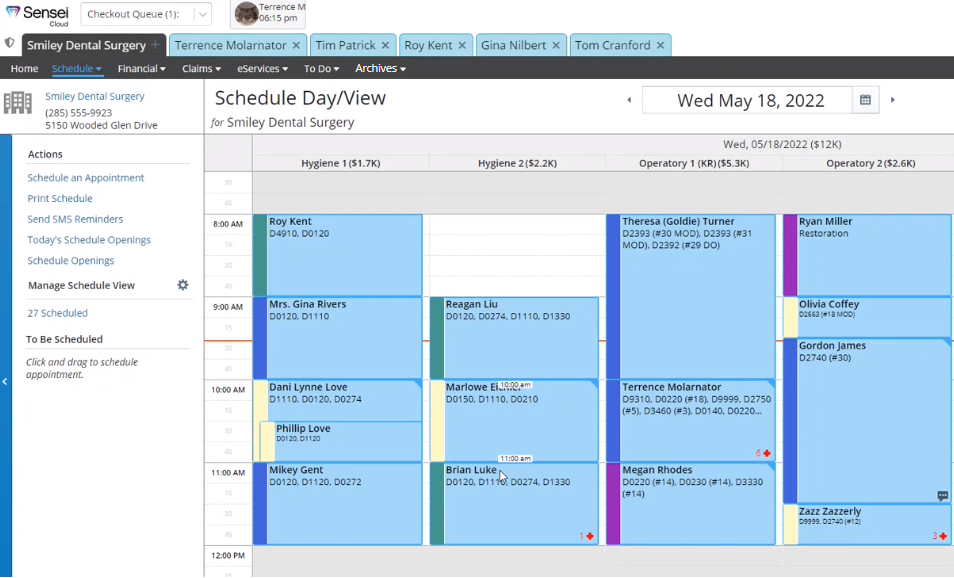
Depending on the size of your monitor, the Day/View displays a few hours and columns at one time by default.
To display the entire Day/View:
-
On the Practice Location tab, select Schedule > Day/Week View. The default Schedule Day/View window is displayed.

-
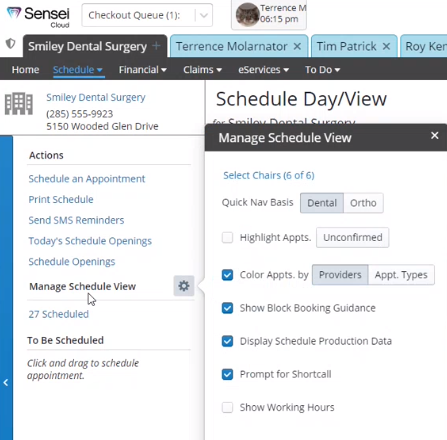
Under Actions, next to Manage Schedule View, click the
 icon. The Manage Schedule View window is displayed.

-
Select the Show Working Hours option. The screen size changes, and you can see the entire day, from opening hours to closing hours, and all chairs.
Note: If work is scheduled outside of office hours, you receive this message at the top of the Day/View: Show working hours is selected. Items scheduled outside open office hours are not visible. However, if a provider is linked to a chair and the provider works more hours than the default office hours, the additional hours are displayed.
Tip: It is recommended that your monitor have a resolution of 1440 x 900 or larger to view an entire working day without scrolling.