Block booking is defining blocks of time that are reserved for specific purposes. There are two types of block booking: production and employee.
Production block booking defines time blocks for the practice. Five time blocks are already defined:
Closed
Holiday
Lunch
Seminar
Vacation
To set up a new production block:
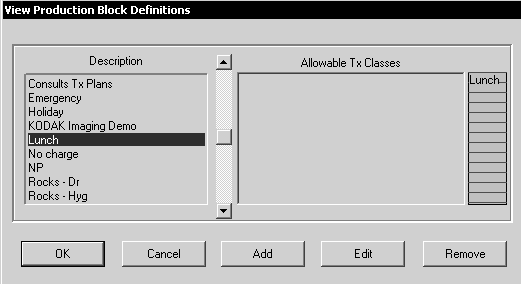
Select Lists > Production block booking definitions. The View Production Block Definitions window is displayed.
Click Add. The Edit Block Definition window is displayed.

In the Block Description field, type a name for the new block type—for example, Crowns or Root Canals.
From the Allowable Tx Classes list, select the treatment classes that can be performed during this block type.
To assign a color to be displayed in the appointment book for this block type, click in the Schedule color area and select a color from the Color palette.
Click OK.
Employee block booking is used to block out time for individual employees. During these times, an employee is not available; for example, during seminars and training, or on vacation.
A production block is always displayed in the appointment book, while an employee block is displayed only when the Block booking employee view is selected or when scheduling or rescheduling an appointment.
To define an employee block:
Select ApptBook > View > Block booking employee. The title bar at the top of the window indicates that you are in View Employee Block Booking mode.
Click the Calendar to select the date for the time block.
To define a time block, click-and-drag in the column for the selected employee. The block is displayed in purple.
Click once on the purple block. The Choose Employee window is displayed.
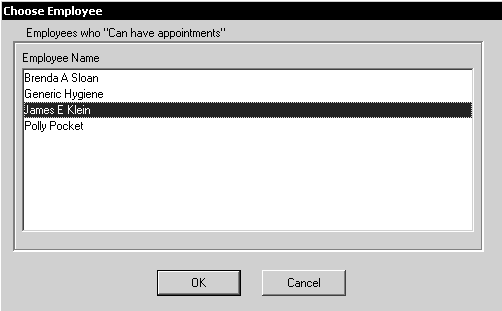
Select the appropriate employee name, and click OK. The Block Booking Specification window is displayed.
Click Select. The View Employee Block Definitions window is displayed.
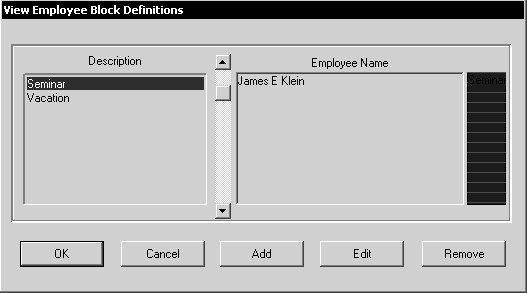
To add a new definition, click Add. The Edit Employee Block Definition window is displayed.
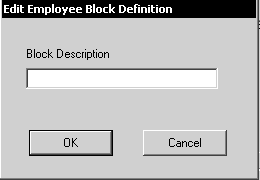
Type a description and click OK.
After you have defined an employee block, select ApptBook > View > Active appointments to return to the normal view of the appointment book.
Setting Up Statements and Messages
Setting Miscellaneous Defaults
Setting Up an Appointment Book