Performing a New Installation
-
If you are installing OrthoTrac for the first time, please schedule an appointment with our Remote Software Installations team at https://gosensei.com/pages/orthotrac-support/#OTinstallations. Our representatives are glad to assist you.
-
For version 15.5.0 and later, OrthoTrac has a minimum requirement of Microsoft SQL Server 2016.
Before you begin:
-
Review the latest OrthoTrac release notes.
-
Ensure that each computer in your network meets the minimum system requirements. For more information, see the OrthoTrac System Requirements.
-
Consult your Tech Pack (also known as the Technician's Installation Guide, available in the Resource Library) to make sure each computer in your network is equipped to handle the installation or update.
-
Ensure the OrthoTrac folder on your server is a shared folder with full read and write permissions. See the documentation and online help provided with your Windows operating system for more information on sharing.
-
Complete a full backup of important data, review this installation guide, and shut down all workstations.
-
You might also want to copy your backup to another form of media (e.g., flash drive, external hard drive, etc.) in the event of a server crash.
-
Download the Installer files.
-
Check or reset your screen resolution to optimize your use of OrthoTrac. A minimum resolution of 1440x900 is required.
Downloading the Installer
Beginning with version 15.1.3, the OrthoTrac Installer is available via download from Carestream Dental's Dental Practice Management Software Download Service.
-
The file on the Dental Practice Management Download Service is for your practice only and is unique to your login. The download will expire after 24 hours.
Save the OrthoTrac installer files to your server computer, and then follow the procedures in this document to perform a new OrthoTrac installation.
To download the Installer files:
-
On your computer, go to https://softwaredownload.csdental.com. The Dental Practice Management Software Download Service login window is displayed.

-
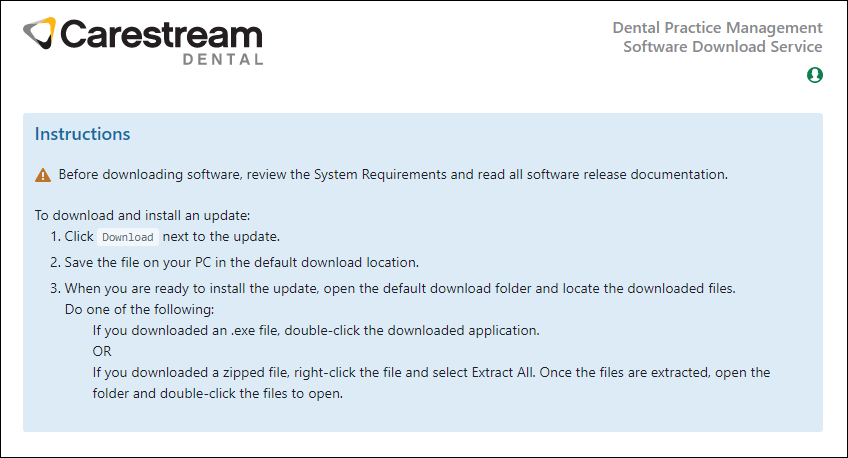
Enter your customer ID and zip code, and then click Submit. The Dental Practice Management Software Download Service Instructions page is displayed.
-
Click Download, and save the file to the default download location.
Launching the Installer
The downloaded file is in ISO format. ISO files, also known as disc images, are complete duplicates of the contents of an optical disc, such as a CD or DVD. Windows operating systems from Windows 8 and later can mount an ISO file as if it were a physical optical disc.
To launch the installation file, do one of the following:
-
Right-click the ISO file and select Mount.
OR
-
Navigate to the folder where the ISO is saved and double-click the ISO file.
If you are unable to mount the ISO file or prefer to extract the contents, you can extract the contents of the ISO file using a decompression program like 7-Zip or WinZip.
To extract the files contained in the ISO file:
-
Open the decompression program.
-
Browse to the folder on your server hard drive that contains the OrthoTrac ISO installation file.
-
Select the ISO file and select where to extract the contents.
-
Browse to the location of the extracted files. Click InstallerMenu.exe to begin the installation.
To install OrthoTrac for the first time, install the software in the following order:
Installing OrthoTrac on the Server