Using CS
Intraoral Cameras
Recording and Viewing Video
To initiate recording of video:
Cover the disinfected camera with
a protective sheath.
Press the power button on the camera
for three seconds.
Open the CS Imaging software and
select a patient.
Click the Acquire
a new intraoral camera image  button or
press F5. The Acquisition
interface is displayed.
button or
press F5. The Acquisition
interface is displayed.
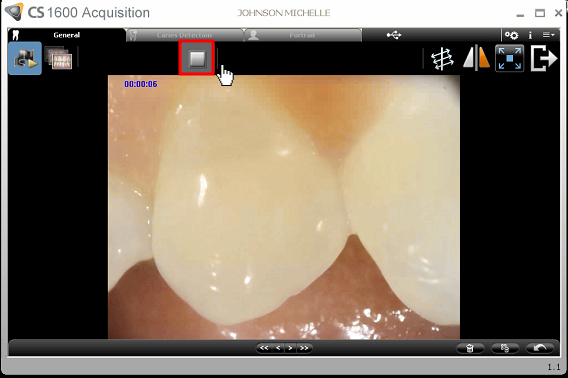
To record a live video:
Open the patient’s mouth.
Place the camera in the patient’s
mouth, holding the camera over the area you want to view.
To record, press the Start
Recording  button.
Move the camera over the tooth surfaces.
To stop the recording, press the
Stop  button. The Preview
area on the Acquisition interface
shows the video recording in real time.
button. The Preview
area on the Acquisition interface
shows the video recording in real time.
Use the Video
toolbar to review the recorded video.
Use the Image
Gallery toolbar to navigate, delete, or restore the most recent
recording. The recorded video is saved as an .AVI
file in the Patient History
under Other within the Modality filter.
Click the Done
 button to return to the imaging software.
Remove and dispose of the protective
sheath.
Related Topics
Disinfecting and
Maintaining the Camera
Applying the Protective
Sheath
Understanding
the Acquisition Interface
Capturing and Viewing
Still Photos