Using the Prosthetic-Driven Implant Planning Workflow with Implants
Placing an Implant
Before You Start
-
Before you place implants, we recommend that you do the following:
-
Set the implant preferences in the “Implant Preferences”.
-
Select your favorite implant systems in the implant library. See “Using the Implant Library”.
-
In the Curve tab, draw a trace along a dental arch (See “Drawing a Trace Along a Dental Arch”.), create a reconstructed panoramic image (See “Creating a Reconstructed Panoramic Image”.) and position the cross-section plane of the oblique-coronal slice using the blue handles
 . See "Moving and Tilting Slice Planes in 2D MPR View Screens".
 -
To make it easier to place your implant, we suggest you use the object list to hide all of the other existing measurement objects on your images. See “Using the Object List ”.
To place an implant, follow these steps:
-
On the Curve tab, in the Tools pane in the tool box, click
 .
.
|
|
Tip: An Implant creation tutorial window appears, indicating the process to place an implant. To deactivate this tutorial, click Do not show this tutorial again. This tutorial can be activated and deactivated in the “Implant Preferences”. |
-
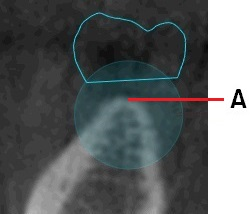
In the cross-section view, click to set the implant neck.
|
|
Note: If you are placing an implant based on a crown, the first point must be within the transparent blue circle.
|
-
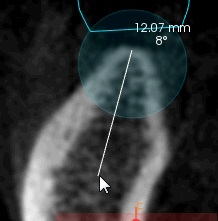
Click again to set the apex position.
A line displaying the measured length between the defined implant neck and apex appears.
If the implant has been placed according to a crown axis, the angle calculation between the implant position and the restoration appears.

An implant selection window appears, with a recommended implant selected.
|
|
Tip:In the implant selection window, you can click the arrow to the side (A) to select the favorite implant types that you want to appear in the implant selection window.
|
-
In the window, select a different implant if necessary, and then click OK.
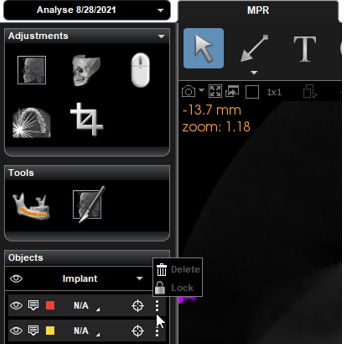
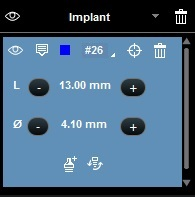
The implant appears in the Implant object list.


Using the Implant Object List to Edit Implants and Display Information


