Creating Ear Views
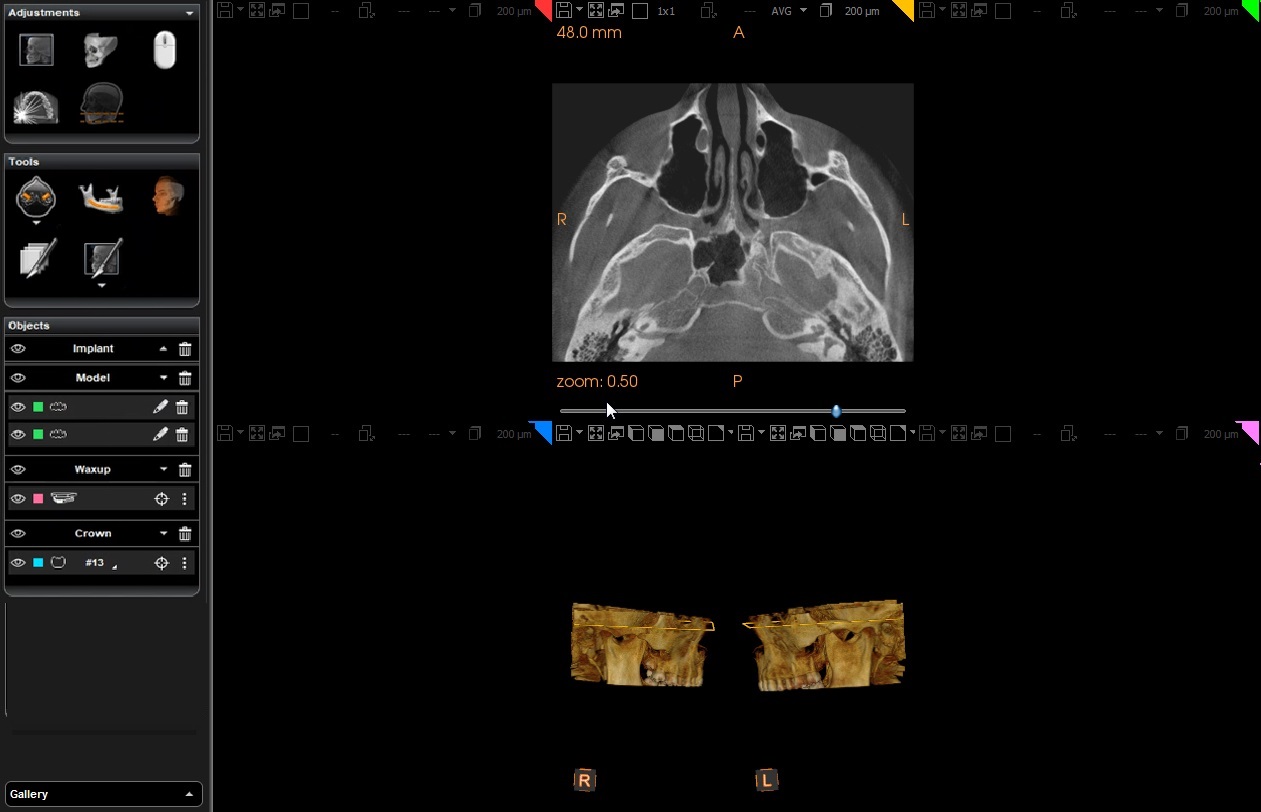
By default, only the Axial Slice View Screen and 3D View Screen are activated on the Bilateral tab until traces have been drawn on the Axial Slice View Screen.

To create Ear views, follow these steps:
-
On the Bilateral tab, adjust the position of the axial slice plane until the ear regions are visible in the Axial Slice View Screen.
To move the axial slice plane, click and drag the slider ![]() at the bottom of the Axial Slice View Screen.
at the bottom of the Axial Slice View Screen.
-
In the Tools pane in the tool box, click
 .
.
The button is displayed in blue to show that the Ears tool has been activated.
If there are existing traces on the Axial Slice View Screen, a warning is displayed to inform you that the previous traces (and views) will be deleted. Do one of the following:
-
Click Yes to continue - the existing traces and view screens are removed.
-
Click No to keep the previous traces.
3. In the Axial Slice View Screen, choose either the left or the right ear, click to set the trace start point then draw a line through the ear region and click again on the other side to set the trace end point.
The TMJ/ear and TMJ/ear/cross-section view screens are activated, a symmetrical trace is automatically drawn over the opposite ear and the 3D View Screen display cropped images of the regions defined by the TMJ/ear and TMJ/ear/cross-section traces.
|
|
Note: Once the traces have been drawn, the axial slice plane slider will disappear to be replaced by axial slice plane handles. When trace lines are present, click |
Creating a Temporal Bones View

 and drag in the TMJ/ear and TMJ/ear/cross-section view screens to move the axial slice.