Creating an Airway View
To use the Airway tool, follow these steps:
-
In the MPR or MPR tab, in the Tools pane, click
 to activate the Airway tool.
The Airway analysis icon changes to blue.
-
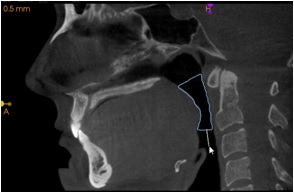
In the Sagittal Slice View Screen
 , click in the upper region of the airway to set the first point.

-
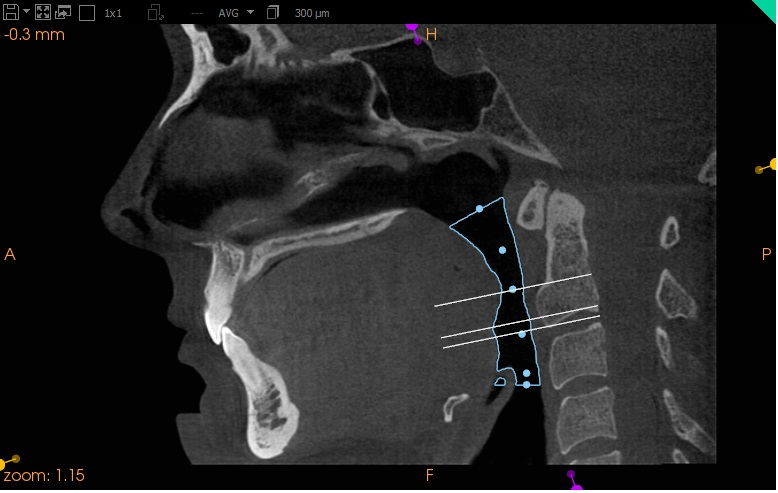
Click at another point in the airway to set at least one more seed point.
-
Double-click to set the final seed point.
-
Optionally, you can click and drag the existing outline of the airway view in the 2D MPR views to modify the region covered. In this case, the revised airway is computed automatically.
The angles at which seed points are added will determine the angles at which the cross-sectional areas are calculated. The following example shows several seed points.

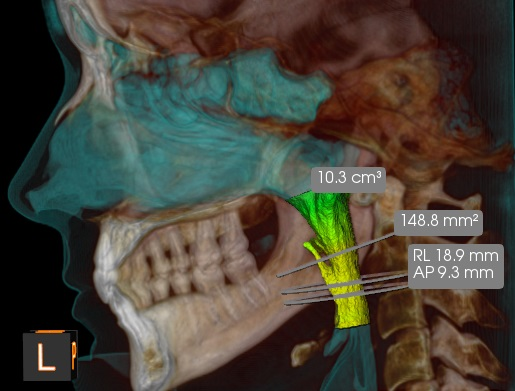
The computed airway is added to the Airway object list in the Tools pane, where the name of the airway object is represented by the volume size in cubic centimeter.

When computed, the airway is automatically displayed in the 3D View Screen, and the following measurements are indicated by a series of rings:
-
Minimum Cross-Sectional Area (MCA)
-
Minimum AP Distance
-
Minimum RL Distance
-
Total volume of the segmented region.
