Capturing and Viewing Images
To capture or view an image, follow these steps:
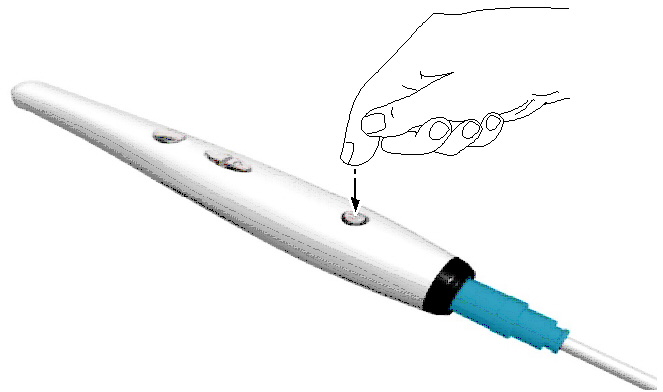
- Press the ON/OFF button 3 seconds to power on the camera.

- Hold the camera over the area you want to view. Live video appears on the Preview screen.
- To capture an image, do one of the following:
- Press the Capture button on the camera.
OR
- Click
 on the Acquisition interface.
The image is displayed on the Review screen of the Acquisition interface.

- Click
 to access the Tooth Chart dialog box, select the relevant tooth, and type comments in the Comments field (see “Tooth Chart Dialog Box”).
The selected images are displayed and saved temporarily in the image gallery.
- Use the toolbar to view the image (see “Image Toolbar”).
- Press the Review button on the camera to review the images.
OR
Use the image gallery toolbar to scroll through, save, or delete the images (see “Image Gallery Toolbar").
- Click
 to close the Acquisition interface.
 - Remove and dispose of the protective sheath.
 |
Note: The camera automatically goes into sleep mode when inserted into the camera holder or left idle for 1.5 minutes. To use it again, pick it up or press the Capture button. |
 |
Note: When the camera is idle for more than 3 hours (default), it powers off. To change the default automatic power-off time, see "General Preferences". |
