Verifying or Changing WinOMS Settings
Assigning Merchant IDs to Multiple Locations
Payment Manager supports multiple Merchant IDs for multi-location practices, so that each location uses its own Merchant ID.
Important: To assign Merchant IDs, you need the assistance of a representative from GPI. Assigning the wrong ID will impact payment processing.
To assign Merchant IDs to office locations:
-
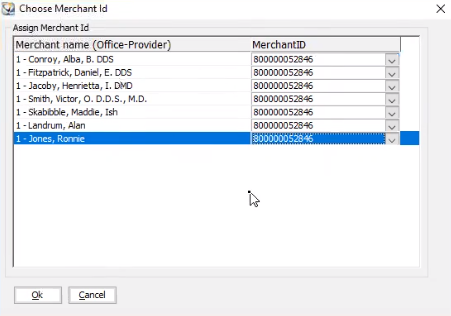
Select Billing > Payment Manager > Assign Merchant. The Choose Merchant Id window is displayed with the Office number and Merchant name on the left and the Merchant ID on the right.

Note: The office number corresponds to the office to which you are logged in.
-
In the Merchant ID fields, select the ID that corresponds to each office and provider.
-
Click Ok. The Office/Provider/Merchant ID combination is saved in both WinOMS and Payment Manager.
-
Log out and then log in to another location. Repeat step 1. The Choose Merchant Id window is displayed for the second office location.

-
Repeat steps 2 and 3.
-
Repeat this process for each office location you want to set up.