To use the EMR Components Consent Forms feature effectively, you must create the consent forms you need and then link them to appointment types. It is recommended that you set up the print layout for these forms.
To create a consent form template:
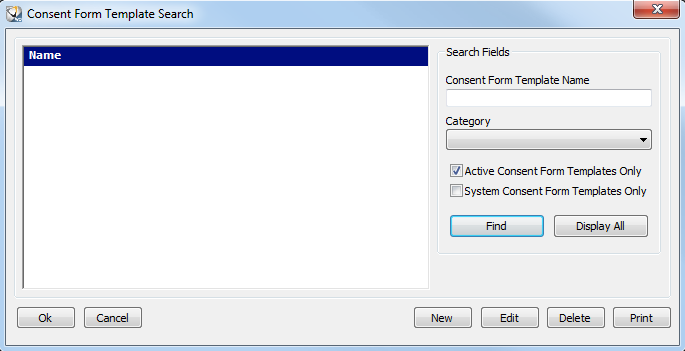
Select Tables > EMR Components > Consent Form Templates. The Consent Form Template Search window is displayed.

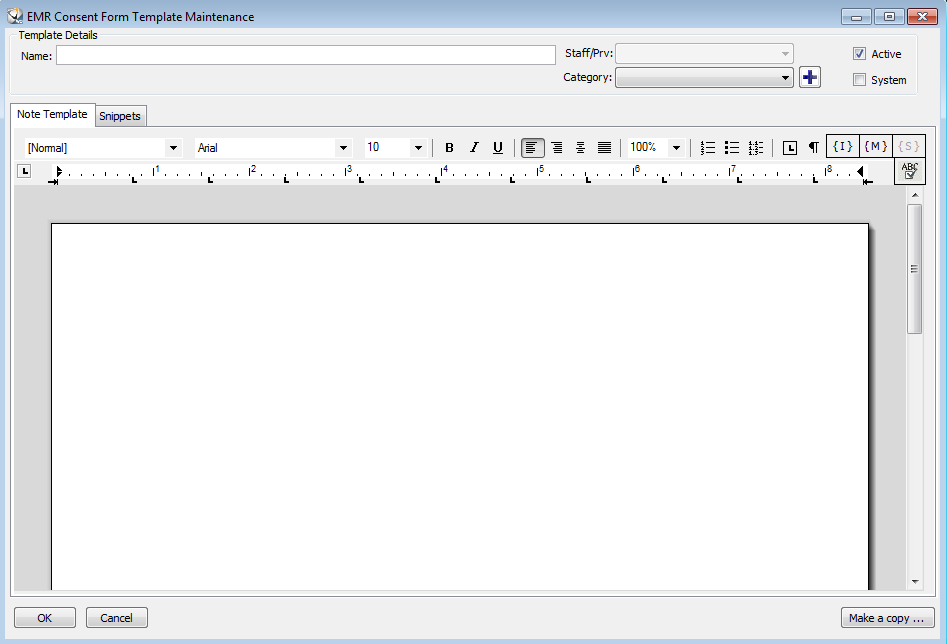
Select New. The EMR Consent Form Template Maintenance window is displayed.

In the Name field, enter a name for the consent form.
In the Category field, select a category.
Click the Note Template tab and type the content for this template. Use the formatting tools to set the font, style, and layout.
To insert items into the template, use the options on the right of the formatting toolbar:
{I} to insert an image
{M} to choose from a list of available merge fields
{S} to insert a snippet
Click  to check
the spelling of the template.
Click Ok. The template is available for selection from the Consent Forms Template Selection list.
To add a new category while creating
a template, click  next
to the Category field.
To standardize the look of your Consent Form templates, use the Print Layout window. The Opening Text and Closing Text options enable you to define what appears above and below the content of each note or form. You can also insert an image or logo for a letterhead appearance, and you can include provider signatures on the templates.
The print layout must be set up to use the Create PDF feature to save the form as a PDF file and print it.
To set up the print layout for consent forms:
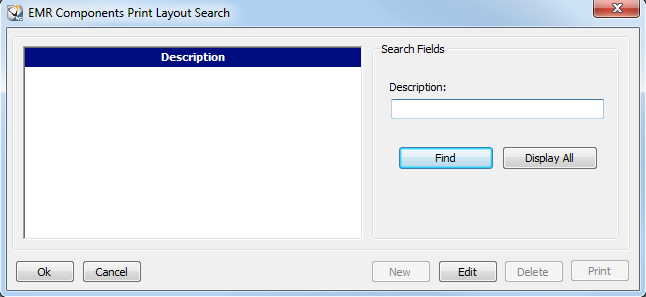
Select Tables > EMR Components > Print Layouts. The EMR Components Print Layout Search window is displayed.

Enter search criteria to find and select the Consent Forms Default Layout.
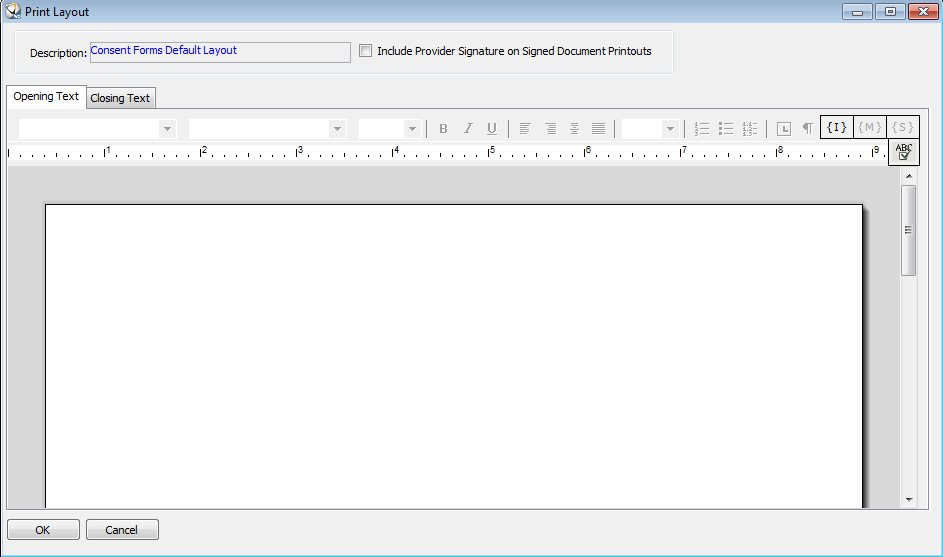
Click Edit. The Print Layout window is displayed with the Opening Text tab selected.

Enter the standard text to appear above the content of the consent form. Click {I} to insert an image.
Click Closing Text, and enter the text to appear below the content of the note.
Click  to check
the spelling of the layout.
If you want provider signatures inserted, select Include Provider Signature on Signed Document Printouts.
Click Ok.
To link consent forms to appointment types:
Select Tables > Appointments > Types. The Appointment Type Search window is displayed.
Search for an appointment type or click Display All.
Select the appointment type, and click Edit. The Appointment Type Data Entry window is displayed.
Click the Consent Forms tab. The list of consent forms is displayed.
Select the checkbox for each form you want to associate with this appointment type.
Click Ok.