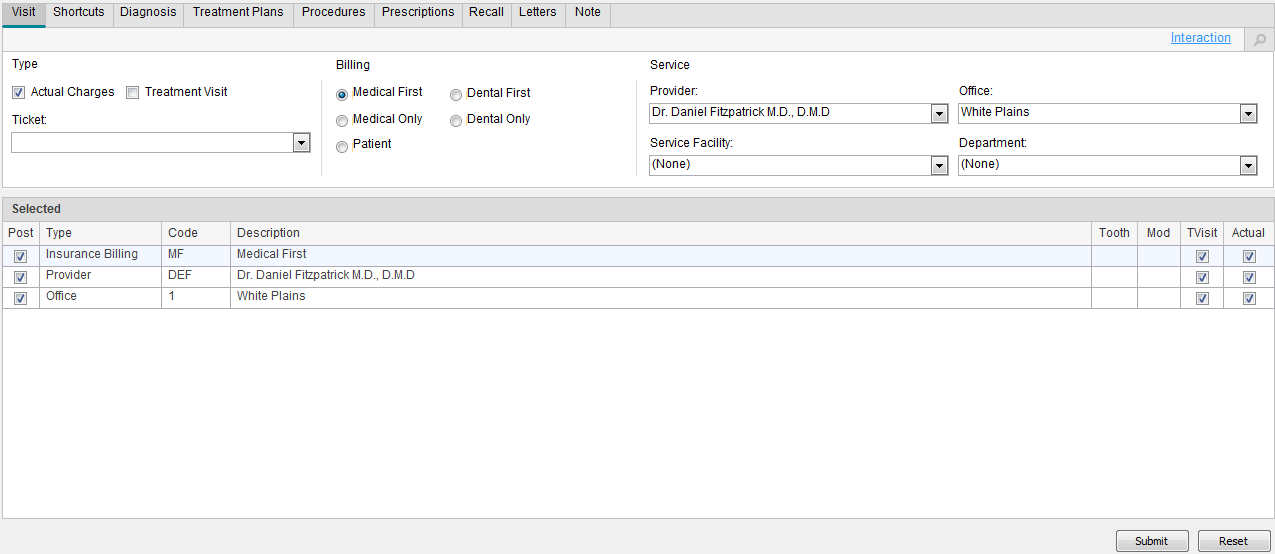
Encounter slips enable you to enter details regarding patient visits, including diagnoses, shortcuts, pre-treatments, procedures, prescriptions, recalls, letters, and notes. You are also able to create actual, as well as PTE, charges for a specific ticket.
To create an encounter slip:
Select Tables > Patients > Patients. The Patient Search window is displayed.
Enter search criteria and click Find. A list of records matching your search criteria is displayed.
Double-click the name of the patient for whom you want to add an alert. If any alerts have already been associated with this patient, a list is displayed. Click Ok, and the Patient window is displayed.
In the EMR window, click Encounter Slip. The Visit tab is displayed.

Select a Type and Ticket type from the list.
Click the Shortcuts tab to group related data, such as a set of procedures commonly associated with a specific diagnosis, along with related prescriptions, letters, and recalls. Use the shortcut categories to select details about the patient's visit.
Click the Diagnosis tab to select diagnosis codes for the visit. Use the Categories list to filter the codes displayed. Categories are based on the type of visit selected.
Click the Treatment Plans tab to select elements and details from the patient's treatment plan to include in this encounter.
Click the Procedures tab to select teeth and the associated procedures. Use the Show/Hide Tooth Grid option to toggle between tooth numbers and procedures.
Click the Prescriptions tab to add prescriptions to the encounter.
Click the Recall tab to select the appropriate recall code.
Click the Letters tab to select a letter to attach or send in response to the encounter.
To save the encounter, click Submit.
To discard an encounter, click Reset.
You can use the Interaction link to access the Lexicomp Data Integration feature for the patient's medications and prescriptions.