Preparing the Acquisition of a Single Image Using RVG 142, RVG 5200 & RVG 6200
To prepare the acquisition of a single image using RVG 142, RVG 5200 and RVG 6200, follow these steps:
- Select the appropriate size of RVG sensor (see Types of RVG Sensor).
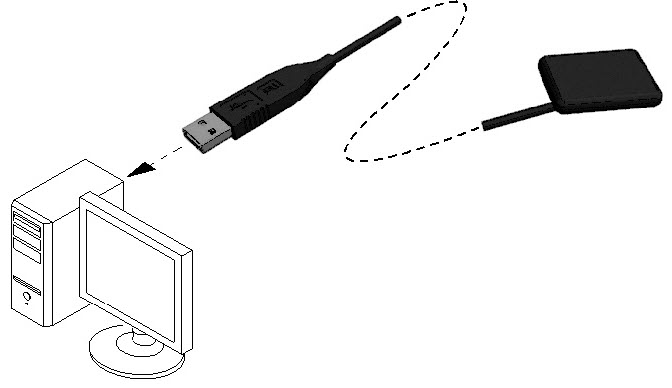
- Connect the RVG sensor to a USB 2.0 minimum port that is connected directly to the motherboard (generally located on the back of the workstation).
 |
IMPORTANT: To ensure the best quality images, you must connect the RVG sensor to a USB 2.0 minimum port that is connected directly to the motherboard (generally located on the back of the workstation). |
3. At the first use of your RVG sensor, and then once a week until you register, the following window
will appear:
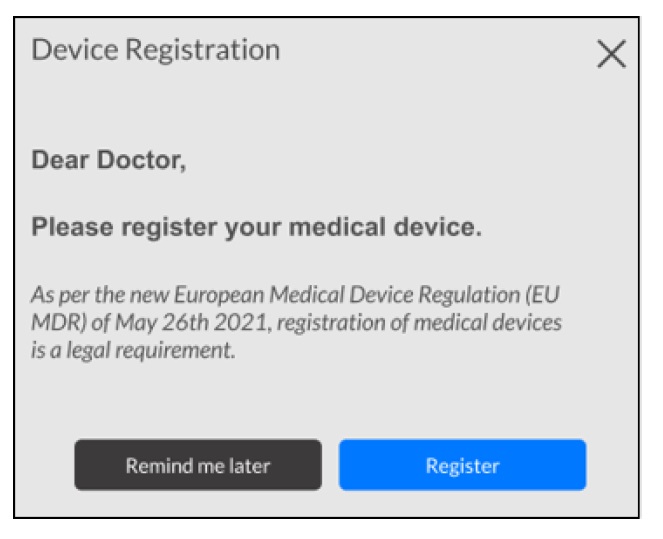
Select either one of the options and follow the on-screen instructions.
4. Access the Imaging Window from the patient file.
The ![]() icon is displayed in the Imaging Window toolbar indicating that an RVG sensor is connected to the workstation and is ready for acquisition (see Single Image Acquisition Overview).
icon is displayed in the Imaging Window toolbar indicating that an RVG sensor is connected to the workstation and is ready for acquisition (see Single Image Acquisition Overview).

5. Select an appropriate positioner for the region of interest and the size of the sensor.
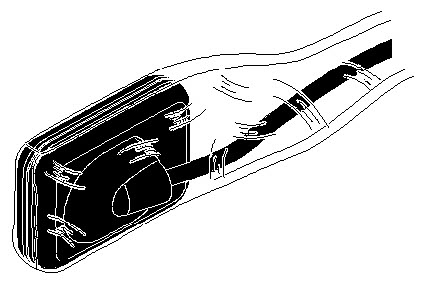
6. Cover the RVG sensor with a disposable hygienic sleeve specifically designed for each size of RVG sensor.
|
IMPORTANT: Use a NEW hygienic sleeve for each new patient to prevent cross-contamination. |
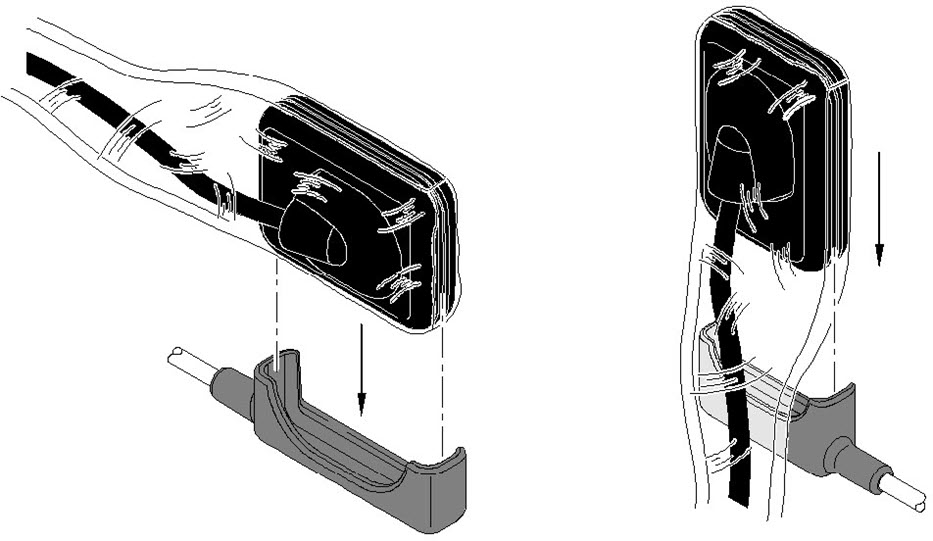
7. Place the protected RVG sensor in the biteblock of the RVG sensor positioner.
8. Position the RVG sensor in the mouth of the patient depending on the region of interest.
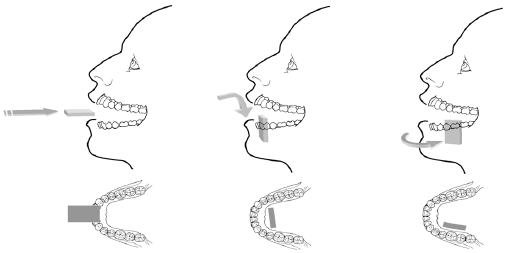
|
IMPORTANT: Always insert the RVG sensor holding it horizontally for the comfort of the patient. |
9. Move the X-ray source tube head close to the patient and align it with the tooth of the patient and the RVG sensor.
|
IMPORTANT: Make sure that the tube head is not shaking. |
10. Select the X-ray exposure time according to the region of interest and the patient type.