If your office uses CS Imaging software and you select Annotate, the image opens in the CS Imaging Annotation window. Annotations can take the following forms: text, shapes, or measurements.
To add text to an image:
Right-click on the thumbnail of the image you want to annotate. A menu is displayed.
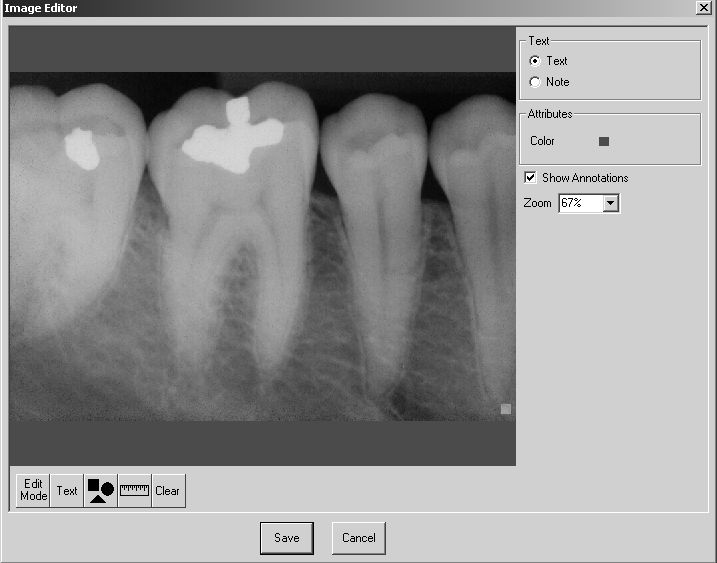
Select Annotate. The Image Editor window is displayed.
Select Text.
Click-and-drag the cursor to draw a text box on the image. A window opens in which you can type text.
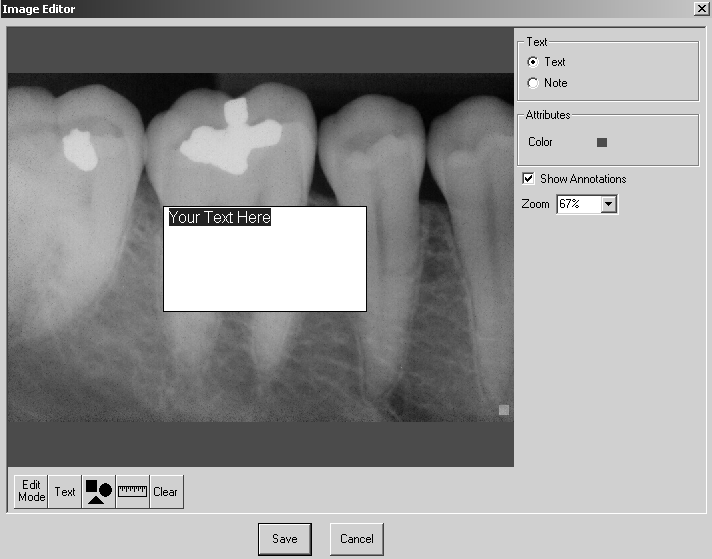
Type the text in the box.
Click Save.

Note: You must be in Text mode for the Shapes button or the Ruler button to be displayed.
To add a shape to an image:
Click the Shapes ![]() button. The Image Editor window is displayed again with a list of shapes from which to choose on the right side of the window.
button. The Image Editor window is displayed again with a list of shapes from which to choose on the right side of the window.
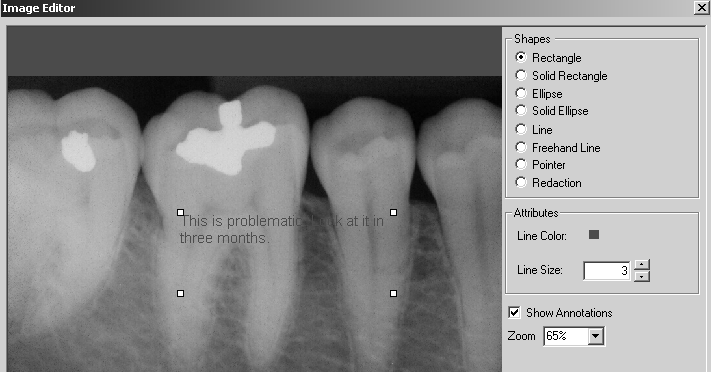
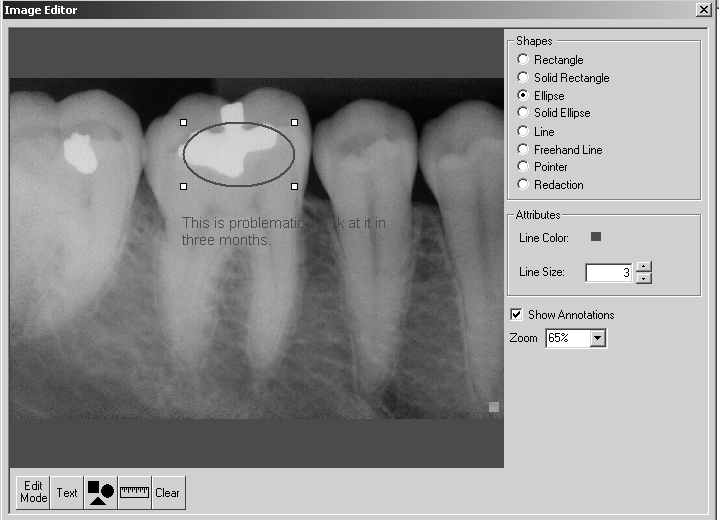
Select the shape you want to use.
In the Attributes area, select the Line Color and Line Size that you want.
Click-and-drag the cursor to draw the shape you selected.
Note: You must be in Text mode for the Shapes button or the Ruler button to be displayed.
To add a measurement to an image:
Click the Ruler ![]() button. The Image Editor window is displayed again with a list of Measurement Tools displayed on the right side of the window.
button. The Image Editor window is displayed again with a list of Measurement Tools displayed on the right side of the window.
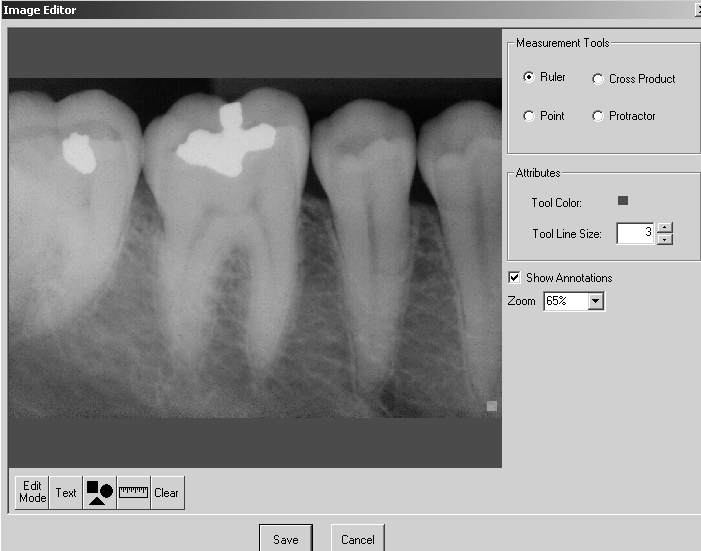
Select the tool you want to use.
In the Attributes area, select the Tool Color and Tool Line Size.
Click-and-drag the cursor across the area for which you want a measurement displayed. Click outside the area when you have finished.
Click Save.