Installing the Server
 |
IMPORTANT: When upgrading, CS Imaging 8 must be deployed on all imaging workstations (review or acquisition) at the same time. For the software to operate correctly, all workstations must have the same version installed. |
To install CS Imaging, follow these steps:
- Download the software from the Carestream Dental web site. Run CSI8SuiteSetup.exe.
- Select the installation language and click OK. The Welcome screen is displayed.
- Click Next. When asked, choose the region where you are located.
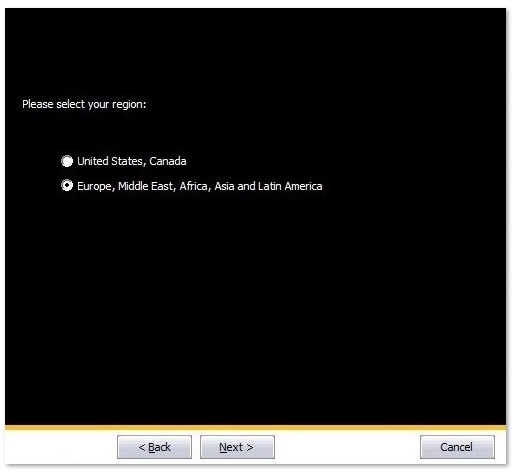
- Click Next. The License Agreement screen is displayed.
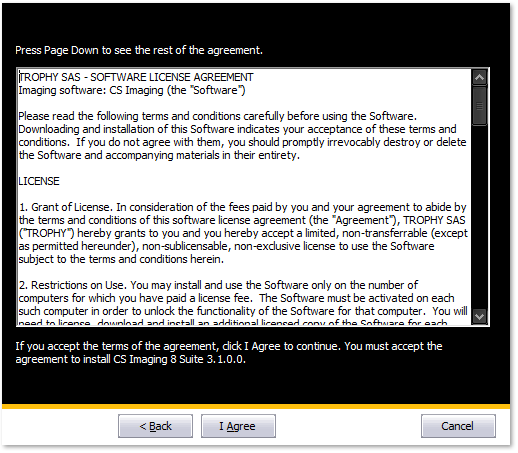
- Please read through the terms and click I Agree. The Installation Type screen will appear.
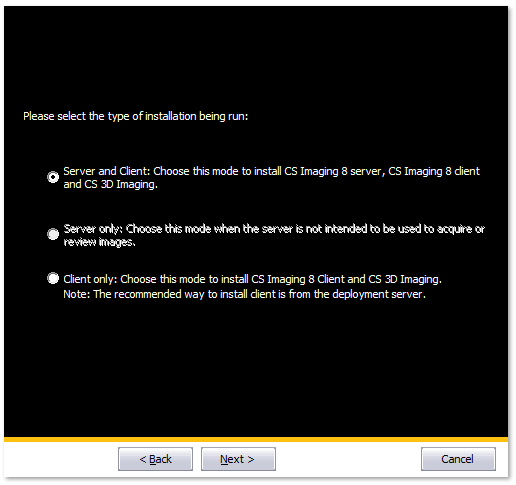
- To install the Server, choose whether the computer is a Server and Client or Server only. Selecting as:
- Server and Client: This is the option shown by this guide. Select this to run the server and client on the same machine. Choose this if you wish to view images on the same PC as you are setting up the server.
- Server Only: Select this to install ONLY the server. You will not be able to view images on the server PC itself.
- Client Only: Do not choose this option unless directed to. Client install will be shown later in the guide.
 |
Note: A workstation computer cannot be used in a nomadic mode disconnected to the LAN (Local Area Network). If nomadic use is required, install the nomadic computer as Server/Client. |
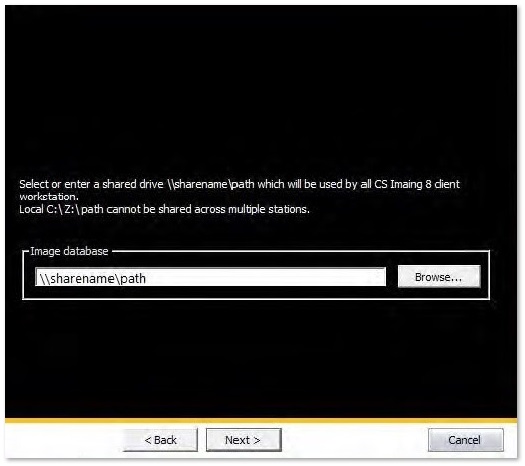
- Click Next. Click Browse to select the CS Imaging 8 image database repository. The database folder must have full control permissions, for the Everyone Group, or any equivalent group. If the DPMS (Dental Practice Management Software) is present, use a different path than the DPMS image database repository. If upgrading from previous versions of the imaging software, the CS Imaging 8 image database path will be automatically detected:
|
IMPORTANT: Select a valid network path where you can store files that can be shared among multiple workstations. A mapped drive is not a valid path, for example, C:\ or Z:\. |
|
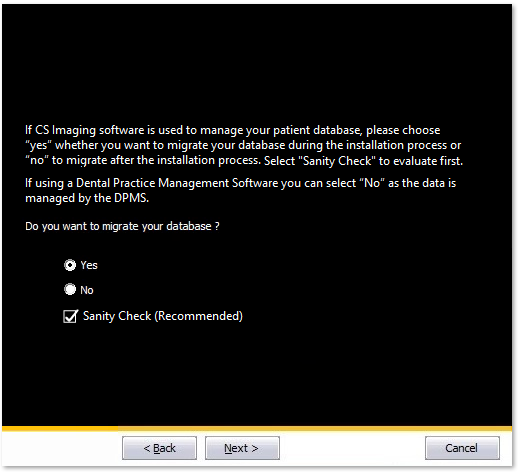
Note: In case of an upgrade installation, there will also be a Patient Migration confirmation window. Then the patient data from CS Imaging will be converted to the new CS Imaging Server database. Patient data from DPMS image database will not be migrated. |
- Click Next. Check the Server IP Address/Hostname, CS Imaging Server Port, CS Deployment Server Port. Port numbers will be automatically proposed and verified (they must be reserved for the exclusive use of CS Imaging).
- Select whether or not install embedded SQL server.
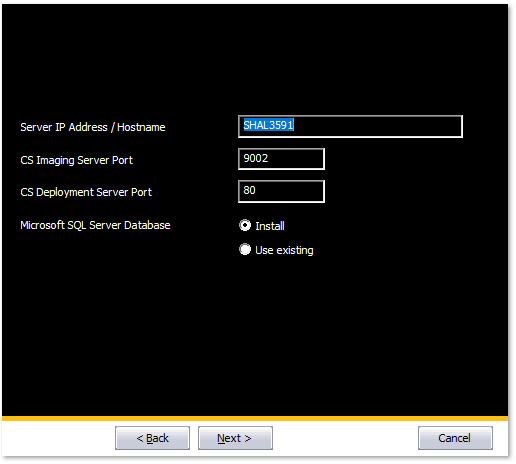
- When selecting “Install,” Microsoft SQL Server Express will be installed on the server workstation.
- When selecting "Use existing," configure the existing SQL server.
|
Note: If embedded SQL server installed, SQL databases automatic backup is offered. If SQL server is provided by end user, SQL database backup is managed by the end user. |
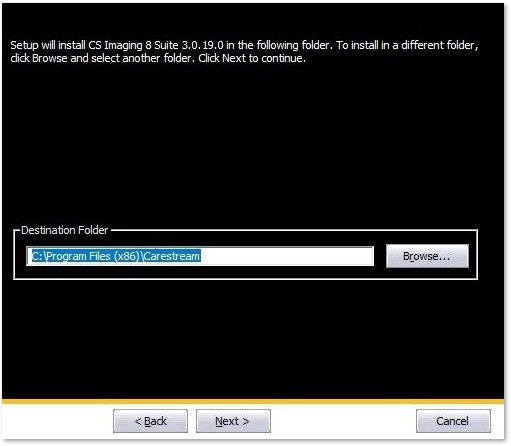
- Click Next. The Choose Install Location screen is displayed.
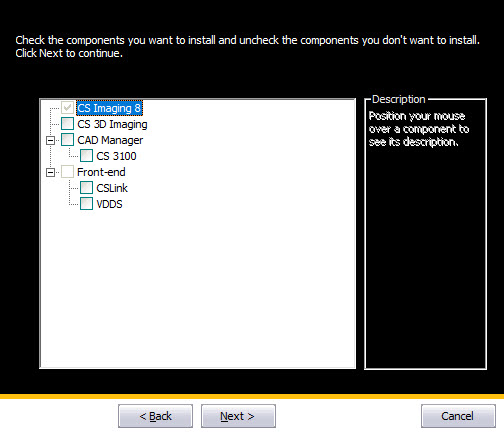
- Click Next. In the Choose Components screen, the following options are displayed if you choose Server and Client.
|
Note: If you chose Server only, the Client components are not installed. |
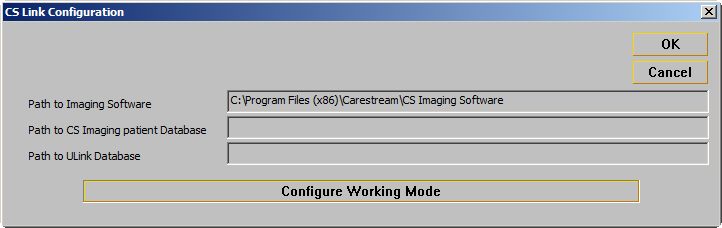
- If you selected CS Link in step 10, you are prompted with the CS LinkConfig dialog box and configure. Click OK.
The Installation complete screen is displayed.
|
Note: If you chose to migrate during installation, a migration report (only in English) will be displayed in a separate window. |
- Click Finish.
The CS Imaging shortcut icon is installed on your desktop if you install Server and Client.
Reactivate your antivirus software only after the installation has finished.
|
IMPORTANT: When upgrading CS Imaging Server, all connected clients could be affected. It is advised to do that only when no client is connected. |