Getting to Know Your Software
Parts of the Screen
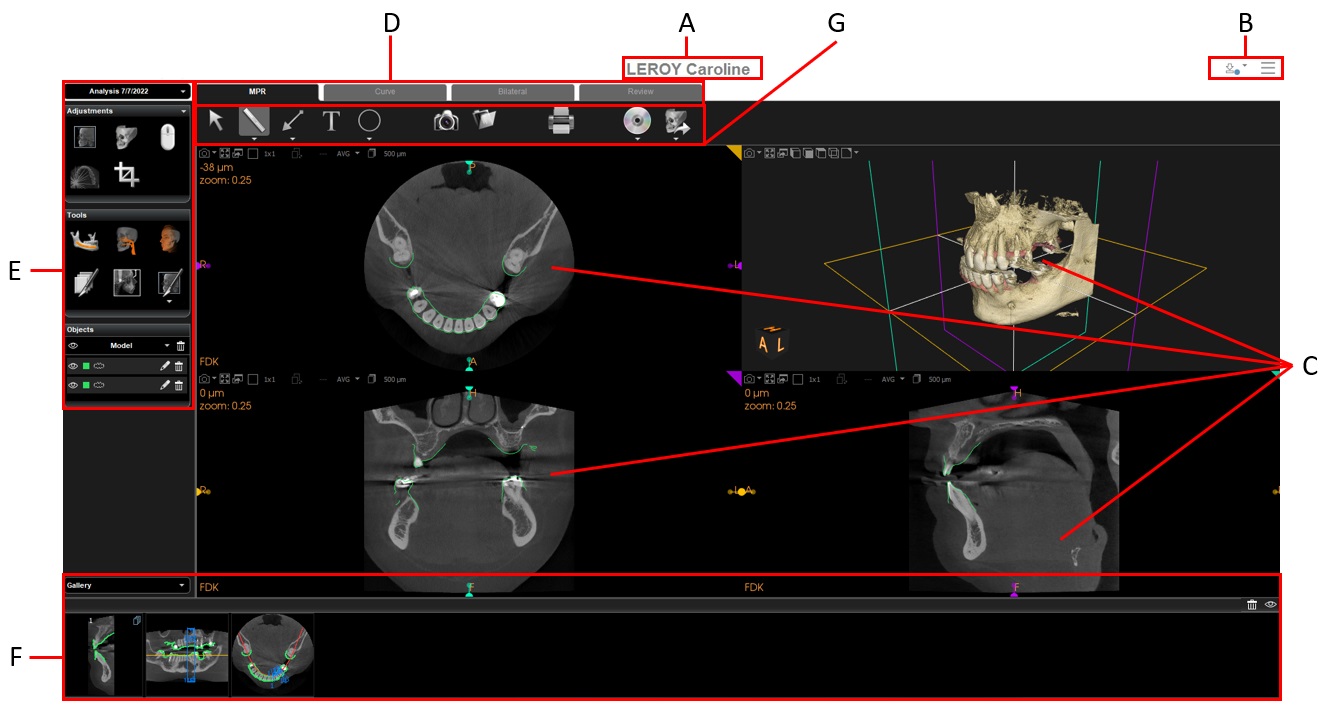
The CS 3D Imaging interface is comprised of the following parts:
|
A |
Patient Name |
||
|
|
Main Toolbar Icons |
|
|
|
B |
|
|
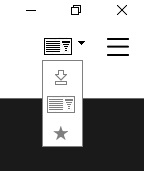
Click the update icon to install updates to the Implant Library. When there are updates available, a blue dot appears in this icon. For more information, see “Updating the Implant Library”. Click the arrow next to the icon to toggle to the Implant Library icon. |
|
|
Click the Implant library icon to display the Implant Library, in which you can view available implants and create your own implants. See “Using the Implant Library”. Click the arrow next to the icon to toggle to the update icon. |
||
|
|
Use to select your favorite implant. |
||
|
|
|
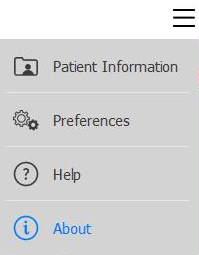
Click the Patient information icon to display the Patient information window, which includes examination information.
|
|
|
|
Click the Edit Preferences icon to set application preferences. See “Setting CS 3D Imaging Preferences”. |
||
|
|
|
Click the Help icon to open the user guide for your application. |
|
|
|
Click the About box icon to display application and registration information. You can also access the Licensing software via this window. |
||
|
C |
View Screens |
Each of the workspace tabs contain multiple view screens. The example above shows three 2D Multi-Planar Reconstruction (MPR) view screens and a 3D View Screen. |
|
|
D |
Workspace Tabs |
The following workspace tabs provide access to view screens:
|
|
| E |
|
Analysis Management - Allows to easily create different and distinct treatment plannings from the same volume. |
|
| E |
Toolbox |
The toolbox provides the following panes:
|
|
|
F |
Gallery |
Displays thumbnail images of the screenshots, snapshot images and cross-section slice series. |
|