Understanding Slices in 2D MPR View Screens
Changing Slice Thickness
Each 2D MPR view screen displays images of slices in the volume. When the Split View option is set to 1x1, you can change the thickness of the slice displayed.
To change slice thickness, follow these steps:
-
In a 2D MPR view screen, make sure the split view is set to 1x1.
-
In the view screen toolbar, click
 .
.
A drop-down list of different slice thicknesses appears.
-
Select a slice thickness.
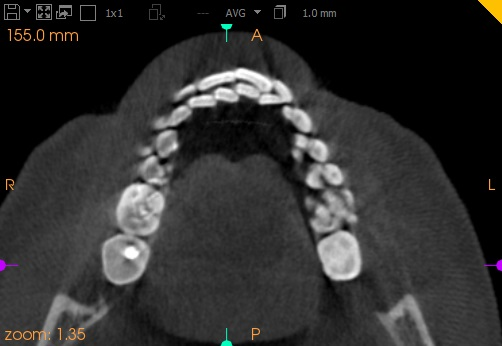
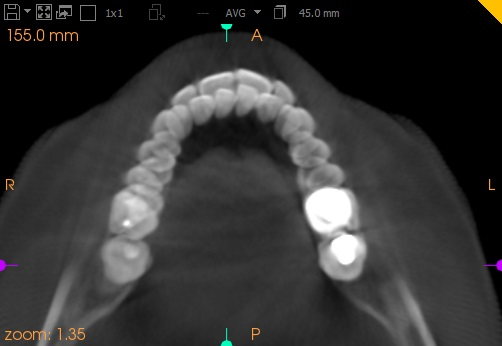
For example, if the axial slice thickness changes from 1.0 mm to 45.0 mm, the image changes to shoe the new slice thickness.
|
Axial slice at 1.0 mm thickness
|
Axial slice at 45.0 mm thickness
|
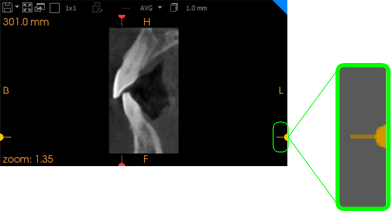
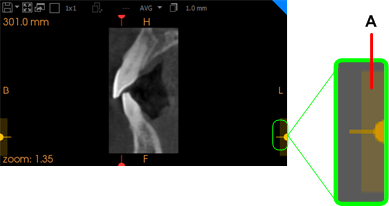
The axial slice handles are changed in the other views. The color-coded shading (A) shows that the slice thickness has changed.
|
Axial slice at 1.0 mm thickness
|
Axial slice at 45.0 mm thickness
|
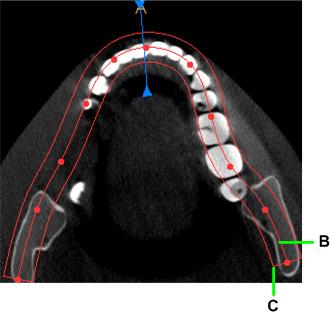
The shaded block above (A) is used to represent thicker slices in the 2D MPR view screen. In other non-orthogonal, specialized view screens (for example, the jaw arch/temporal bone view screen on the Curve tab) slice thickness is represented as a solid line (C) drawn around the curve plane (B).
