Aligning a Patient Face Scan Image with a Volume
CS 3D Imaging Automatic Face Scan Alignment provides:
-
Automatic alignment of a patient Face Scan image with a patient image volume
-
Easy-to-use tools to semi-automatically or manually adjust the alignment
To align a patient face scan with a patient image volume, follow these steps:
-
In any workspace tab apart from the Review tab, in the Tools pane in the tool box, click
 to select a face to align with your patient image volume.
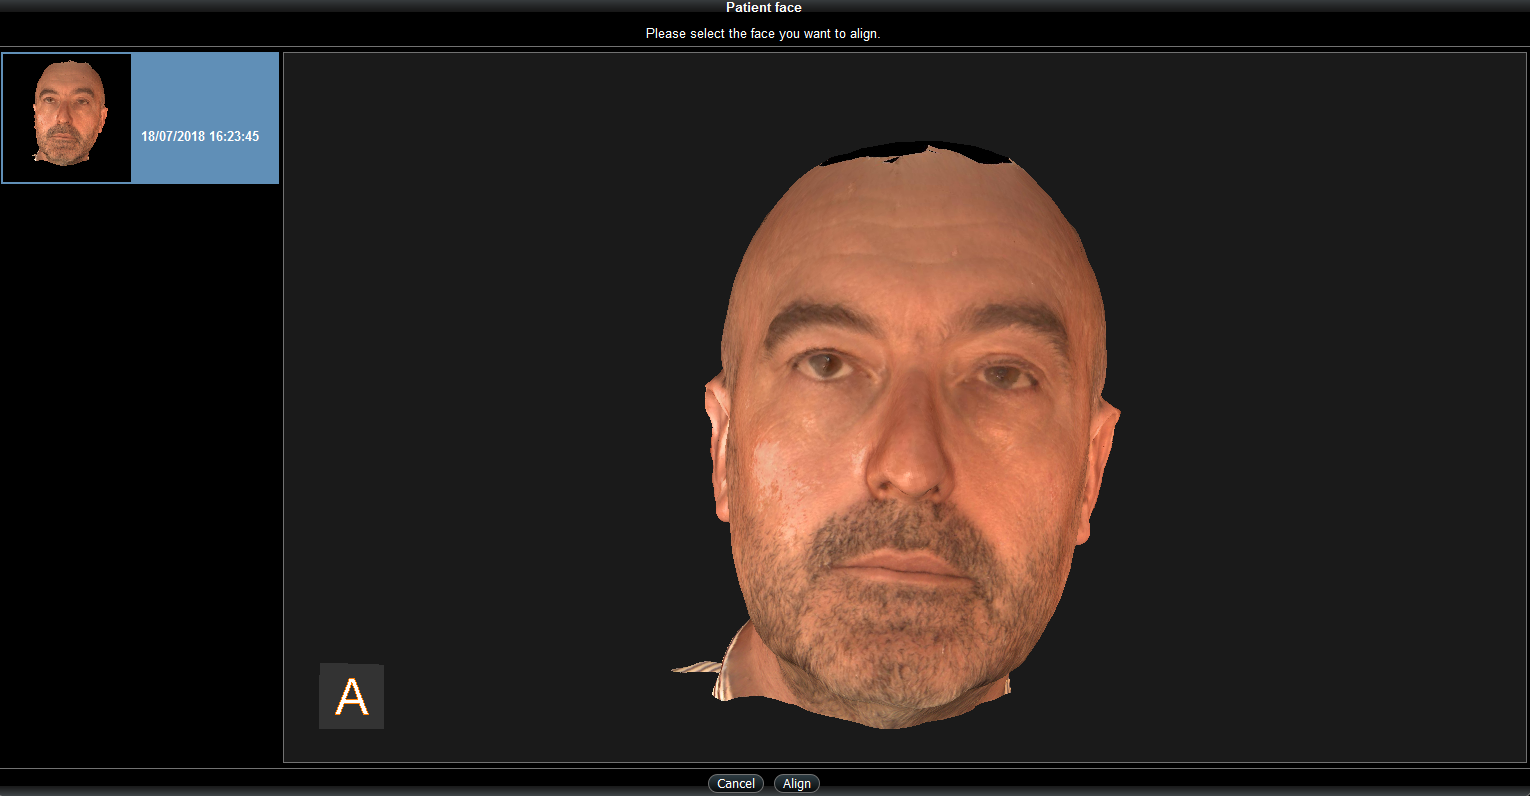
The Patient Face Scan window opens and available faces are displayed in the window's side pane, sorted by date.
You can hover the mouse over a face to display the following Acquisition type (Face) information:
|
|
Note: Only supported patient face scan formats are available for alignment. |

-
In the list of faces displayed in the Patient Face Scan side pane, select the face to be aligned to the patient image volume.
|
|
Note: Only one patient face can be aligned to a patient image volume at a time. |
-
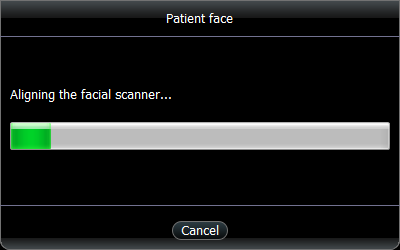
Click Align to launch the automated face alignment process.
If a discrepancy is found between the data associated with the selected face scan and the patient image volume data, a dialog box appears displaying details of the patient image volume and the face. After you have reviewed the information, click Confirm to continue with the alignment, or Cancel to select a different face.
CS 3D Imaging launches the automatic alignment of the face with the patient image volume.
If the automatic registration is not successful, you are sent directly to the Accessing the Alignment Adjustment Window.
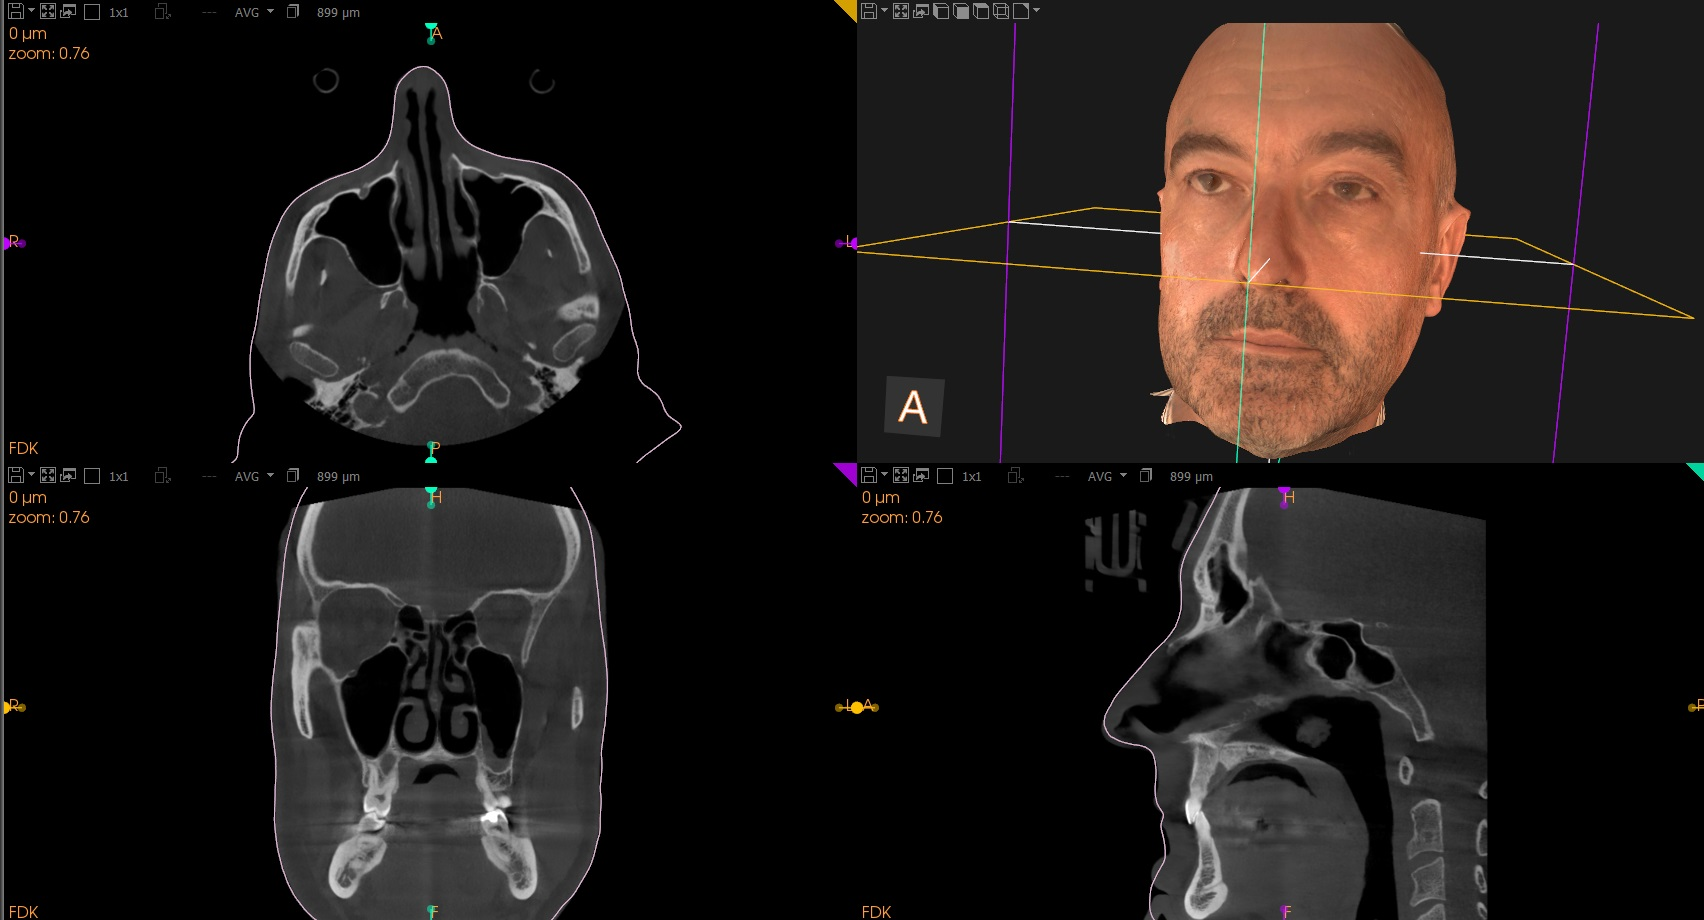
When the face is aligned with the patient image volume:
-
The aligned face scan and patient image volume are displayed in the 3D View Screen.
-
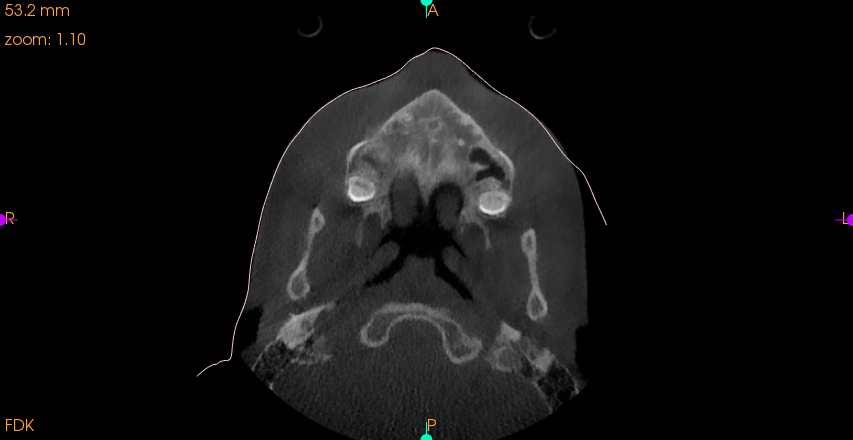
The outline of the face is displayed as a line (the default color is pink) in each 2D view screen.
-
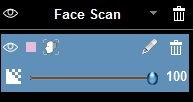
The face appears in the Face Scan object list.
-
Check that the alignment has been performed correctly by comparing the patient's face with the patient image volume. See “Manually Adjusting a Face Scan Alignment”.