The Capture tab enables you to import images directly from your digital camera into the patient’s chart. Before you can do this, you must configure the import option in the Configuration window.
To configure the software to import images from a digital camera:
Click Start > All Programs > PracticeWorks > Configuration of PracticeWorks. The Configuration of PracticeWorks window is displayed.
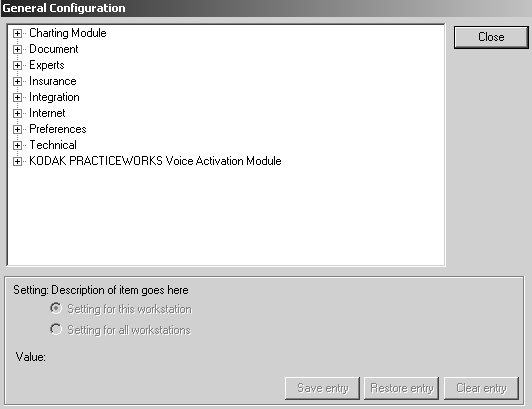
Click Setup > General Configuration. The General Configuration window is displayed.
Click the plus sign next to Integration, and a submenu is displayed.
Click the plus sign next to Digital Camera, and then select Import Directory. Settings for this workstation is selected by default.
Click Browse, and navigate to the directory associated with your digital camera’s card reader.
Select the appropriate directory, and click Open.
Click Save Entry.
In the Digital Camera list, select Delete Images from Camera after Importing.
In the Value field, use the drop-down list to select No or Yes. Selecting Yes erases the images from your camera; No does not. Click Save Entry.
Click Close.
Select File > Exit to close the Configuration window.
To import images from a digital camera:
Click the Capture tab. The Capture Tab window is displayed.
Click Digital Camera. The Digital Camera Import window is displayed.
To select a different import directory, click Browse.
Click the images you want to import. Images are highlighted by a green border.
Click Import Images. The images are imported and displayed in the Image Viewer.
After you have imported the images into a patient’s chart, you can associate them with a tooth or area of the mouth by right-clicking the image and selecting Edit image information.