A pre-defined appointment has many details already filled in, saving you time when scheduling appointments.
To set up a pre-defined appointment:
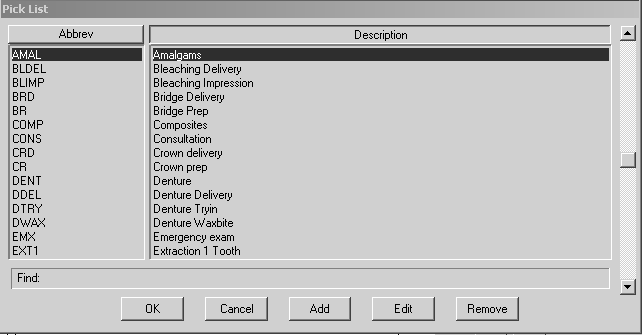
Select Lists > Pre-defined appointments. The Pre-Defined Appointments Pick List window is displayed.
Click Add. The Pre-Defined Appointment Definition window is displayed.
Note: When adding ADA codes to a pre-defined appointment, do not add codes that require a tooth number, surfaces, or quadrants, since these will vary from patient to patient.
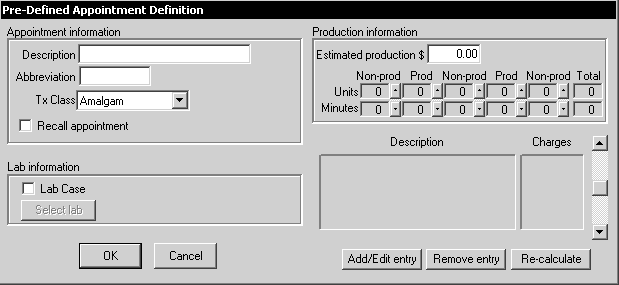
In the Description field, type a description for this type of appointment.
Press Tab to move to the Abbreviation field. Type an abbreviation, five-character maximum, with no spaces.
Click the Tx Class drop-down arrow, and select the appropriate treatment class.
Select Recall appointment, if appropriate.
Note: If you set the recall units to zero and leave the recall section on Page 2 of the clipboard blank, the software uses the values on the Pre-Defined Appointment Definition window.
Enter an estimated dollar amount in the Estimated Production field or enter the ADA codes or abbreviations in the Description field, pressing Tab after each code. The Charges column displays the standard fee for each code.
In the Producer/Non-Producer grid, click the arrow to enter the number of time units required for this type of appointment. Producer units are for the doctor and hygienist's time; Non-Producer units are for the assistant's time.
If a lab case is required for this type of appointment, select Lab Case. If you always use the same lab for this type of appointment, click the Select Lab button. The Lab Pick List window is displayed. Select a lab and click OK. The Pre-Defined Appointment Definition window is displayed again.
Click OK to save the data that you entered. The Pre-Defined Appointments Pick List window is displayed again.
Click Cancel to close the window.