Setting Up Payment Manager
Before you can use Payment Manager in OrthoTrac, you must be enrolled. Contact a Carestream Dental representative for more information.
To set up eServices for OrthoTrac:
-
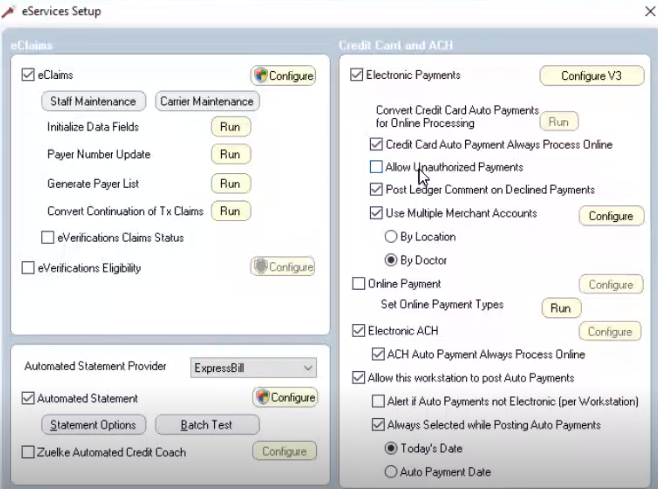
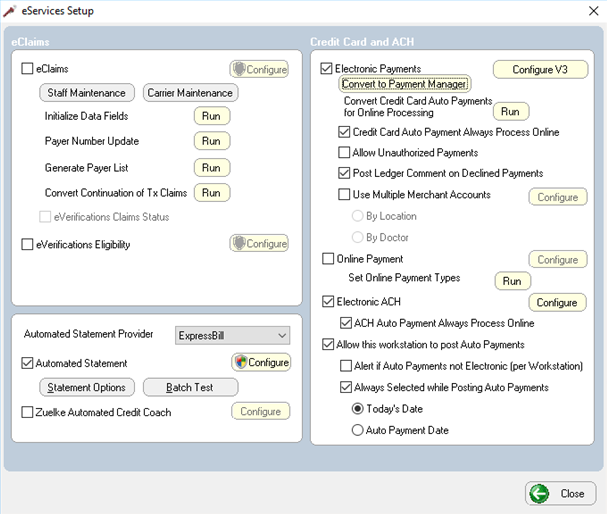
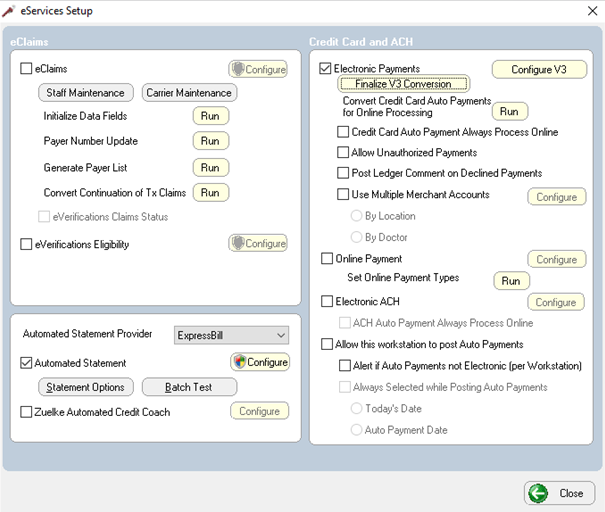
On the main menu, click the Wrench icon and select eServices Setup. The eServices Setup window is displayed.
-
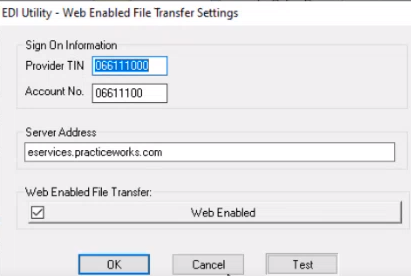
Select the eClaims option and click Configure. The EDI Utility window is displayed.
-
In the Provider TIN and Account No. fields, enter the numbers.
-
Click OK. The eServices Setup window is displayed again.
Note: You can deselect the eClaims option.
-
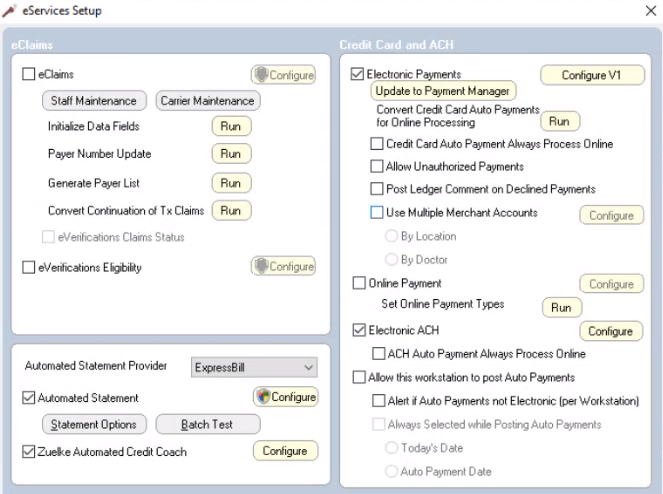
Select the Electronic Payments option and click Update to Payment Manager. If Payment Manager is installed, ePayments converts to Payment Manager.
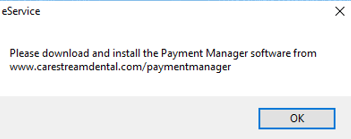
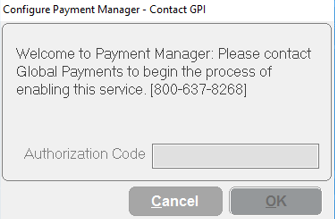
If Payment Manager is not installed, the following message is displayed:
-
When Payment Manager is installed and you click Update to Payment Manager, you are prompted to enter an authorization code.
-
Enter the code provided by GPI.
-
Click OK. The Configure Payment Manager – Contact GPI window closes, and the button under Electronic Payments now reads Convert to Payment Manager.
-
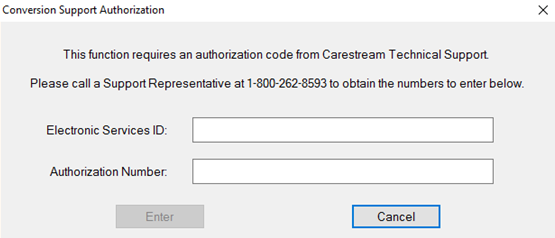
Click Convert to Payment Manager. The Conversion Support Authorization window is displayed.
-
In the Electronic Services ID and Authorization Number fields, enter the numbers.
-
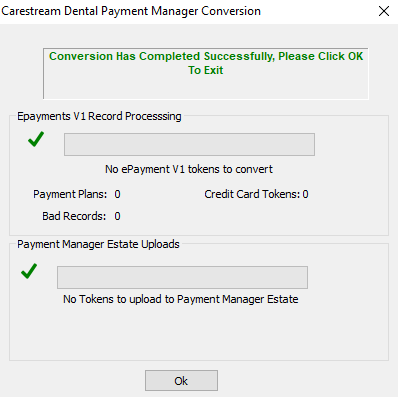
Click Enter. The conversion process begins. When the conversion is completed successfully, the Conversion Has Completed Successfully window is displayed.
-
Click Ok. Under Electronic Payments, the button changes to Finalize V3 Conversion.
-
Click Finalize V3 Conversion. Finalization occurs.
-
Click Close.