Installing CS OMS Imaging Software > Performing an Upgrade
Upgrading the Image Server
To upgrade CS OMS Imaging on the image server:
-
Exit any applications running on the computer.
-
Double-click the zip file that you have downloaded. The CS OMS Imaging Extract window is displayed.

|
|
Important: To see the Extract all option on the toolbar, make sure the Compressed Folder Tools options are selected. |

-
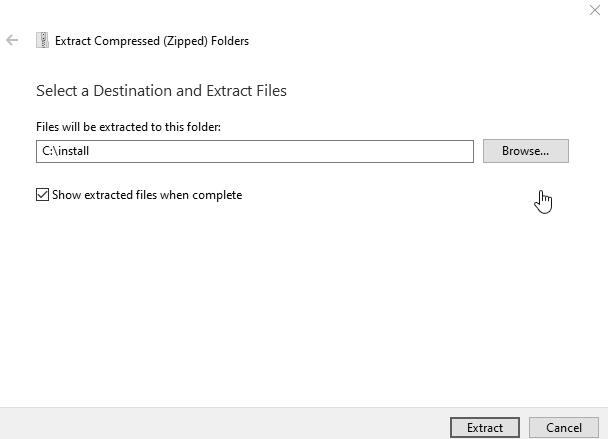
Click Extract all. The Extract Compressed (Zipped) Folders window is displayed.
-
Click Browse, navigate to your install folder, and click Extract.
-
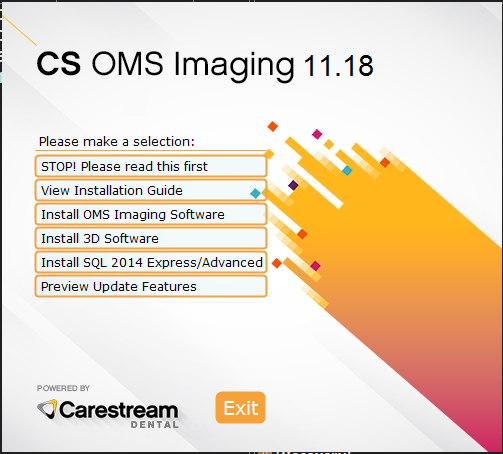
When the files are extracted, double-click the CSOMSImagingInstall.exe file. The CS OMS Imaging Install Menu is displayed.
-
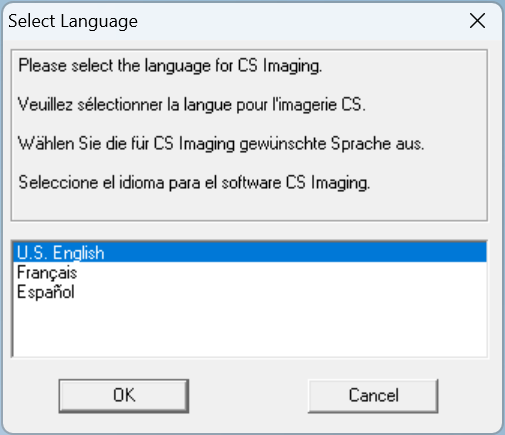
Click Install OMS Imaging Software. The Select Language window is displayed.
-
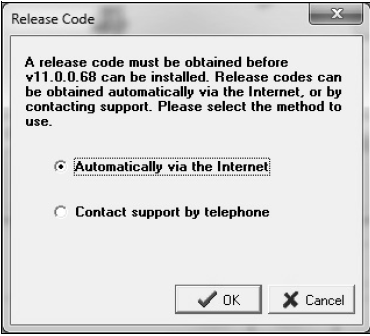
Select the correct language, and click OK. The Release Code window is displayed.
|
|
Note: If you register the software over the Internet, the registration code is retrieved automatically. |

-
Select your preference and click OK.
|
|
Note: If your existing license file does not have CS OMS Imaging software enabled, a window is displayed, prompting you to install the license file. |
The second Registration window is displayed.
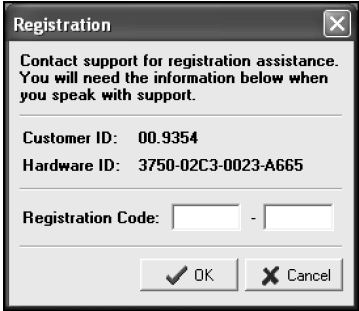
-
Enter the registration code and click OK. The Welcome window is displayed.
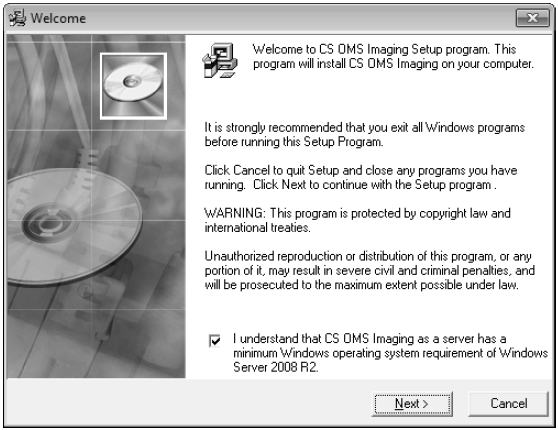
-
Verify that all programs are closed and click Next. The End User License Agreement window is displayed.
-
Click Accept. The installation continues.
-
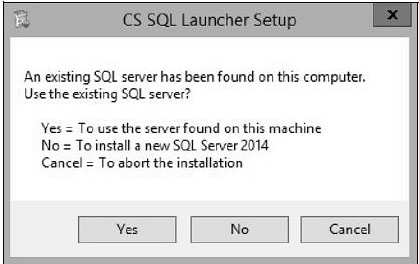
If the office has a version of SQL Server that was installed by another program, the CS SQL Launcher Setup window is displayed with the following prompts:
-
Do one of the following:
-
To use the existing SQL server, select Yes. The CS SQL Launcher Setup window is displayed. Click OK, or to select a different option, click Cancel.
-
To install SQL Server 2014, select No.
-
To end the installation, click Cancel.
After selecting Yes or No, the installation continues.
When the installation is finished, the Installation Complete window is displayed.
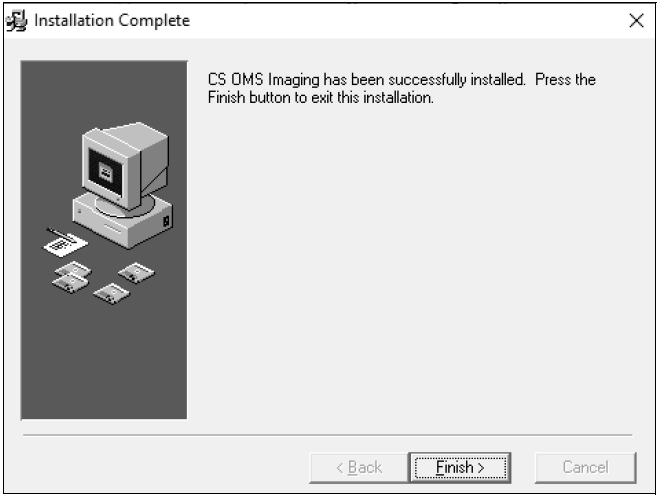
-
Click Finish.