Adjusting a Face Scan Alignment
Manually Adjusting a Face Scan Alignment
To manually adjust the alignment of a Face Scan with a patient image volume, follow these steps:
-
In any workspace tab apart from the Review tab, in the Tools pane in the tool box, click
 and select Face Scan in the object drop-down list.

-
In the Face Scan object list, select the Face Scan object and click
 .
. -
In the Adjust a Face Scan alignment window, click the Manual tab.
Editing objects are displayed in the following view screens:
-
 Axial Slice View Screen
 -
 Coronal Slice View Screen
 -
 Sagittal Slice View Screen
|
|
Note: You cannot adjust an automatic alignment directly in the 3D View Screen. The 3D View Screen is intended as a visual aid while carrying out adjustments to the Face Scan alignment. |

-
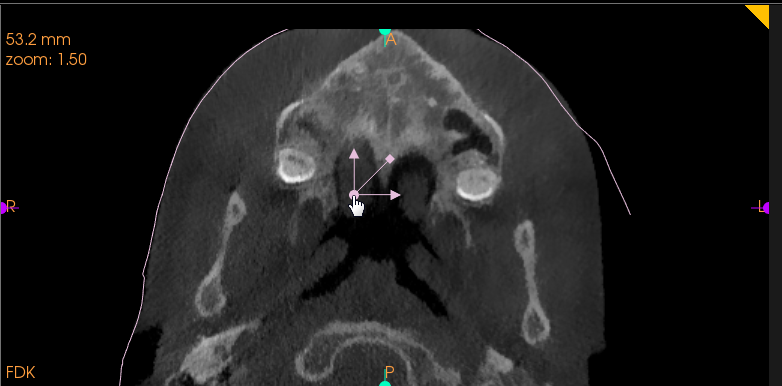
To move the Face Scan, in a view screen select the Face Scan's object outline, or one of the left-and-right or up-and-down handles, and drag to move it to a new position.
These handles enable constrained movement (left-and-right or up-and-down), to ensure greater precision when repositioning a Face Scan object.
-
To move an object without any directional constraint, click on the omnidirectional handle.
|
|
Note: Use of this adjustment feature requires particular care. To undo manual adjustments see "Undoing Manual Face Scan Adjustments". |
-
To rotate an object, select the rotation handle and drag the axis to a new position.
|
|
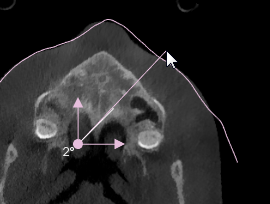 |
You can drag the rotation handle outwards, in order to increase the precision of the adjustment. As you rotate the Face Scan, the angle of rotation is displayed in real-time.
|

-
To complete repositioning of the Face Scan, release the object.
-
When you have finished carrying out Matching Refinements:
-
Click OK to validate modifications and close the Adjust a Face Scan alignment window.
-
Click Cancel to cancel modifications carried out and not saved in the Adjust a Face Scan alignment window.
Undoing Manual Face Scan Adjustments
Redoing Manual Face Scan Adjustments