Adding Images to an FMS
To add an image to an FMS, follow these steps:
-
Open an FMS in the Image Viewing Workspace or Darkroom mode.
-
Click
 to view the Image Gallery.
 -
Click an image in the Image Gallery, hold the mouse button down, and drag the mouse pointer over one of the FMS cells. The mouse pointer changes to
 .
. -
Release to drop the image.
If the image can be added to the FMS it is displayed in a frame in the FMS.
|
|
Note:
|
-
Repeat the drag and drop action as necessary.
-
You can also double-click on images in the Image Gallery to add them to the FMS. (If the image displays in a different frame in the FMS, it is because the image has been associated with the tooth number associated with that frame; an image is automatically added to a frame in the FMS that matches its tooth number.)
-
To select multiple images in the FMS template, click
 in the top right-hand corner of the FMS title bar.

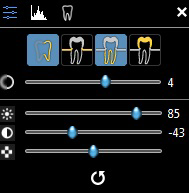
Note: Additionally, when multiple images are selected, they can be simultaneously adjusted:

-
When you are done, in the image title bar, click
 (Image Viewing Workspace) or
  (Darkroom mode). The Save FMS window is displayed.
 -
In the Save FMS window, enter your FMS configuration details. See Setting FMS Configuration Details in the Save FMS Window.
-
Click Save.
|
|
Note: If a portrait image is added to a landscape frame, the image will be automatically rotated in the FMS. |
