Exporting a Volume
You can use the Volume export function in the Export pane to export a 3D volume for use in third-party DICOM software.
|
|
Warning!An exported 3D volume may be subsampled, which may lead to diagnosis errors. Use subsampled data at your own risk. |

|
|
Note:
|

To export a 3D volume, follow these steps:
In the toolbar (MPR, Curve and Bilateral tabs), click  .
.
The Volume export appears.
Configure the export settings as required.
|
1: Select file and directory |
Click the Browse button and select the output directory (folder) in which you want the 3D volume to be exported. You can add a text description in the Description field if required. The text is added to the DICOM tag “Series description”. |
|
2: Select resolution |
Select axial matrix size (pixels): Set the resolution of the axial slices for the exported 3D volume. Select slice thickness: Use the drop-down list to select one of the following slice thickness options:
Note: Changing slice resolution and/or thickness will decrease image quality. Use these options at your own risk. |
|
3: Select output file format |
Select file format: Select an axial slice format that matches the third-party software's requirement: Click Anonymize to remove all Patient Health Information (PHI) from the exported volume. Click Create DICOMDir to add a DICOMDir data file to the exported volume. Select compression: Select compressed or uncompressed DICOM output. Note: DICOM images are usually exchanged as compressed JPEG images in order to conserve file space and bandwidth. However it is not mandatory to do so. An uncompressed DICOM volume can require up to 350 Mb of disk space. |
4. Click the Export button.
The current 3D volume is exported to the folder you selected in section 1.
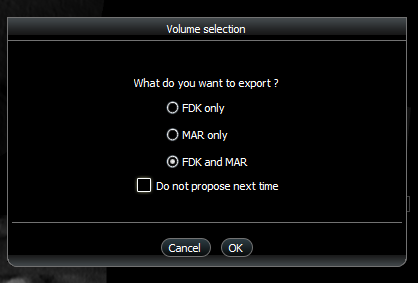
A window will open allowing you to choose the type of volume selections.
5. Choose the selection and Click OK.
To export a scanned object, follow these steps:
-
After having opened a scanned object appliance, format STL, in CS Imaging, proceed to the Export toolbox.
|
|
Note: Appliance volume acquired with CS 8100, CS 8200 or CS 9600 only. |
-
In the Export pane tool box, click
 .
.
The scan object export dialog window appears.
-
Select the Output folder, file name.
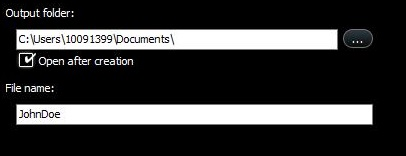
The mesh contour can be adjusted with the dedicated slider.

-
Click the Export button when finished.
Exporting Volume and PDIP
Export PDIP project in STL files, and CBCT volume, along with an implant planning report, for sending
to select lab partners.
Prerequisites
Note: A PDIP license must be activated and an already-aligned intraoral model with a volume for use.
1. In the Curve tab, select the Volume & PDIP Export icon ![]() in the horizontal toolbar.
in the horizontal toolbar.
In this window, the user will choose the output directory for the export.
2. Click on Export. The export file is a compressed zip version that includes PDIP project with STL
files, CBCT volume, and an implant planning report. It can also be shared with the lab.