Setting the Acquisition Parameters for 3D Images of the Full, Upper, and Lower Jaw
To set the acquisition parameters, follow these steps:
-
Select
 as the program and the required FoV (8x9, 8x5, 10x10*, 10x5*, 12x10*, 12x5*).
(*) Optional FoVs.
When you select a FoV,  will display a pop-up illustration to show the positioning accessory that you must use and how to position the patient head. The pop-up will remain for three seconds. Click if you need to see it again. Click again to hide the pop-up.
-
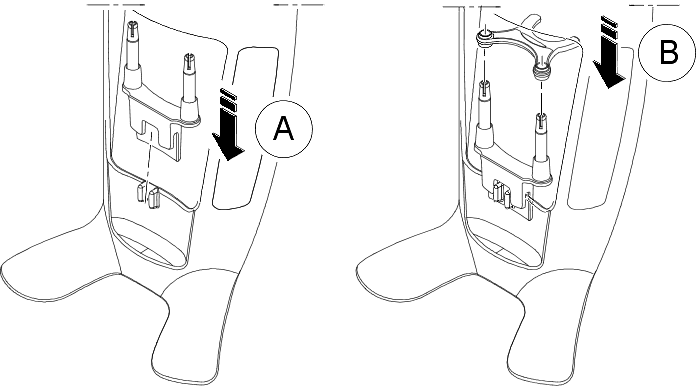
Fit the 3D bite block support (A), and insert the appropriate bite block (B) as shown.

IMPORTANT: Use the dedicated 3D bite block to acquire 8x9, 8x5, 10x10, or 10x5 FoVs. Use the dedicated 3D bite block to acquire 12x10 or 12x5 FoVs.
Make sure that you click the bite block well into place.
-
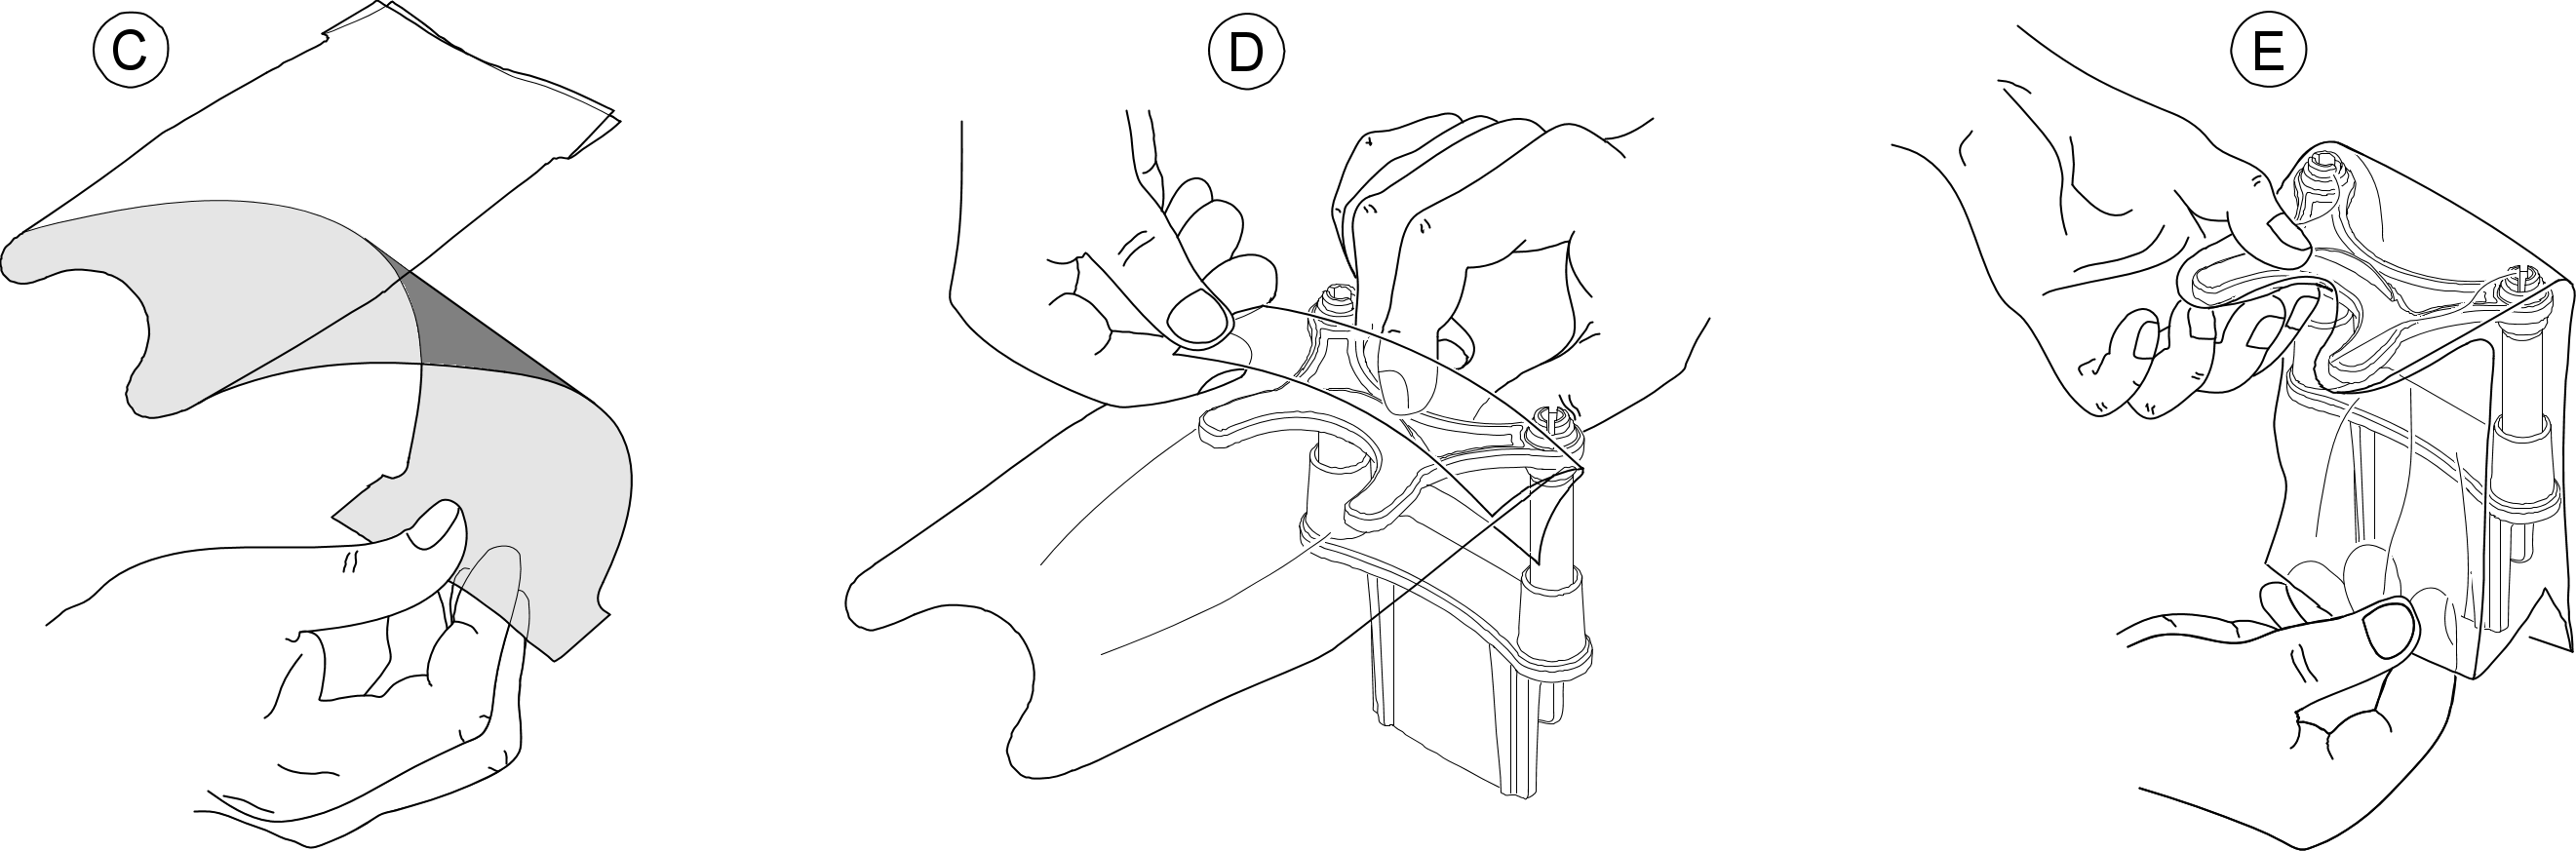
Remove the paper backing from the hygienic barrier (C), and cover the bite block with the hygienic barrier (D). Make sure that you cover the bite block completely with the hygienic barrier (E).
|
IMPORTANT: You must cover the bite blocks with FDA-cleared protective sheaths that are available from distributors. |
-
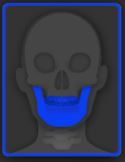
Click on one of the following areas of interest that you intend to examine:
-
 Full jaw (both upper and lower jaw) exam
 -
 Upper jaw exam
 -
 Lower jaw exam
-
 |
Note: The area of interest that you select will turn blue. |
-
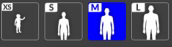
In the 3D Acquisition interface, select the patient type:
-
Child
-
Adult: Small, Medium, Large
|
IMPORTANT: See the CS 8200 3D Family Safety, Regulatory, and Technical Specifications User Guide (SMA67) for information on radiation protection and recommendations when you select a patient type, especially the pediatric patient. |
-
If the default parameter setting is not adapted to your patient type, click
 on the parameter display panel to open it and to select the appropriate parameters. To save the new parameter settings, click
  .
.
Acquiring a 3D Image of the Full, Upper, and Lower Jaw
Preparing and Positioning the Patient for 3D Images of the Full, Upper, and Lower Jaw
Launching the X-Ray for 3D Images of the Full, Upper, and Lower Jaw