Launching the Plaster Acquisition
To launch the acquisition, follow these steps:
 |
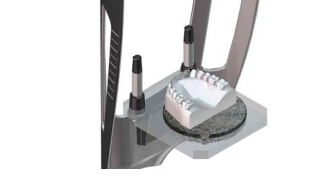
IMPORTANT: Make sure that you position the acquisition object correctly to obtain quality data. |
-
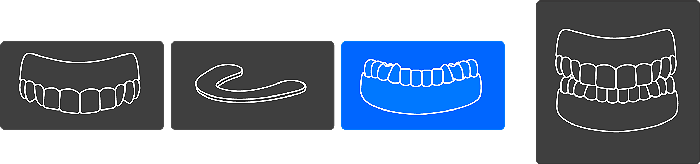
Select either the lower jaw, upper jaw, or full jaw acquisition mode.
-
See the on-screen illustration for information on how to correctly position the lower jaw, upper jaw, or full jaw plaster at the center of the black foam.
-
Launch the X-ray with the remote control:
IMPORTANT: If you need to stop the acquisition due to a problem, release the exposure button of the remote control, or press the red emergency stop button.
-
Press and hold the exposure button until the end of the acquisition is indicated by the on-screen “Release Switch” message.
-
The
 turns yellow
  , and a warning sound is heard, indicating X-ray emission.
 -
The accessory position detector will change color during the X-ray emission.
 |
Note: You will be able to see the object in live-view mode on the workstation screen during the acquisition.. |
When the acquisition ends, the acquired image is displayed on your screen.
Acquiring Images of Plaster Objects
Preparing the Unit and Setting the Acquisition Options for Plaster Objects
Launching the Plaster Acquisition with the Bite Index to Get the Occlusion